After I made my DIY Glam Feather Canopy for our master bedroom, my cousin Kelley texted me asking about making one that was a little more affordable and kid-friendly for her daughter, Avery, my Goddaughter, who is nine years old now. I immediately thought of feather boas, since you can get them at your local craft stores for under $4 each usually, and they worked so well for my Feather Skirt & Dress DIYs… and then I said, let me just make one for you and you can give it to Avery for Christmas!
So this is what I came up with… For the curtain panels, I actually used the blackout material that I removed from my curtain panels when I made mine. If I had a fabric shop up here, I’d opt for a few layers of pink tulle though, maybe in a few different shades… not only because it would be cute, but because tulle is ridiculously easy to work with and pretty affordable usually. So unless you already have material to use, as I did, look for tulle to make yours!
Also, since there are about 50 different shades of feather boas available, you can make one for any room, and for boys too. Boys like canopies too, don’t they? Or maybe it can be more like a tent? 🙂
{I know it’s a little late for Christmas, but it makes a nice gift. If you have a local craft store, you won’t have to buy your boas online and can whip one up in a day}
Here’s What You’ll Need…
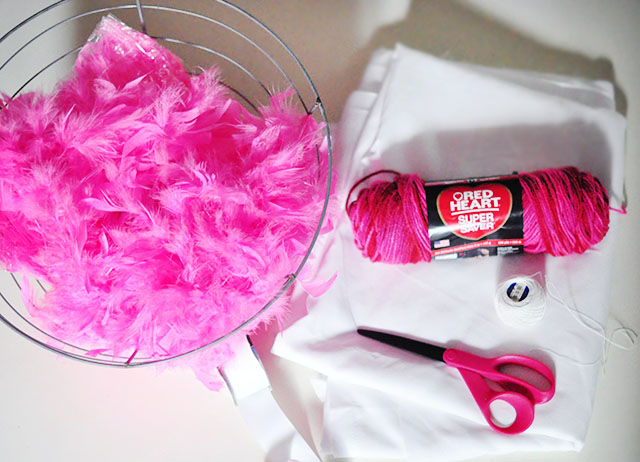
- Large wire hanging planter basket
- Feather boas, at least 4, in your favorite color {they’re $3.50 each & come in 50 different colors. This is Neon Pink #27
- Wide Ribbon in matching color
- Fine ribbon in matching color {or yarn – shown, but didn’t use}
- Curtain panels, tulle, or chiffon {I used the shimmery opaque inserts from my blackout curtains that I cut out to my my Feather Canopy for our Master}
- Large Needle and thread
- Regular needle and thread and scissors
Steps…
Begin by washing your wire basket if its been sitting outside at a nursery as mine was, and let dry.
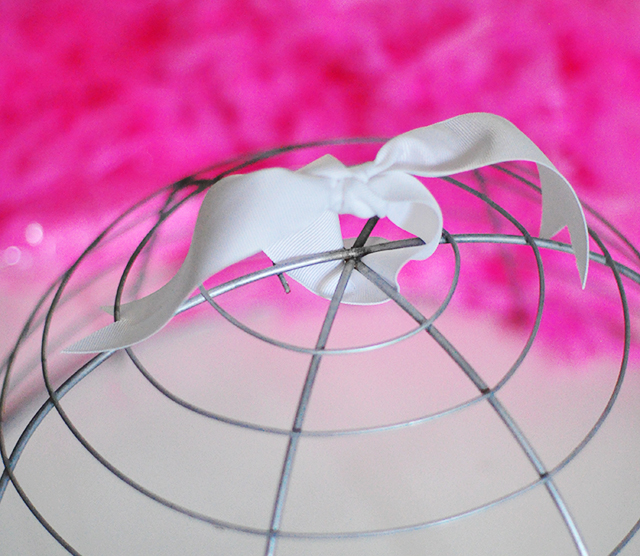
Cut about six inches from your large/sturdy ribbon and tie it neatly around the top/center of your planter basket, leaving about two inches. This is what you’ll hang it from.
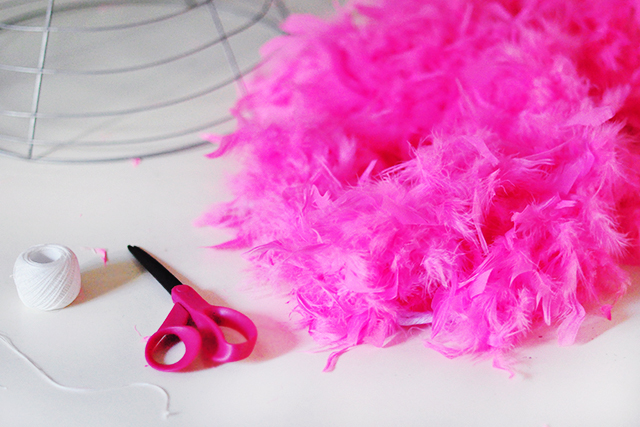
Your feather boas will arrive in plastic bags. Take them outside or in your garage and remove them one by one, shaking them to fluff them up. They will lose feathers and make a huge mess, so make sure to do this somewhere you can easily clean, but don’t leave them to float away outside.
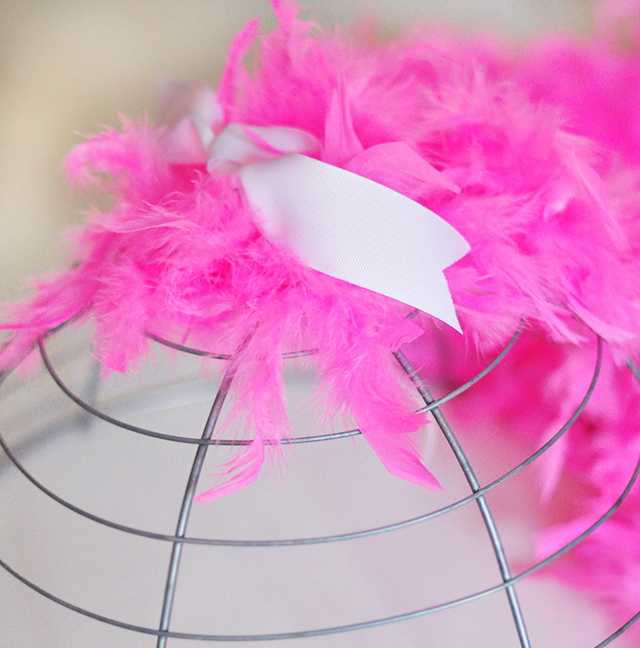
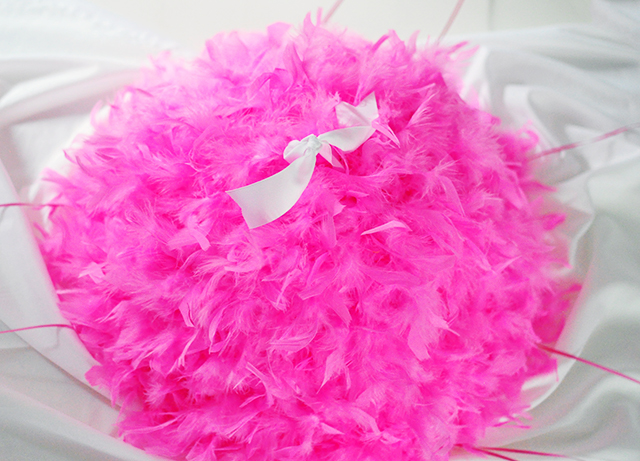
Beginning at the top/center, and with your large needle threaded, stitch your feather boa to the wire rings. I made sure to run my needle through the center rope in the feathers and looped over the wire each time.
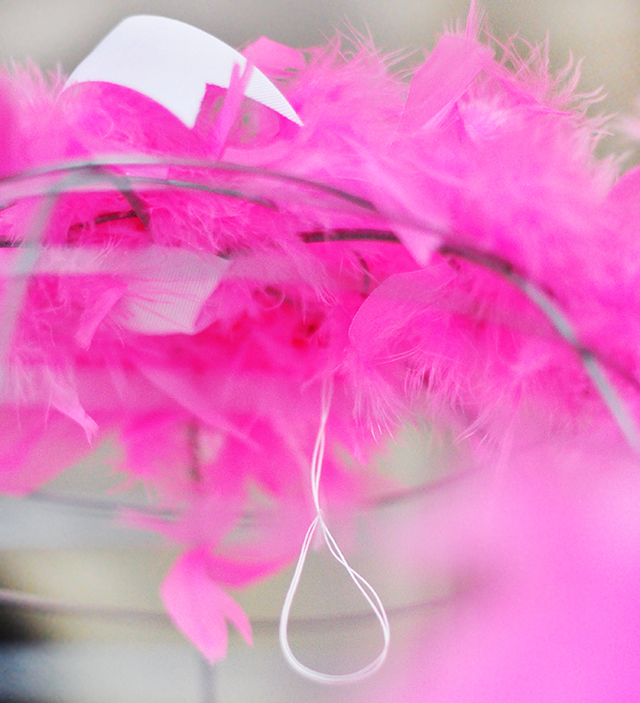
Continue following your wire basket with your feathers, stitching it in place.
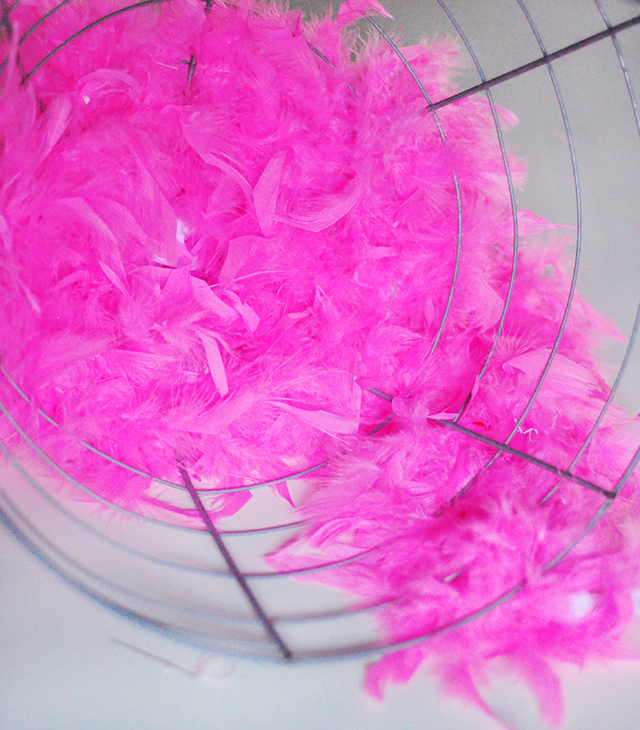
The feathers completely hide your thread, leaving the inside as cute as the outside if you’re looking up from beneath it.
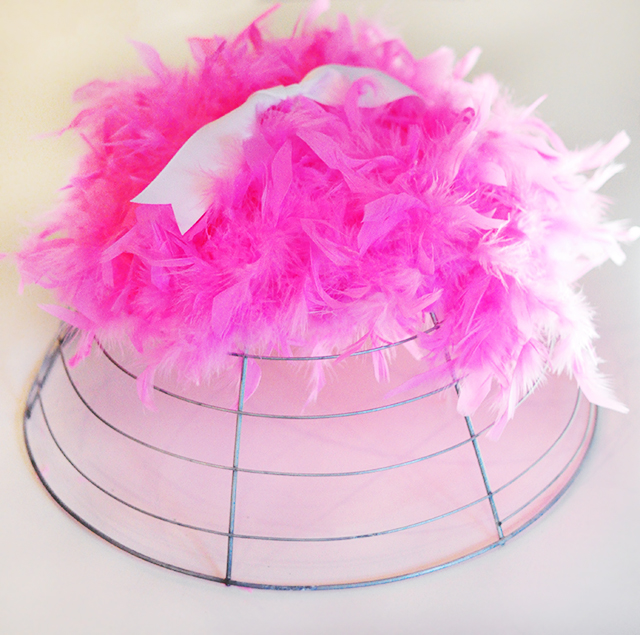
The above is one complete feather boa. It covers nearly half. I thought I’d get away with only using three, but since the basket gets larger at the bottom, I ended up using almost four. Just get four boas to be safe.
IMPORTANT! Leave the bottom wire ring completely free of feathers at this point. You should have one boa left by the time you get to the bottom, leaving the last one free.
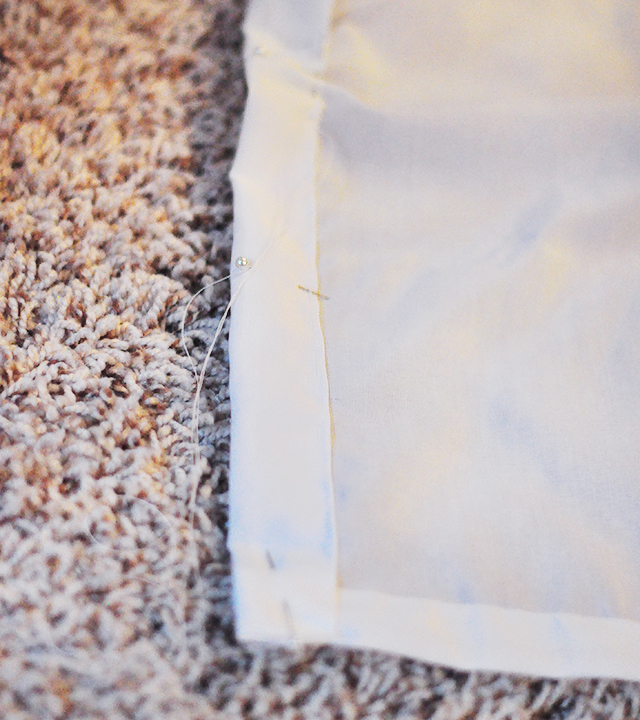
If you’re using actual fabric as I did, fold all the edges and hem them neatly. I was going to use my sewing machine, but it wasn’t working, so I hand-stitched them all. It took forever, and it doesn’t look AS neat as it would have with the machine, but what are you gonna do? Tulle is great because you don’t have to do anything to the edges, just leave them raw.
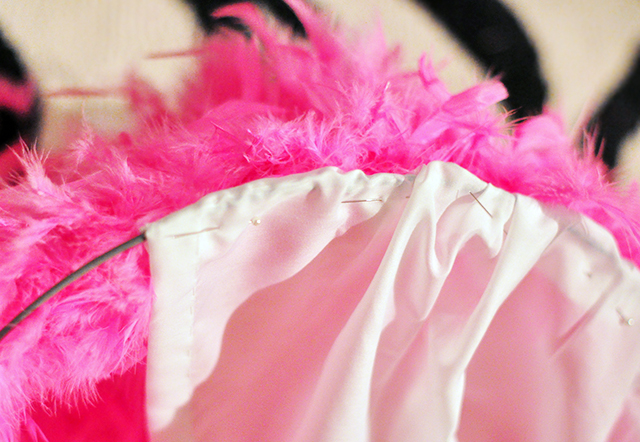
Unless you want to create tie-on loops at the top of your curtain panels -or can buy them that way, simply roll your top hem over the edge of the wire rim and stitch it in place. I folded and pinched it while I was stitching to give it a gathered look.
Begin each side at the front/center and end at the back center… Overlap the front and/or the back to give it a finished look that drapes nicely.
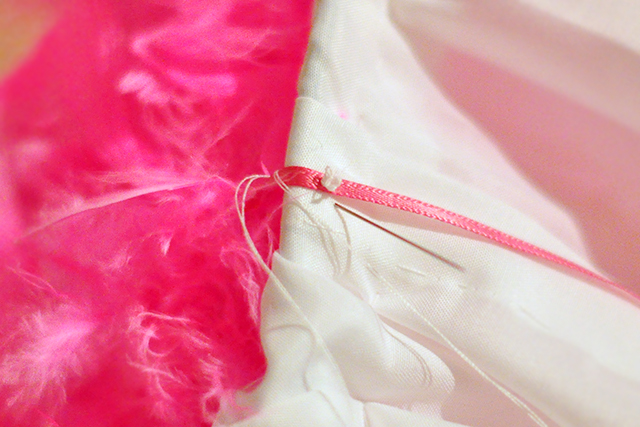
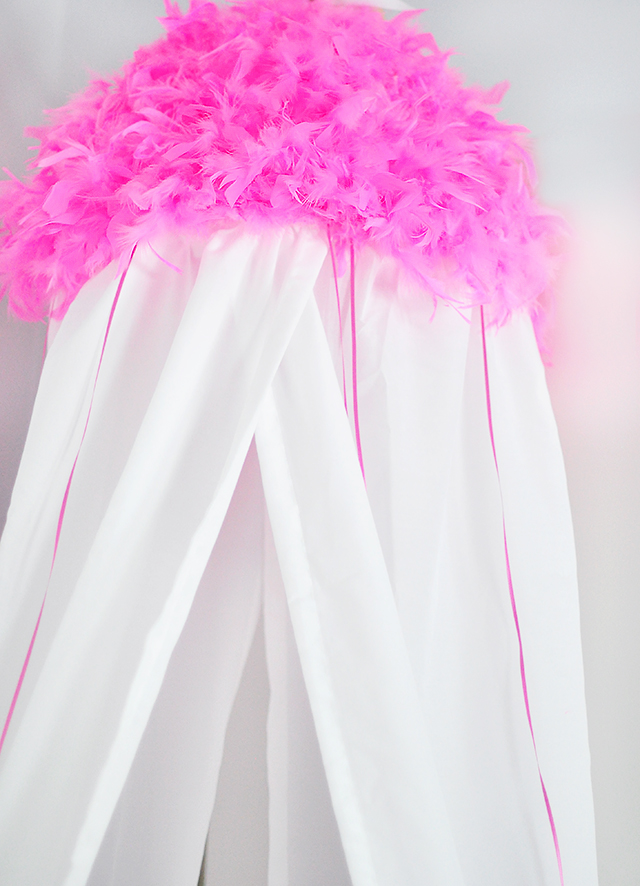
Because my white fabric was a little stark, I cut skinny satin ribbons the length of my curtain panels and stitched them on about six inches apart along the top of my curtain panels.
Once your curtain panels and ribbons are on, stitch your last feather boa OVER the top of the panels to cover them. Make sure you’ve gathered them and pleated them correctly because they’ll be stuck in place. The feather boa will cover any mistakes though, so don’t worry if it’s not perfect along the top.
And… Voila!
It would be ADORABLE with LED lights strewn underneath it!
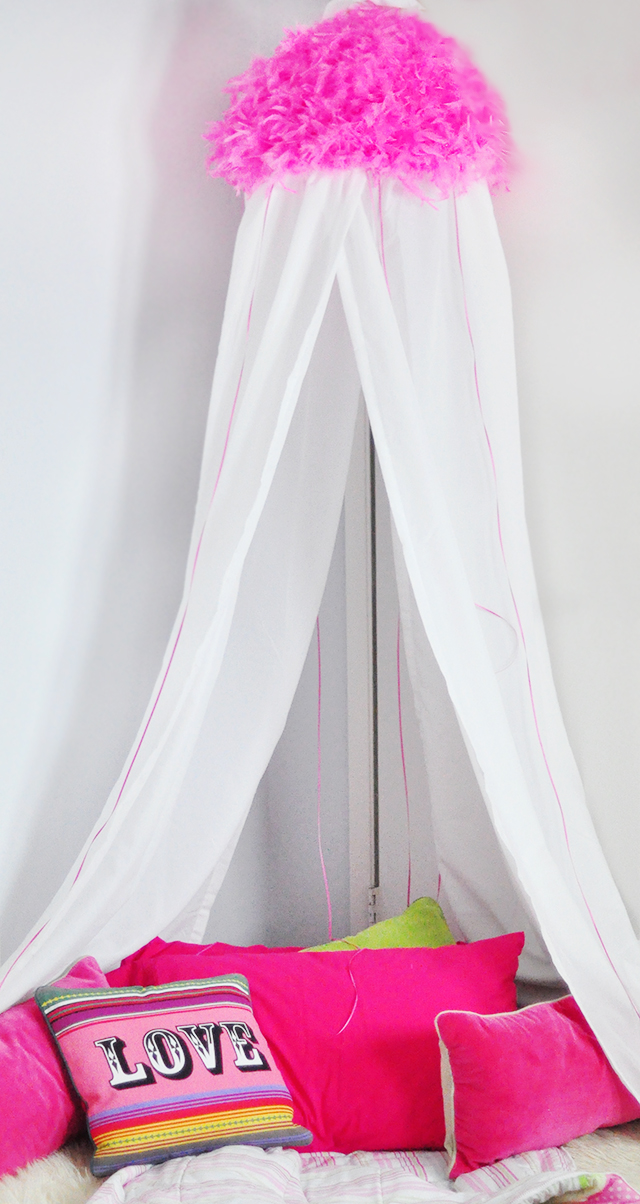
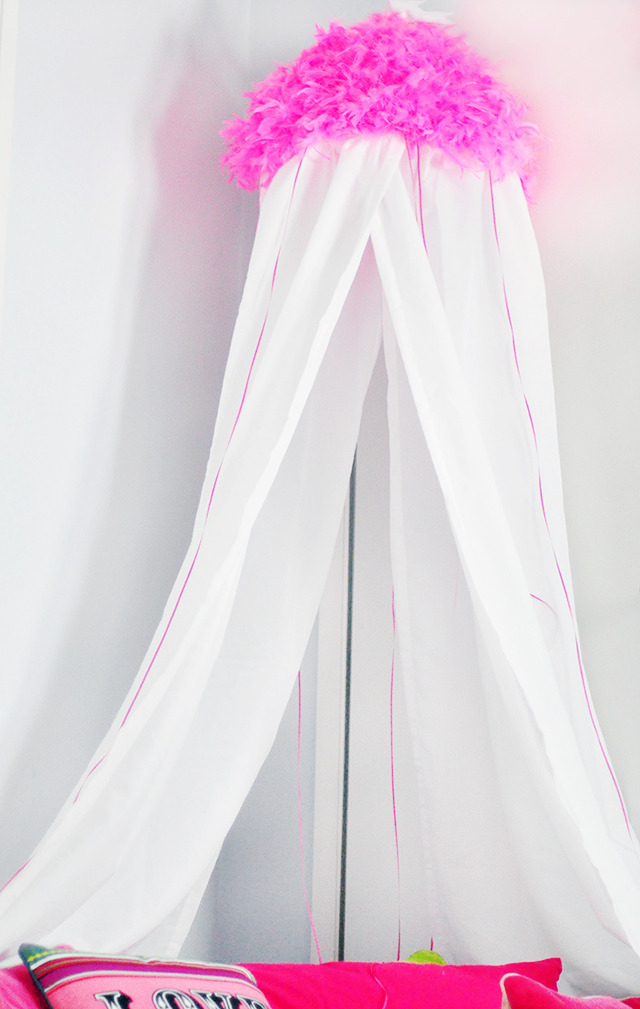

As with most things, I think it’s a little cuter in person than in the photos, also, I didn’t want to actually hang it, so my husband is hiding behind the door, holding it up high from over the edge, lol. I don’t have a kid’s room to display it in, so I had to fake it 😉
Have Fun!
* Find all my DIYs here
* Find all my Feather DIYs
* Find my Glam DIY Feather Canopy {for adults}