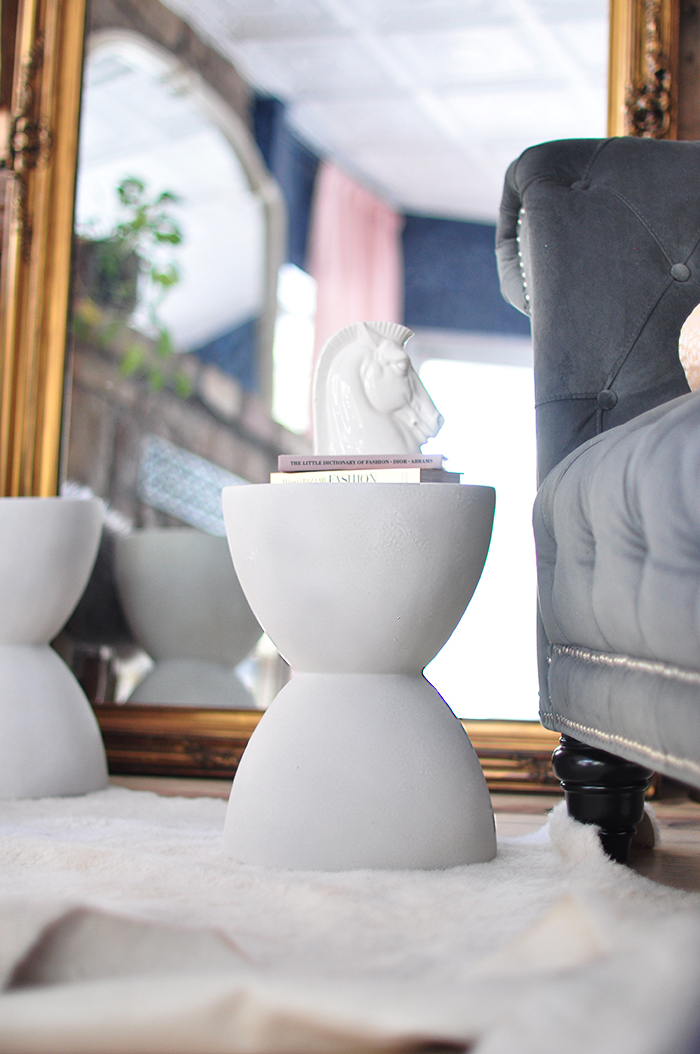
Since I’m not really finished decorating, I can only give you a sneak peek by sharing these little DIY faux stone tables I made a few weeks ago that I just love. The process is really simple and just takes a little (or a lot) of spray paint and creativity to get the look. I upgraded old accent tables with the faux stone, but you can really get this look on any old thing you’re sick of looking at and give it that ‘80s contemporary-meets old world vibe I’m loving right now. Also, it’s really trendy, and while you can find some similar items, they haven’t flooded the market yet and even the stone/textured spray paints are a little hard to find, but soon enough they’ll be everywhere 🙂
Inspiration…
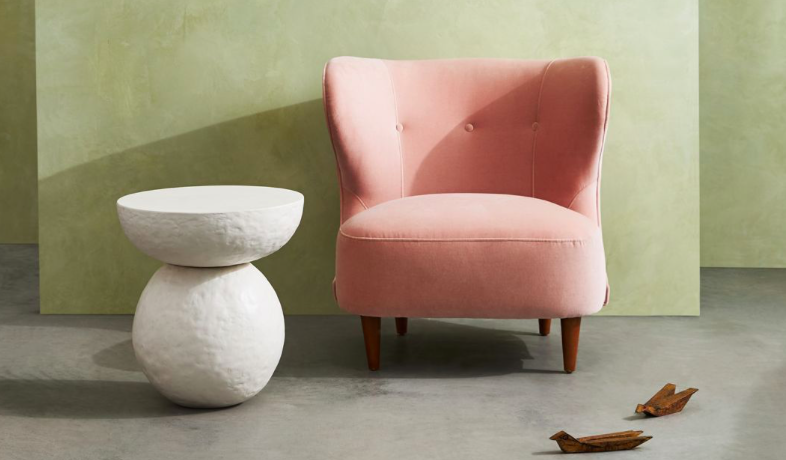
I’ve added a few that are available for sale below just so you can get an idea of what I’m going for and my inspiration.
My Tables Before…
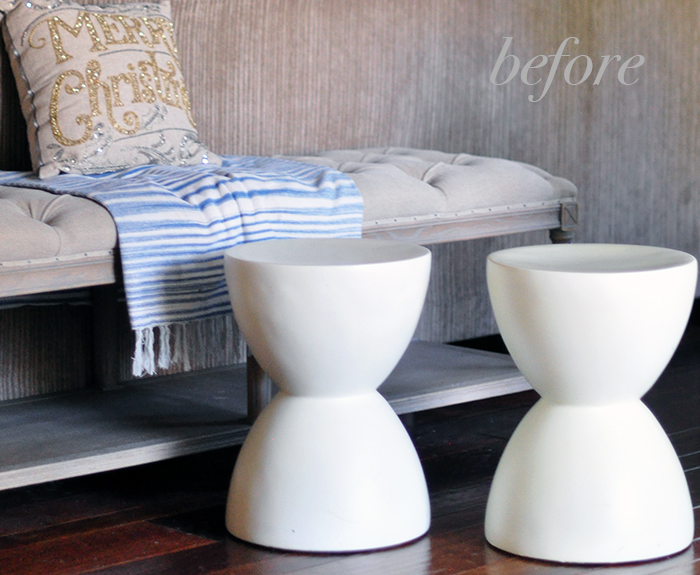
Though you can’t really tell from the photo above (as they almost already look like stone here, but in person, they do not), my little accent tables have seen better days. One was starting to discolor and morph into a pale yellow hue and the other had a few nicks and chips in the resin, so while the girls will be without bedside tables for the moment (we’re planning a little furniture upgrade for them soon anyway), I got the stone look in my new office I wanted with only the cost of spray paint and a little elbow grease.
Here’s What I Used…
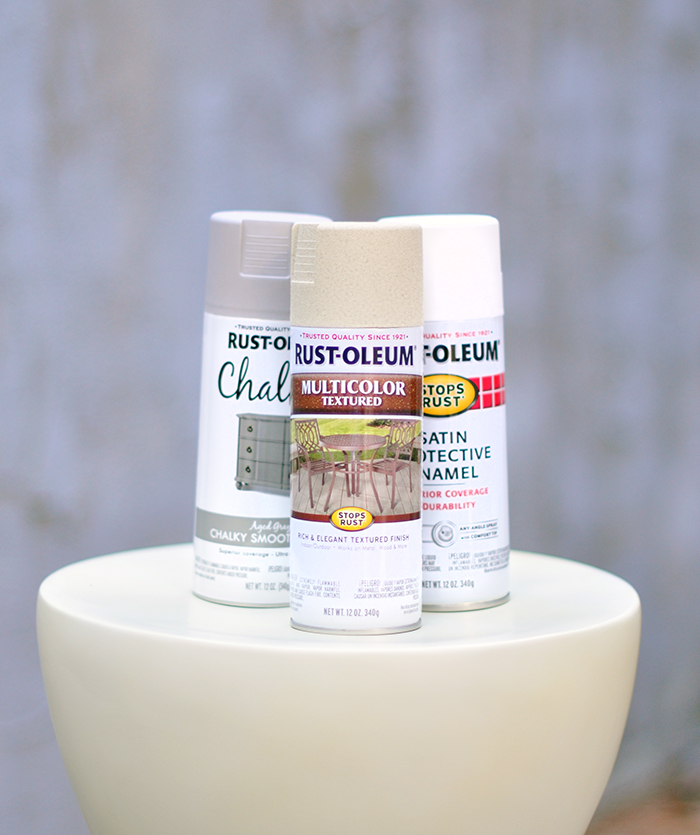
You can probably get the look with the stone versions alone, but they may be a little flat or obvious.
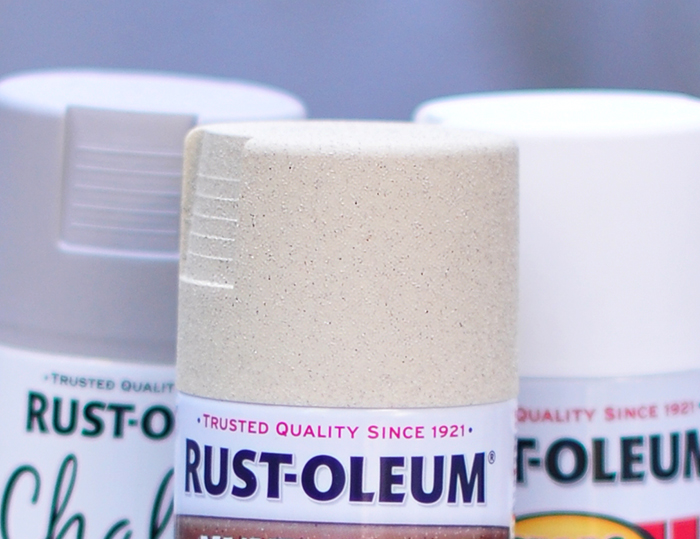
* Rust-Oleum chalked spray paint in Aged Grey (love how “flat” the chalkboard paint is, it adds another great texture) – one can
* Rust-Oleum Textured Spray (in the lightest color it came in – it has some multicolor flecks in it, but not much variation) It’s also a little “warmer” (more yellow) than I wanted, which is why the white and grey helped keep it a cooler tone. (also, it’s less expensive at home depot than it is buying online) – almost 2 cans
* Rubber gloves
* Paper towel or plastic bag
Here’s How I Did It…
First, and obviously, make sure you’re working in a ventilated area… and prep your preferably outdoor work area first. I usually like to use large shipping boxes, but anything to cover your the ground or surrounding area. Now put your gloves on 🙂
Begin by cleaning your tables (or whatever surface you’re going to paint on), just to make sure your paint adheres. You may be working with a different material like wood or glass or ceramic (because again, you can use this same tutorial for anything you’d like to make look like stone) so give it a good cleaning first.

Start with your white and grey… use them both to create a little depth and a good base starting point.

If you go a little too dark in certain spots with your grey, just spritz some white over the area until you get the look you want.
Give it a few minutes to set… but don’t let it dry completely.
NOTE: It’s okay if you go heavy and get drips… as long as you don’t let it dry before the next few steps.
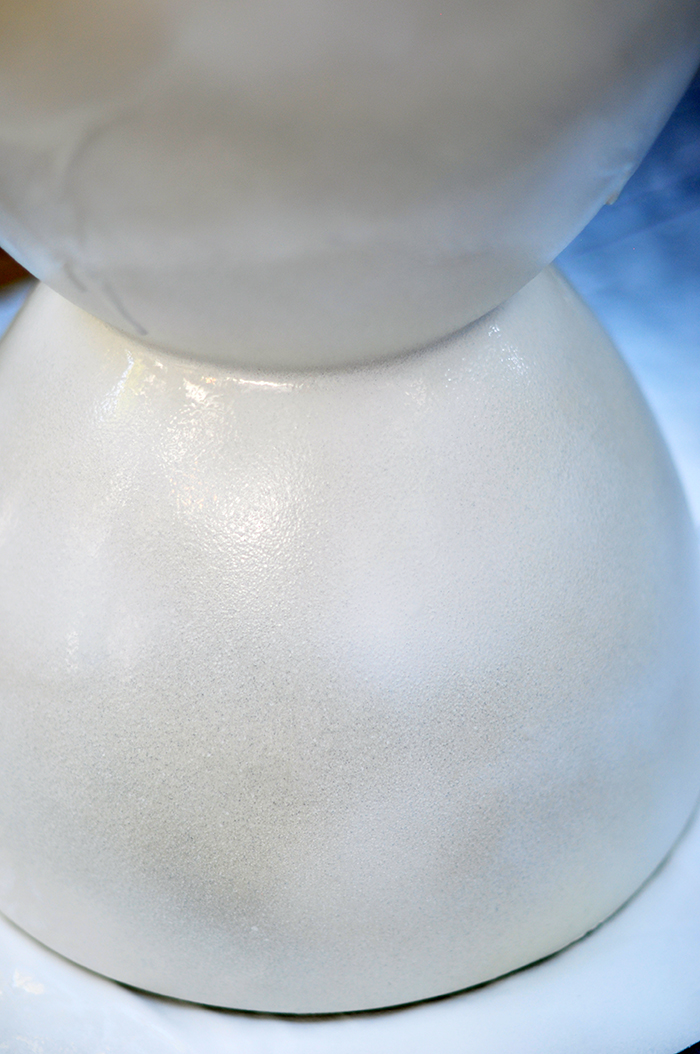
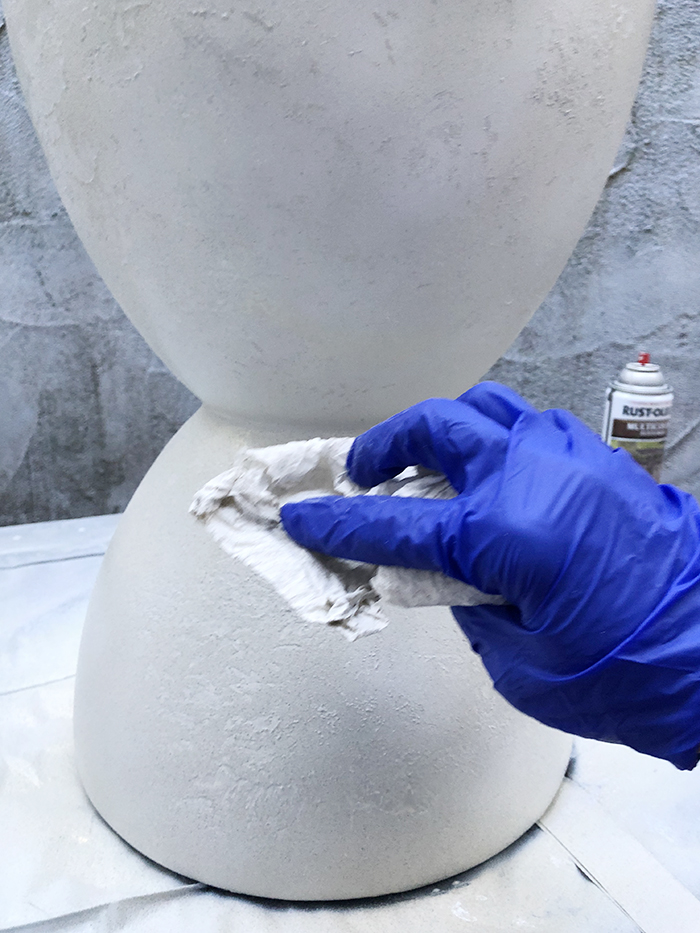
It’s not too complicated, but if you need a visual, check out my A-Frame Office stories on Instagram, they may be pretty far in, but I did a video there.
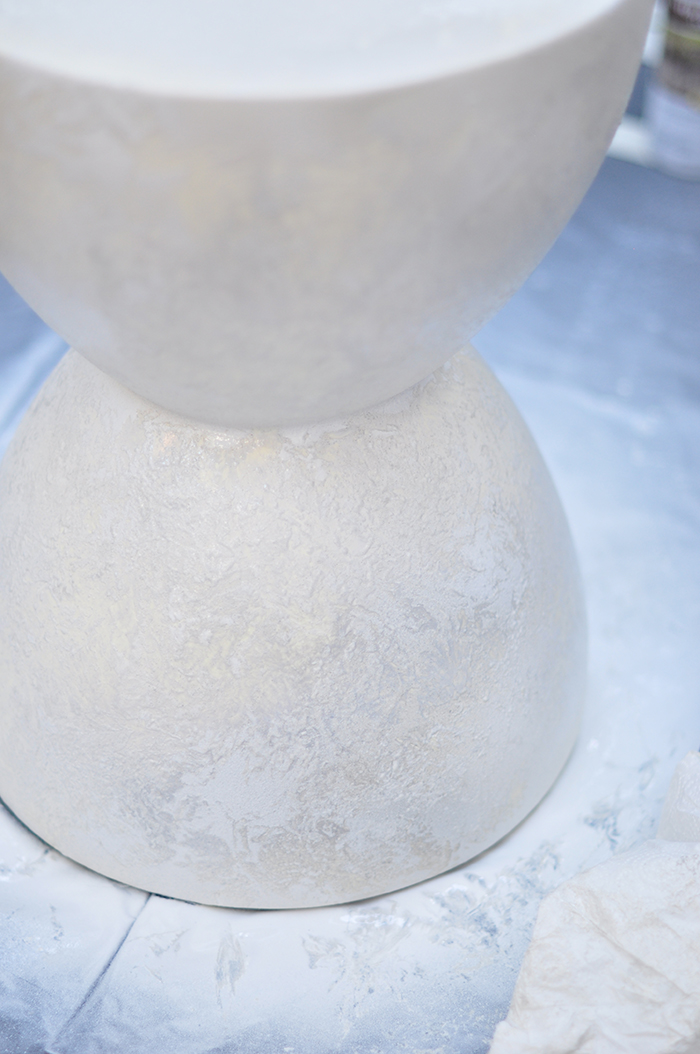
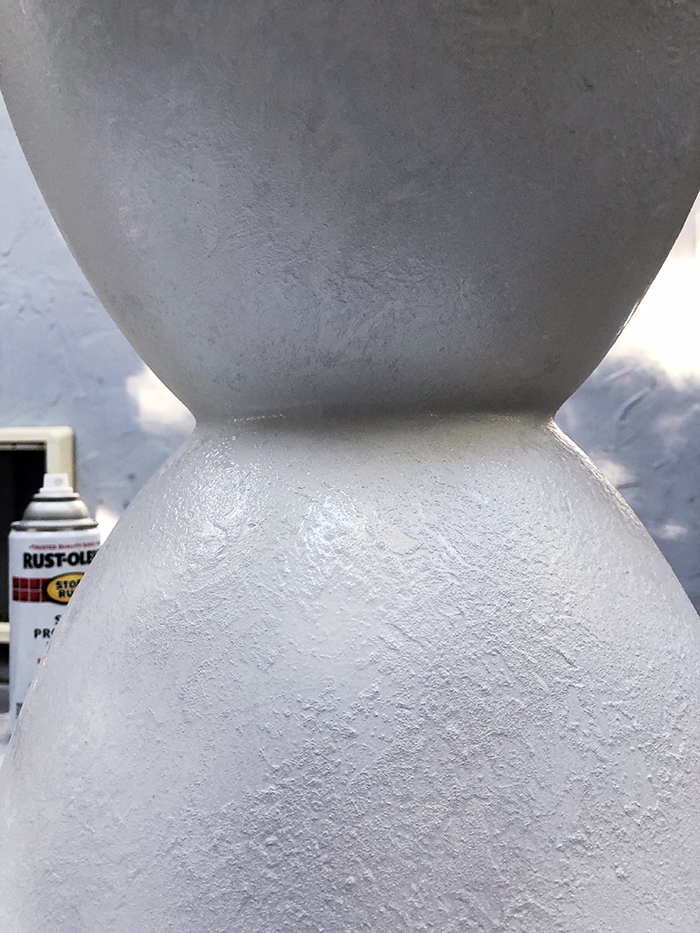
All in all, it was only time consuming because I was spraying in freezing temps and it was taking longer to dry than it normally would if it was Summer, but it worked out.
Basically, just keep repeating these steps above and letting it dry in between to see if you like the look and if you don’t, repeat the steps until you get it the stone look you’re going for.
And… Voila!
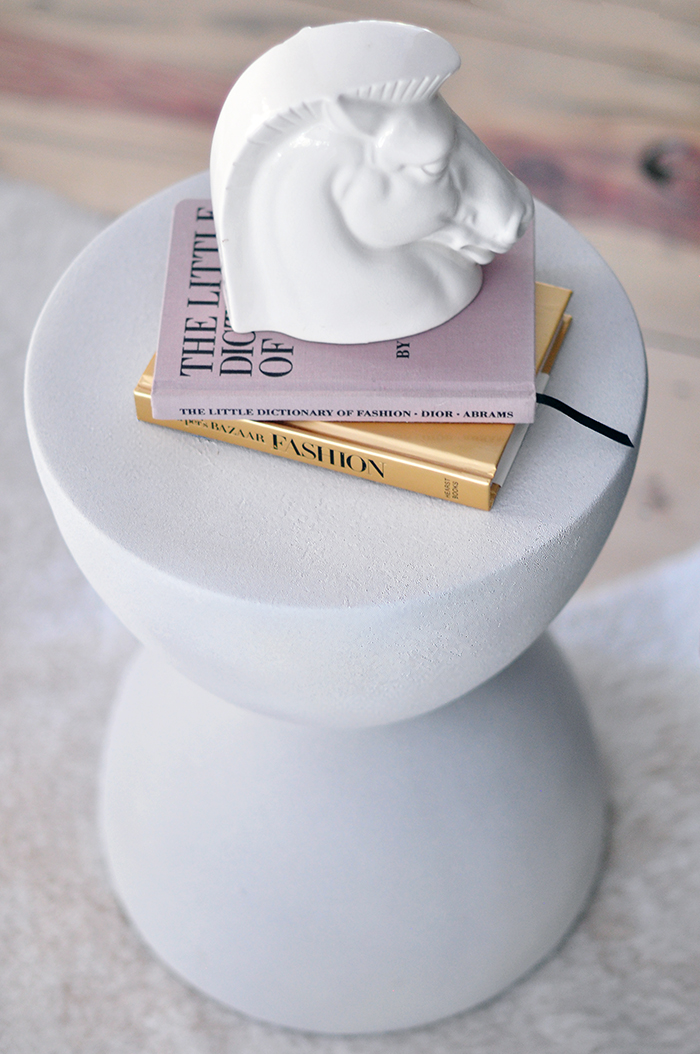
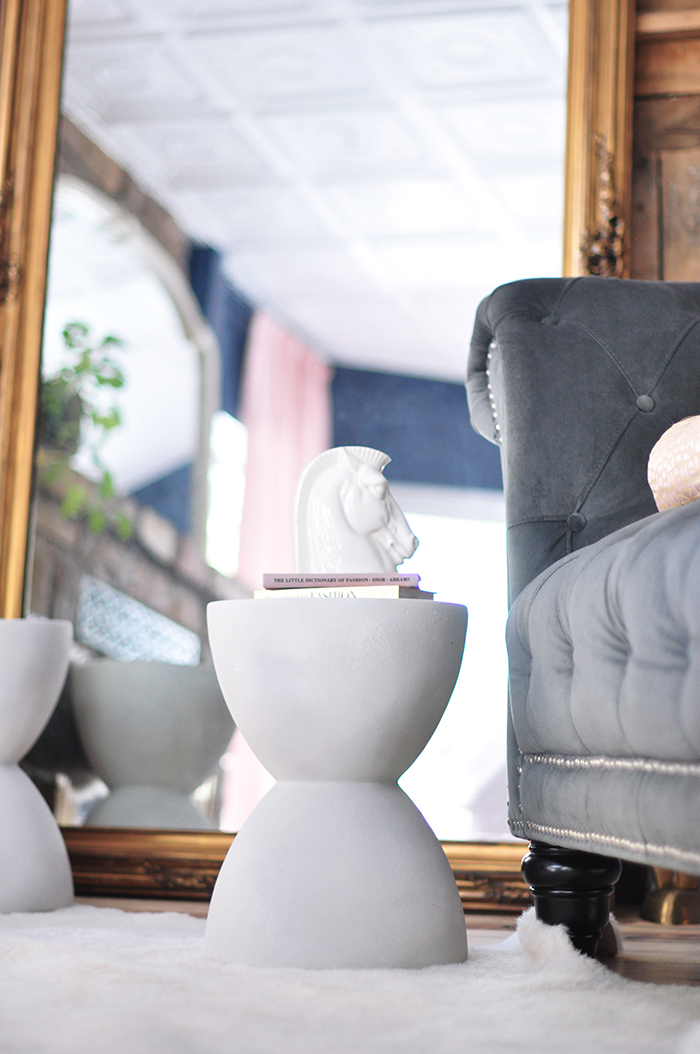
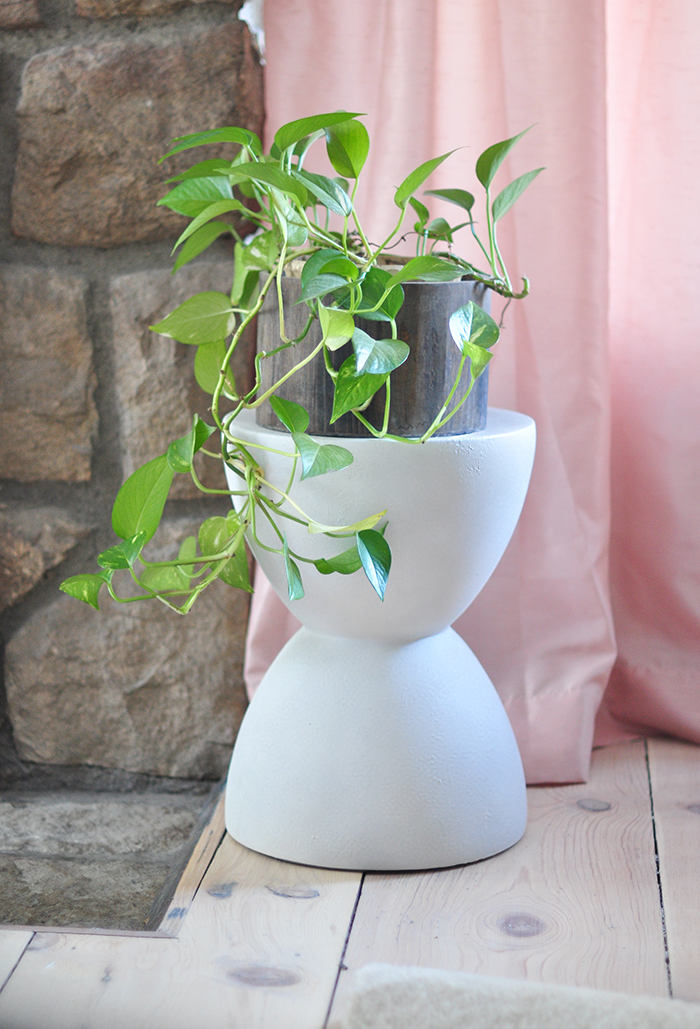
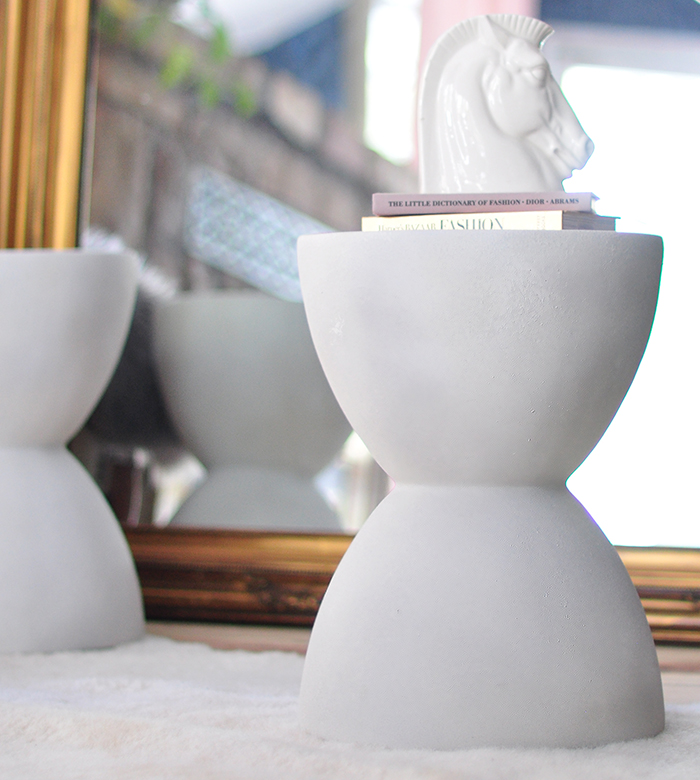
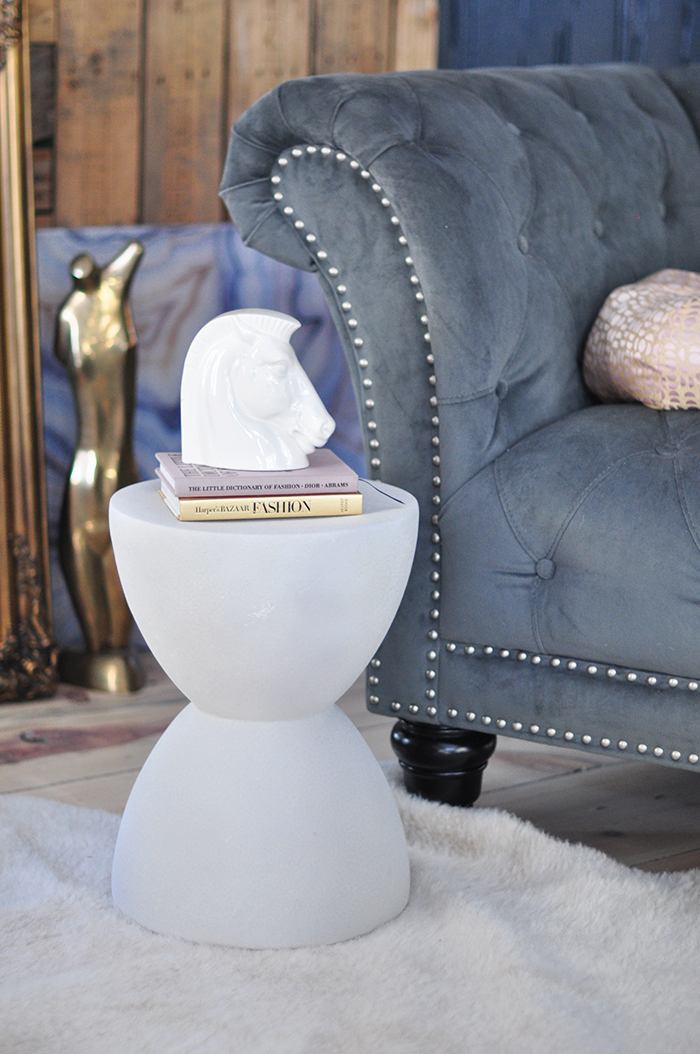
Have Fun!
* Find all my DIYs here
* Find all my A-frame office posts here


