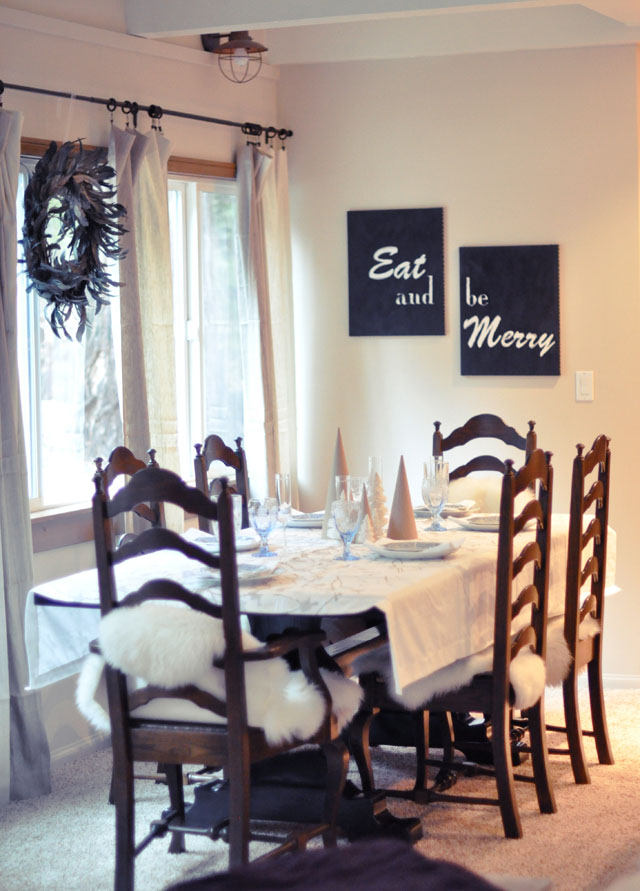
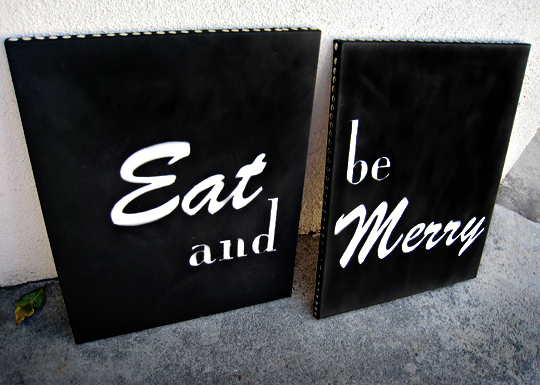
Hanging in our old dining room, on either side of the window.
What You’ll Need…
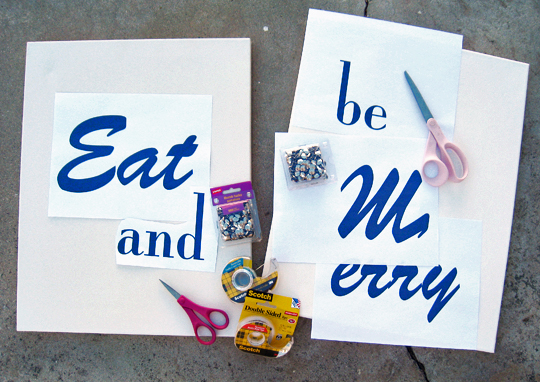
* Two pre-stretched and pre-treated canvases{I used 20″ x 16″}
* Words via computer/printer {you can use my templates here}
* Scissors & Double Sided Tape{I found the dispenser double stick was better}
* Spray paint color of your choice {I used black}. If you want the overspray on the letters as I did, go with spray paint. You can also use acrylic or oil paints or house paint & a roller for a thick gloss finish – though it would take MUCH longer to dry}
* Silver metal push pins/thumb tacks & hammer to set them
Steps…
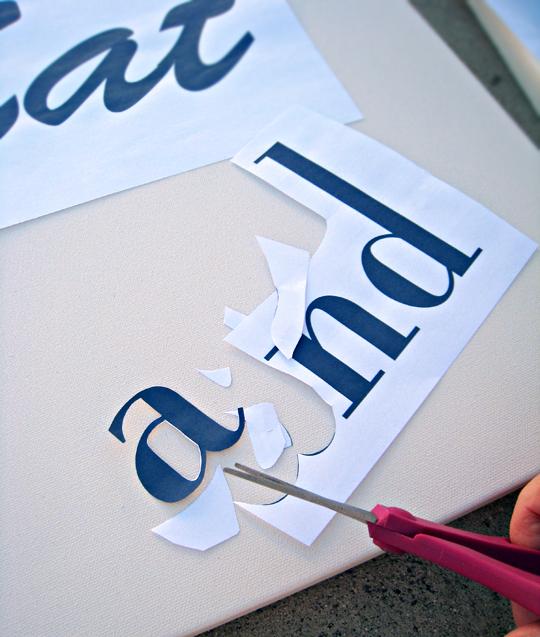
* Print out selected words {use my template if you wish} then carefully cut out the letters. If it’s cursive writing, it’s a bit easier because you don’t have to cut out each letter individually.
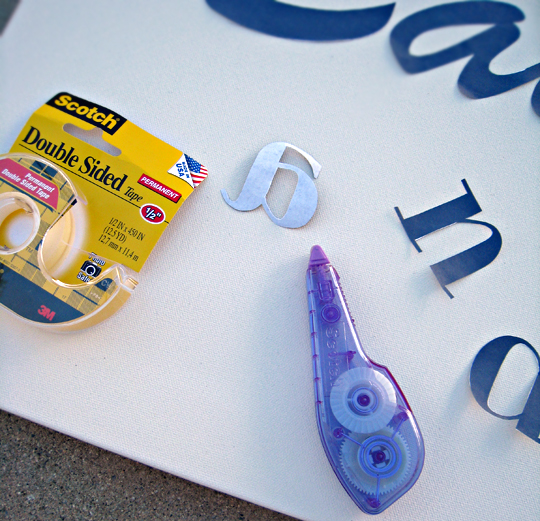
* Apply your double stick tape to the back of your letters and . . .

* Arrange & stick them to your canvases.
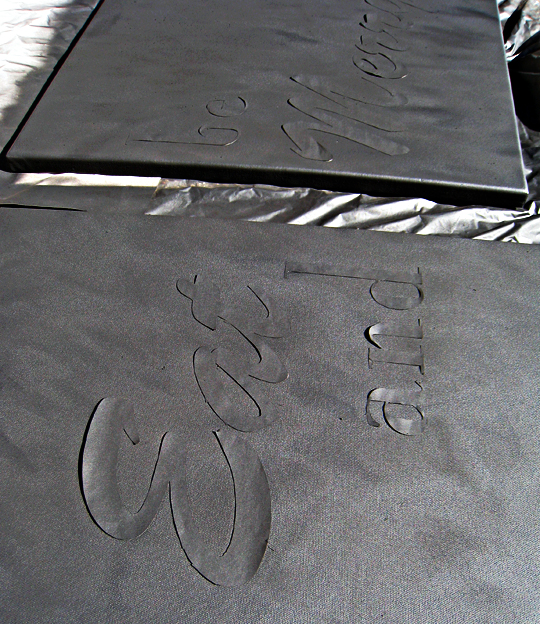
* Evenly spray paint your canvases including the edges. You will get a bit of overspray in the words, careful not to get too much. If you want cleaner lines, use paint and a paint brush instead.
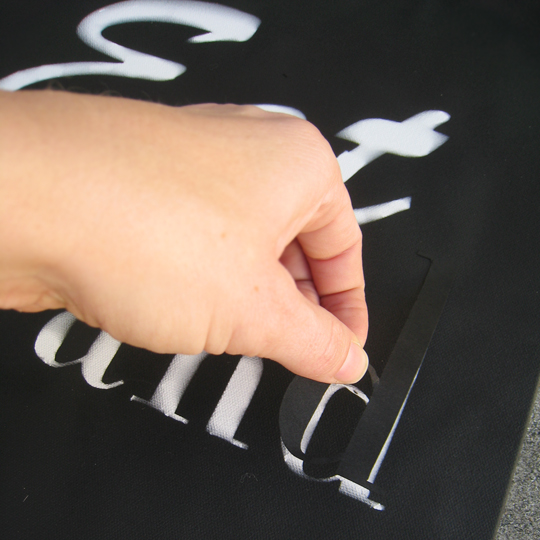
* Once your paint is dry, remove the letters revealing the white canvas background. If you wish to have a color instead of white, spray paint or brush paint that color on your canvas prior to sticking your letters/words down …then repeat the steps above.
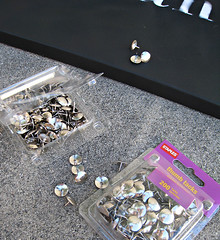
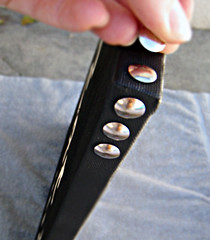
* To finish off the canvases, I used the same metal thumb tacks I used on our mini bar …though I didn’t mark the placement out first on these, I just eyeballed it.
Voila!
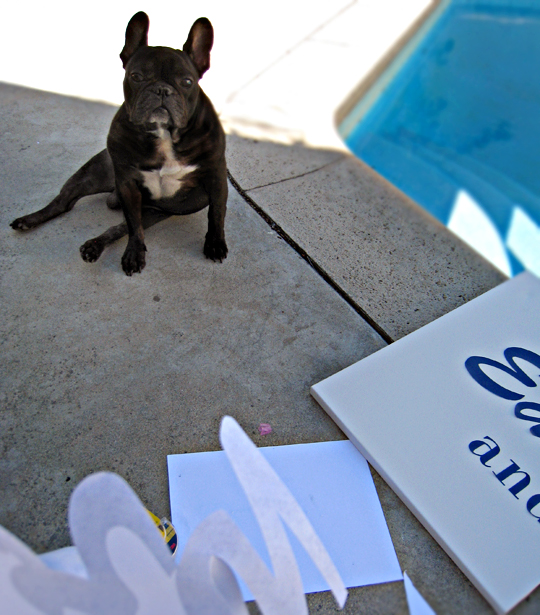
And as usual, my trusty quality control inspector LeRoy, was on hand to approve.
In our Dining Room…

See them temporarily in our lake house…