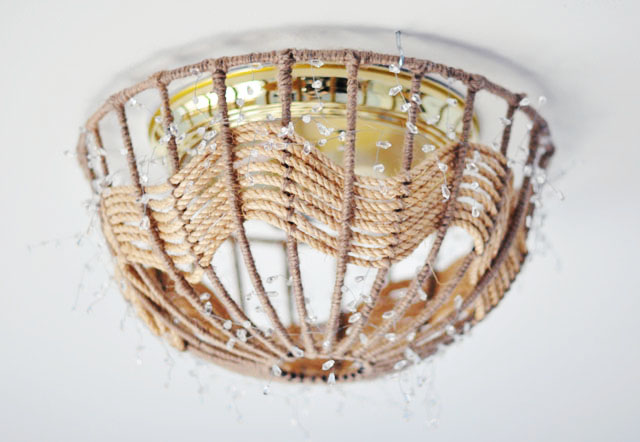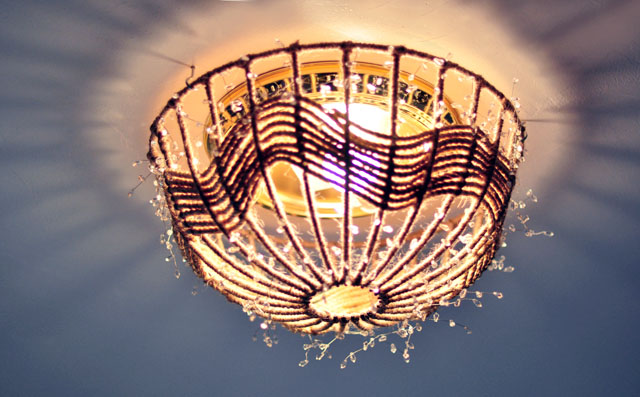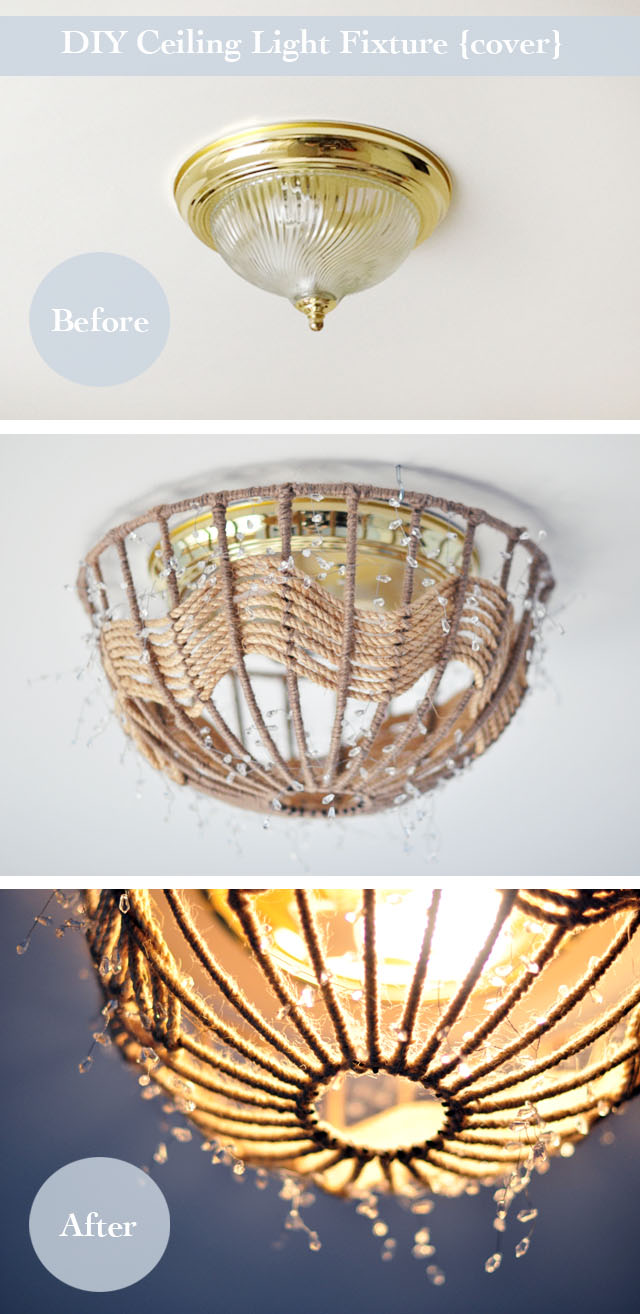
I’m in the middle of renovating one of our guest rooms {which I’m excited to share with you very soon} and needed a new ceiling fixture to replace the standard gold and glass “boob” which reside in almost all of our upstairs bedrooms. But 1. I needed it FAST and 2. I didn’t want to spend a lot of money and 3. I hate dealing with electrical, so I wanted something to just disguise what was already there. I did something similar with a feather wreath in our old rental house, but this room has a nautical tone, so I wanted something that would contrast with the ceiling {not blend into the white}, that would cover the ugly fixture without rewiring, and had a hint of nautical beachiness to it.
Here’s What I Used…
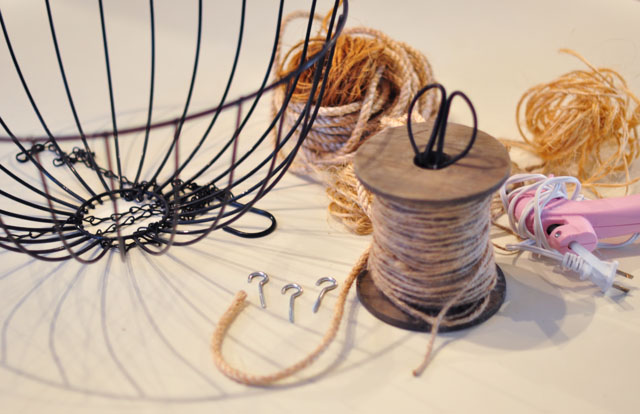
* Wire hanging planter basket {that’s about 2inches larger than the base of your existing light} I found at my local nursery without the filling inside for about $12.
* Rope. For this project I used a larger sisal rope {that I already had} and a smaller twine which I bought on the spool. You can use whichever color or sized rope you like.
* Scissors
* Hot Glue Gun
* 3 or 4 sturdy hook screws {large enough to fit the wire of your planter}
* Optional: very fine Crystal wired garland I found at Micheal’s
* Patience. {it’s a time consuming project}
Note: You may choose any type of rope-weaving technique that you like. I tried about 3 different ones before settling on this idea, which took much longer than I expected. My first try had too much woven rope, and looked much like a basket I stuck up on the ceiling. The second, mimicked a planter, so I had to come up with a design that would let light through, make pretty shadows on the ceiling, and not look like the planter that it is.
Also Note: I may eventually paint the existing brass plate that remains on the ceiling white, but I don’t actually mind the bright brass in person.
Here’s How I Did It…
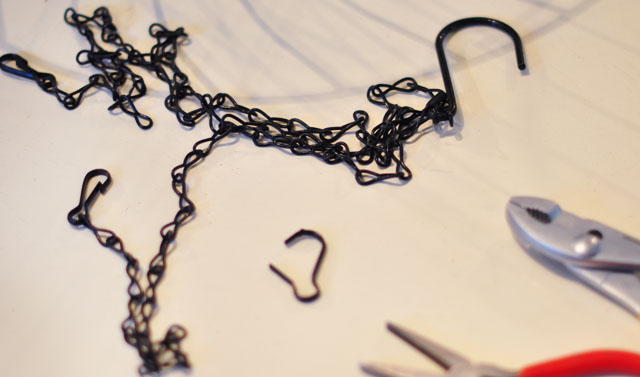
* Remove hanging chains or other hardware. If you wish to paint your wire basket, now’s the time for that too.
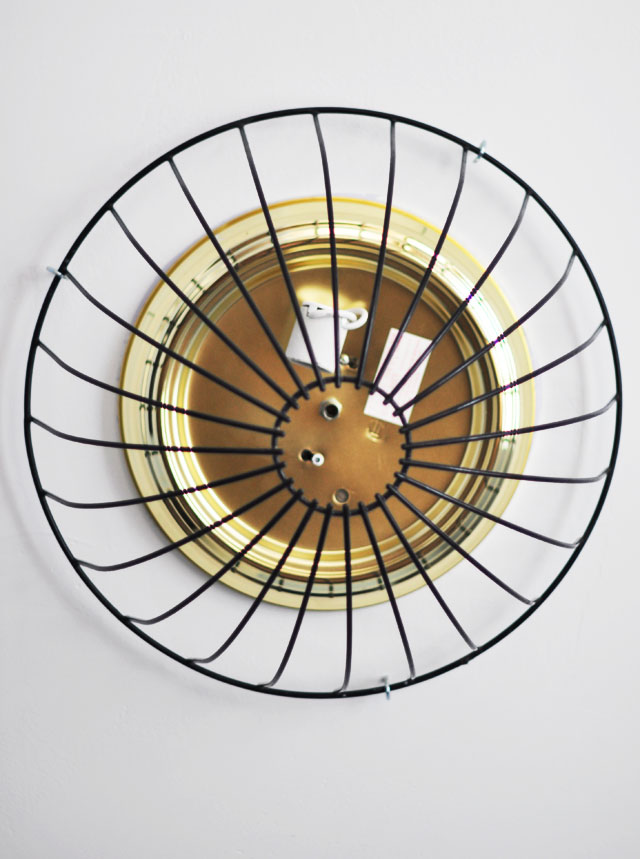
* Remove the glass boob from your old fixture, though you can keep it up if you’re prefer.
* Hold your basket up and around your ceiling fixture and mark where your hooks will hang. If you’re using 3 hooks, create a triangle shape for balance. If you’re using four, create a square with your hooks.
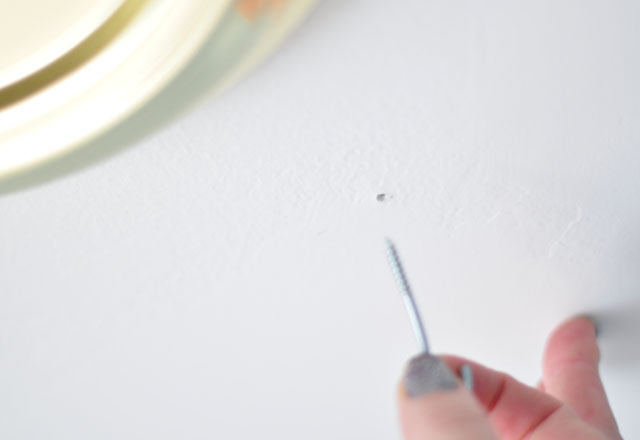
* Drill your holes and hand-screw in your hooks.
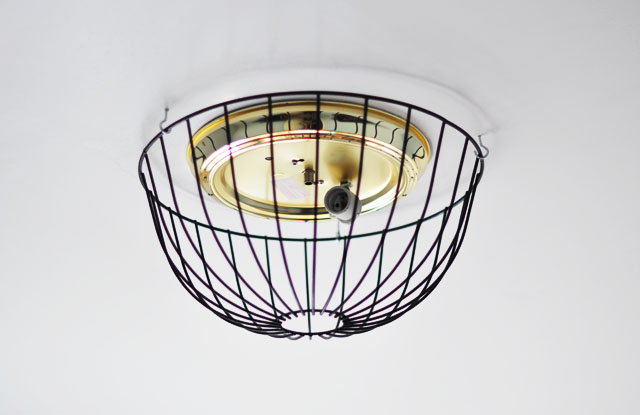
* It should look something like this…. make sure it’s hanging parallel with the ceiling. You can adjust it by unscrewing a hook or screwing one in more until it’s level to the eye.
*IDEA: you could leave it like this, get a screw-in lightbulb “plug” and plug Christmas lights in and wrap them in and around the wired cage. So pretty!
But here’s what I did…
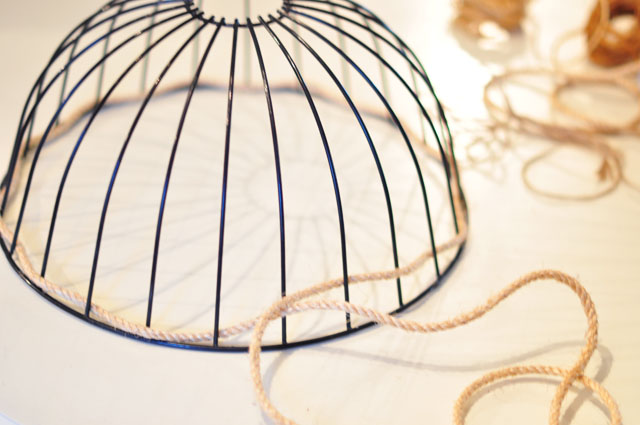
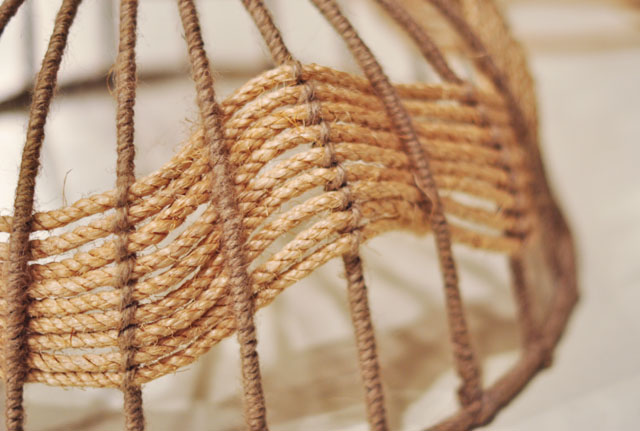
* Beginning with my larger sisal rope, and at the center of it, start weaving over and under over and under your wired basket. One end will wrap around the higher side and one around the lower side.
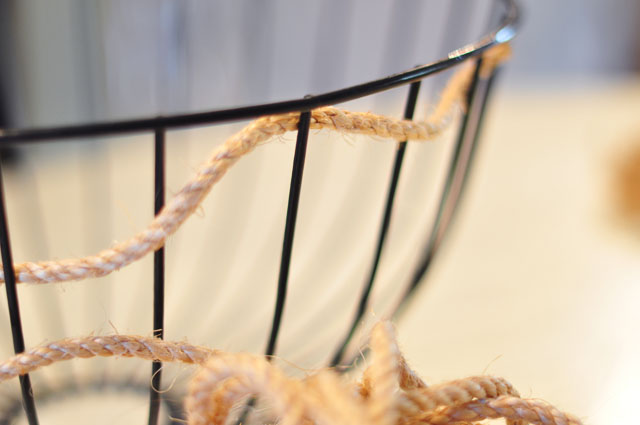
* Leave a little give… just in case you need to adjust your design, you can pull it tighter later.
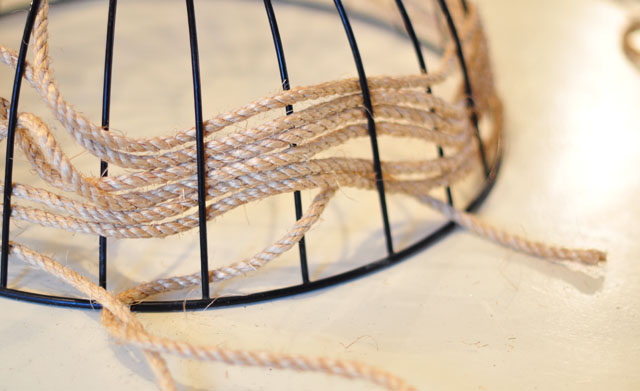
* Continue all the way around your basket until you’re happy with the width.
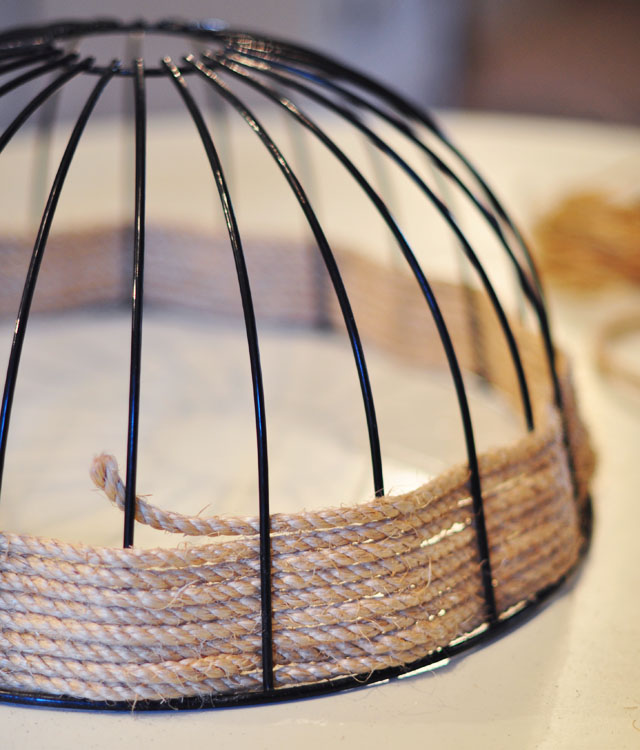
* Push them all tightly together. I originally thought I’d keep this section high up & together…
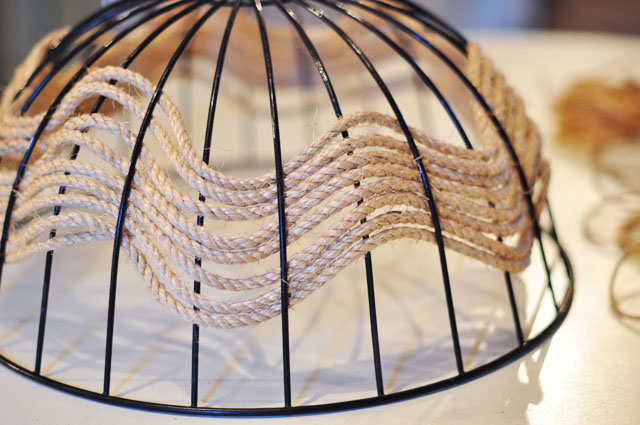
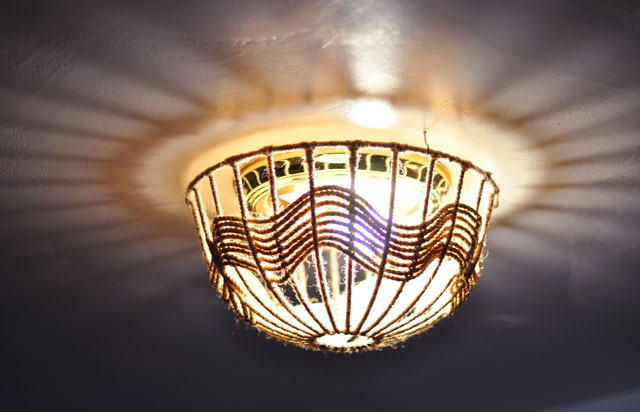
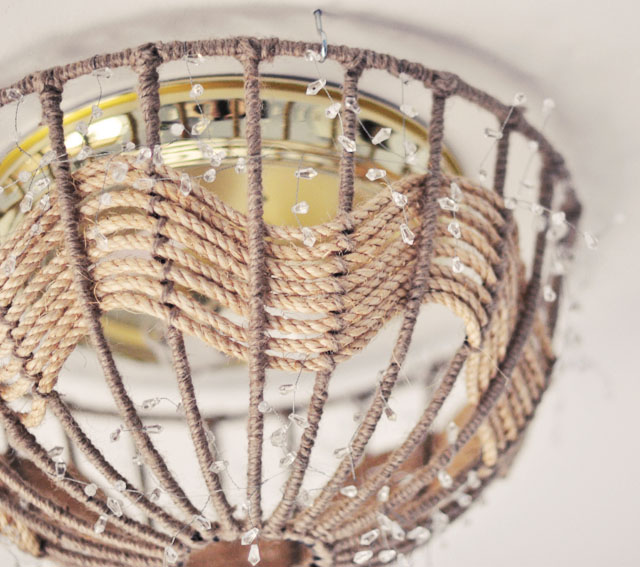
* But decided to use it in the center, creating a zig-zag or chevron pattern all the way around. If you wrap it tightly enough, it shouldn’t move around too much. The weaving over and under will keep it in place.
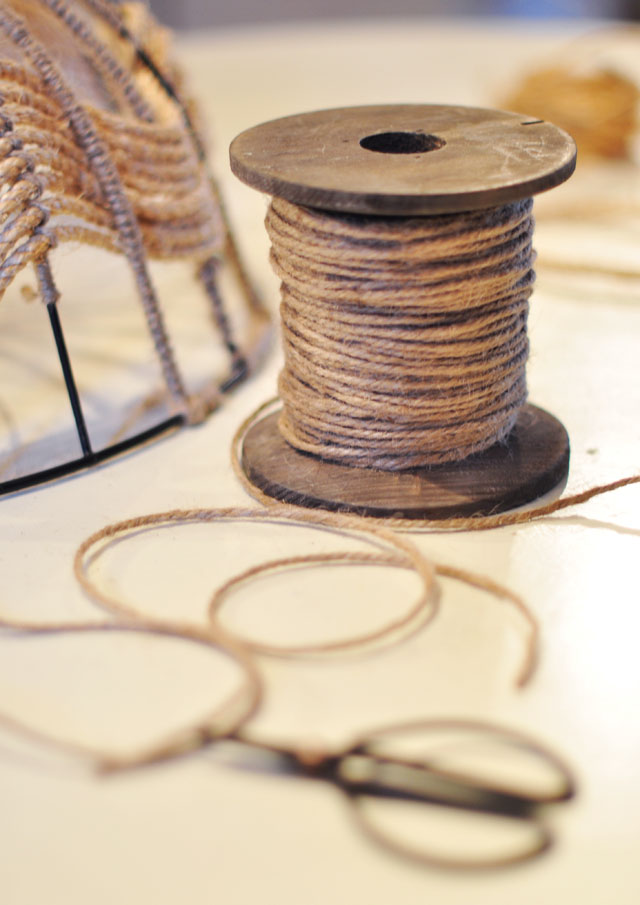
* And now for your smaller twine {I mean, how cute is this spool?!? It was the only rope available at the local nursery and it came with the scissors! I literally moved to a movie town}
* Cut a piece about 3 yards long…
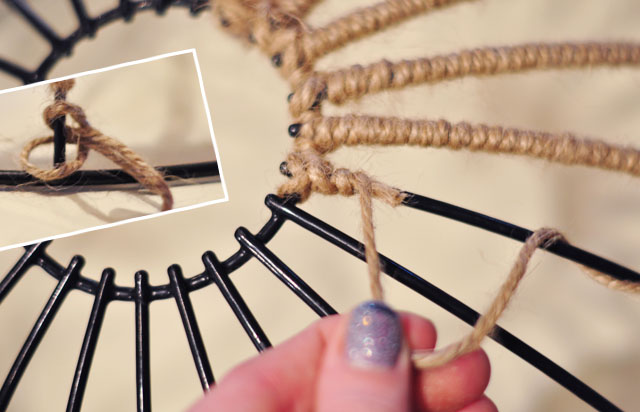
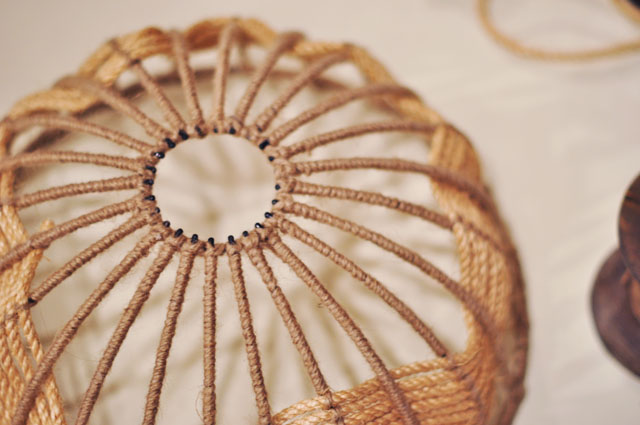
* Create a small loop, place it under the top of the wire/rim and pull through {basically, a slip-knot} then begin tightly wrapping your rope around the wire, hiding the remaining end underneath. This keeps everything neat and tidy, and tightly in place.

* For the metal wire than was on the outside of the larger rope, I wrapped the twine tightly all the way down. For the metal wire that was on the inside of the rope, I wrapped the twine around each rope, then around the wire, to make sure it stayed in place, creating a cute design element as well.
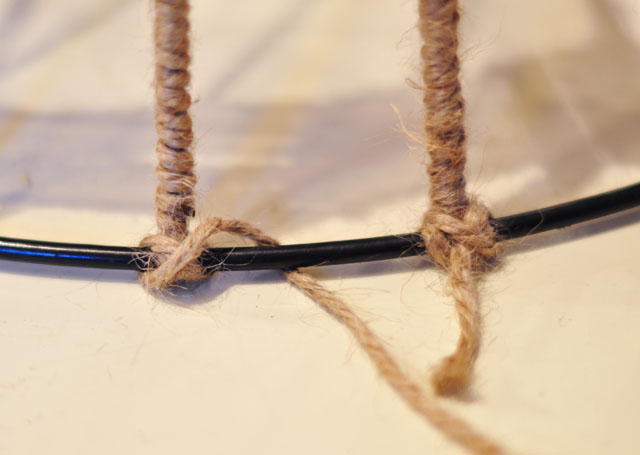
* Create an X knot {kind of like a figure 8 knot} at the base of each and if you have enough twine, keep going until you reach the end…
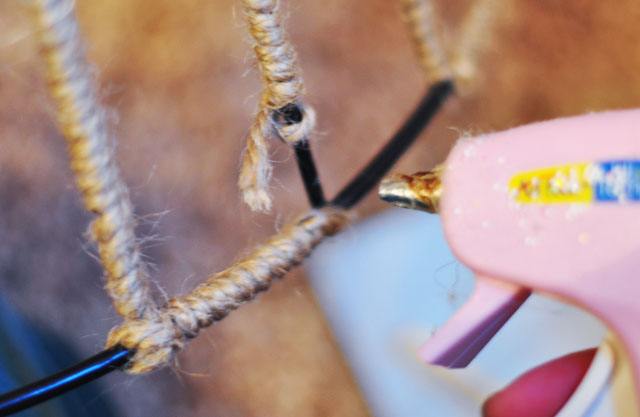
* And hot glue gun the end in place {but disguise any remnants of glue} Once you finish all the bars, tidy up the rim with the same rope but glueing it and twisting it into place.
Voila… Voila!
* Without crystals…
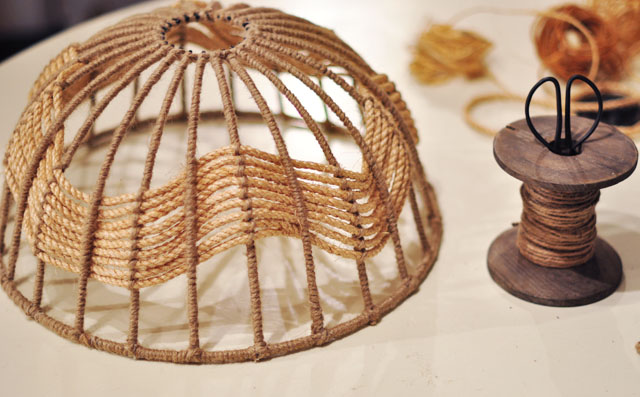
* With crystals…
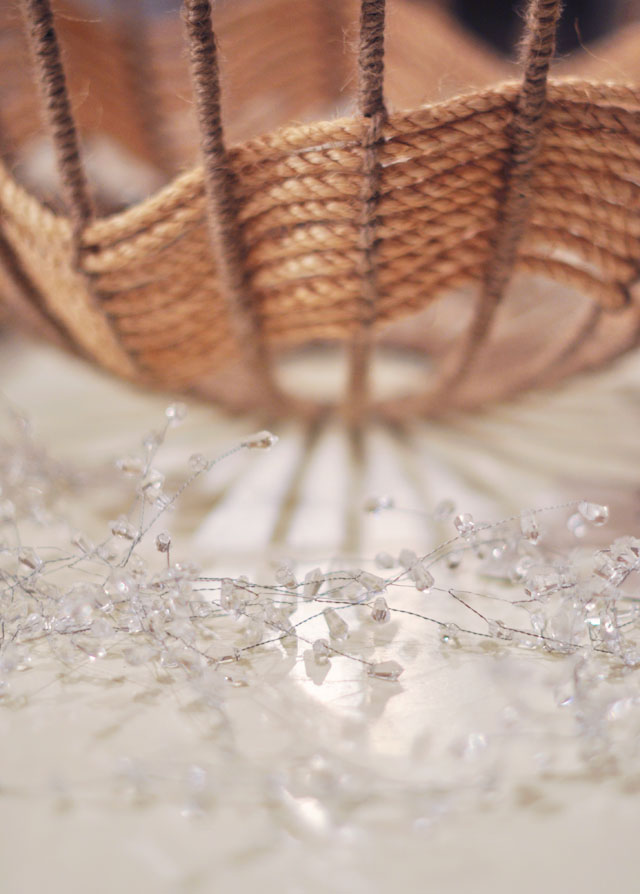
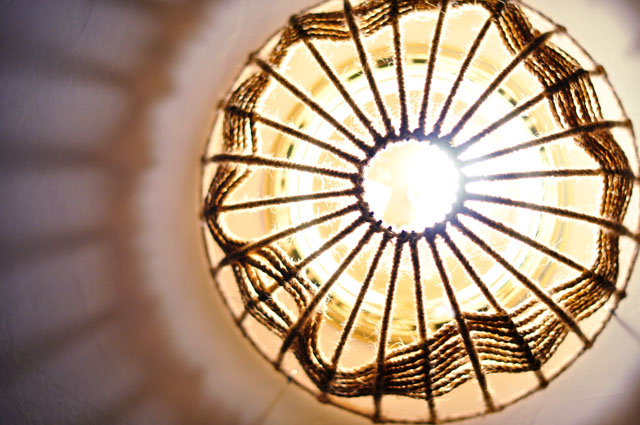
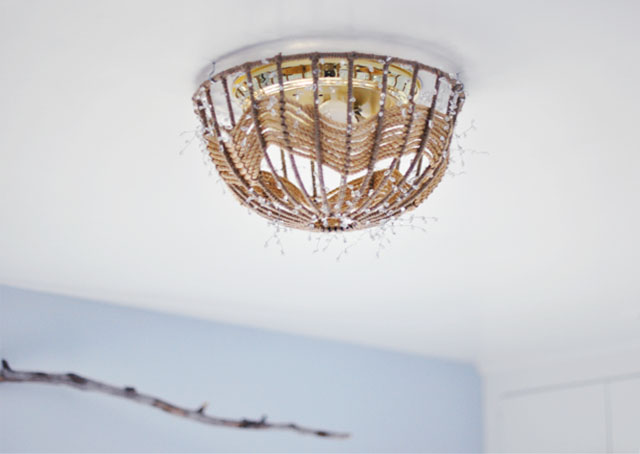
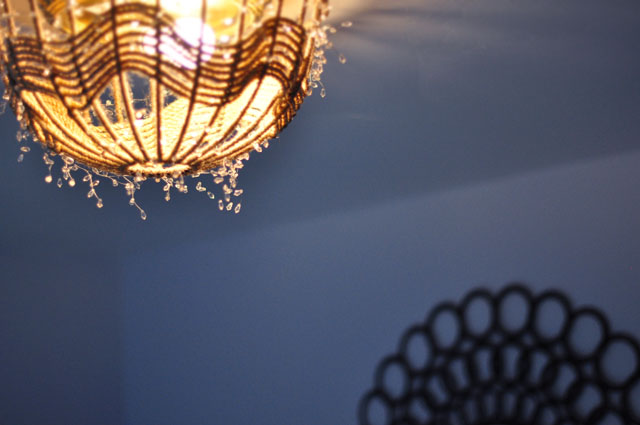
Though it’s not completely “nautical”, even with the rope, I’m pretty excited about the way it turned out. When the light is on, it reminds me of the sun, shooting rays out across the ceiling, which gives it a warm Summery, beachy feel. The crystals just add a little texture and sparkle and make it a little more whimsical and romantic, which is always nice for guests, don’t you think? It’s fun when you can see it in the room, as part of a whole. I may create another one, in a completely different way, and with different materials, for another room upstairs. My total cost for this was about $20, compared to the price of new fixtures I’d have to rewire, I think it’s the best option for so many spaces. Imagine all the materials you could use?
NOTE: Swap out regular light bulbs for the eco-friendly CFL ones that don’t get as hot. I think this fixture is far enough away from the bulb, but just to be safe, replace the hot bulbs with cool ones.
Psst! Design Sponge has a DIY Rope Pendant Light using a hanging planter as well. Similar but so different! Aunt Peaches used a hanging planter to create a fun Mardi Gras pendant lamp
Have Fun!
Find all my DIYs here.

