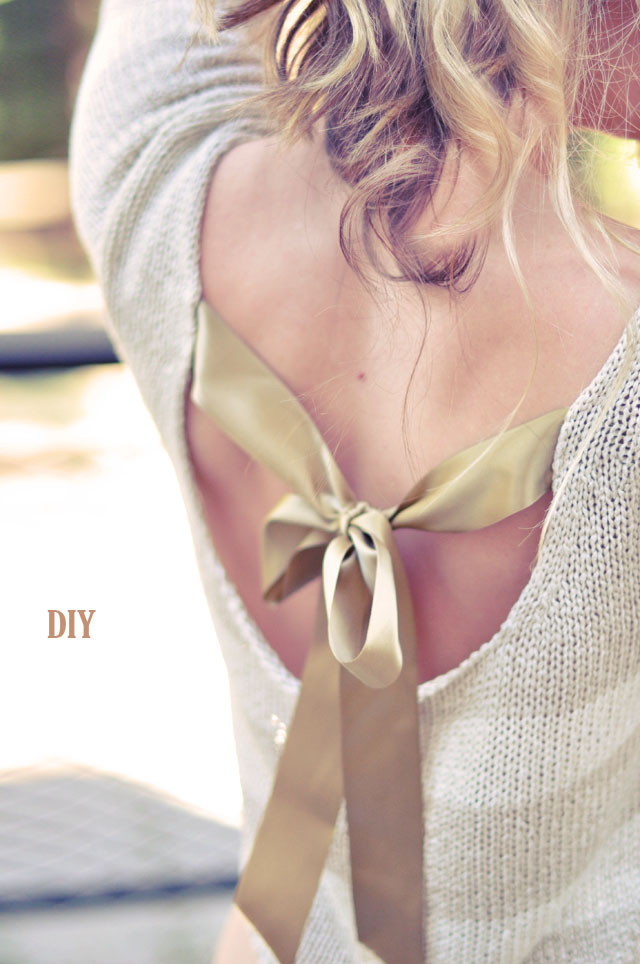
Dare I say I’m a little bit afraid of quarantine ending and life going back to normal? (GASP!) What is normal anyway? Dare I also say that in the past few weeks I have maybe surrendered to the quarantine and accepted life as we know it and everything became a little easier? YIKES! Truthfully, I think it has a great deal to do with the fact that I have literally stopped looking at anything virus related and suddenly it all doesn’t seem as scary anymore. I mean, it’s still there, but a fraction of what it was in the beginning.
But also, change takes time to adjust to but eventually we all do just adjust. And as much as we know that in the beginning, it doesn’t always, if ever, take away the anxiety about the uncertainty of it all, does it? We have to go through the gamut of emotions to come out on the other side.
We are still playing it safe, of course, but the panic has left the building and I’ve finally been able to get into a constant creative flow, which has felt wonderful… and once Dogwood opens again and the stress of the screaming baby returns, I worry that my energy will be forced in new/old directions again and I’ll lose my creative flow… I guess we’ll all have to adjust to our new normal, after quarantine life and it will be a challenge, but eventually, we’ll will adjust.
Anyway…
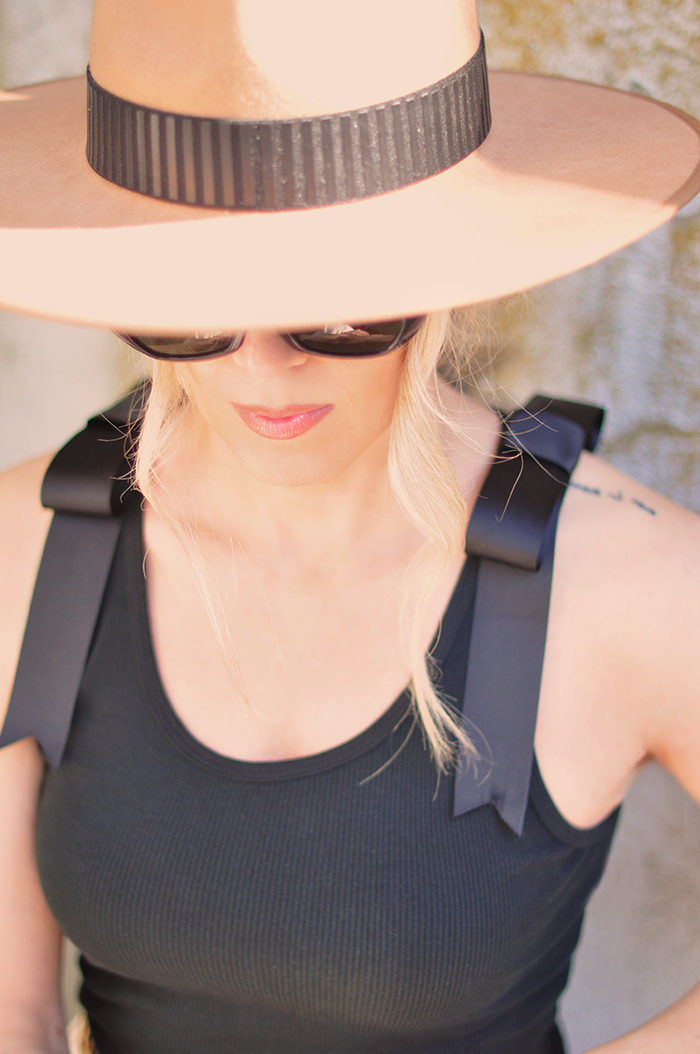
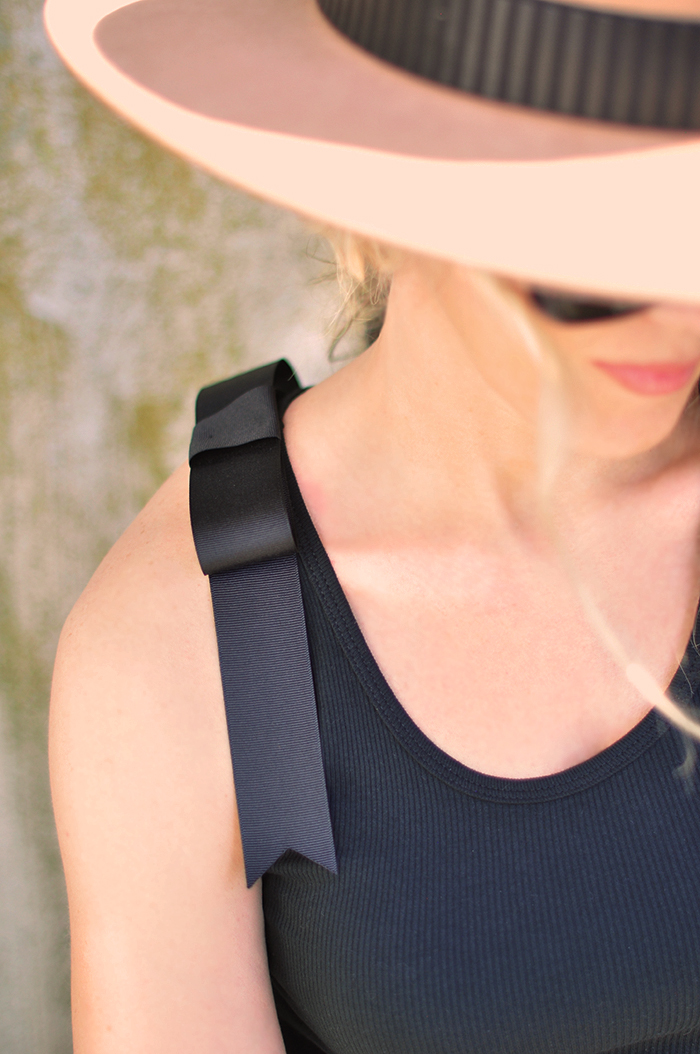
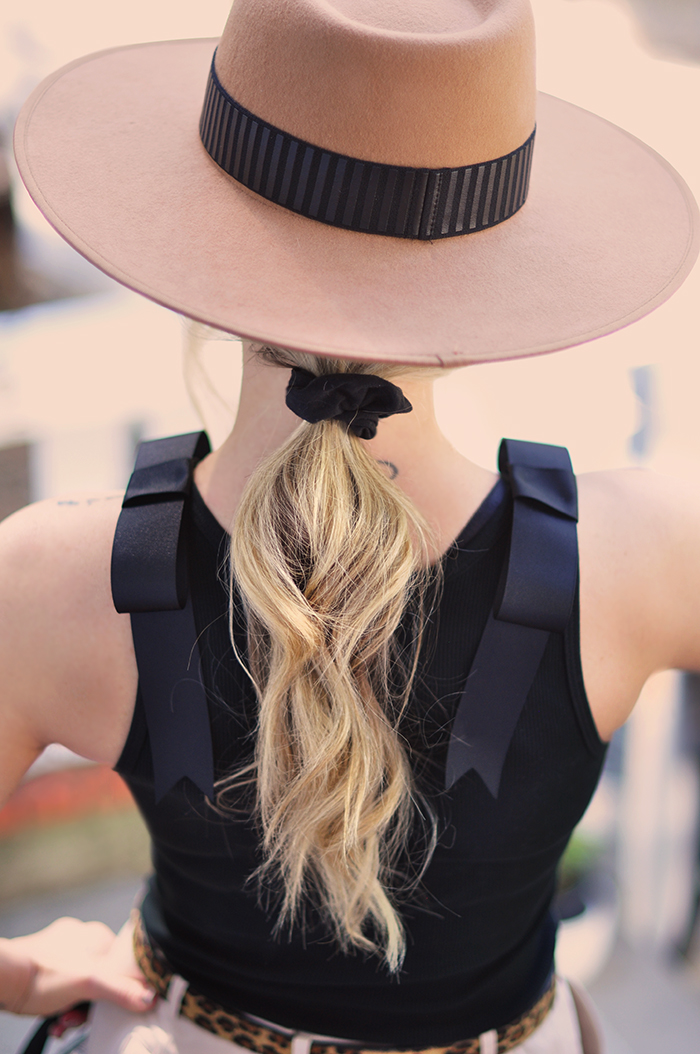
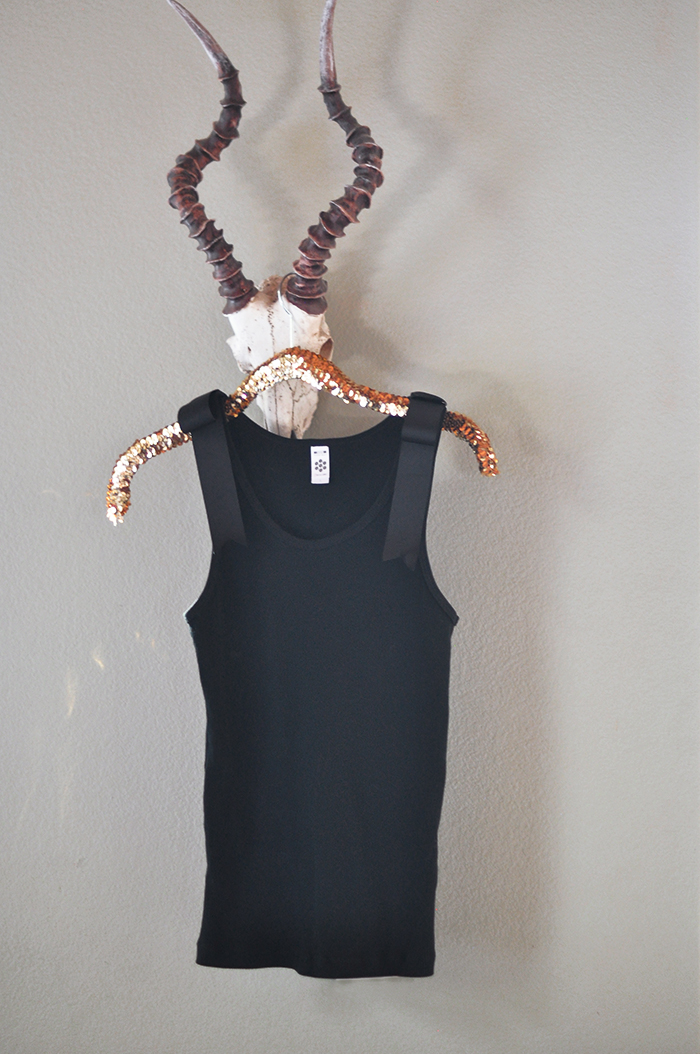
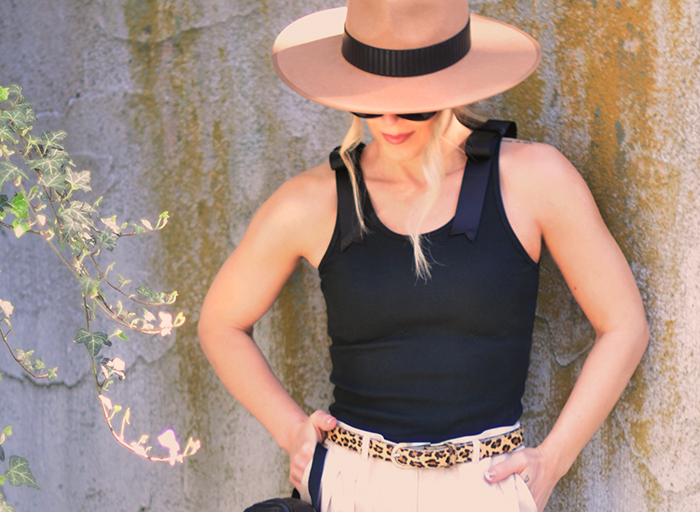
I was browsing Shopbop the other day and found two super cute one-piece bathing suits that had really cute floppy bows on the shoulders (photos below for inspo) and then I thought it would also look cute as a top… and of course, for a fraction of the cost. If you happen to have all the supplies you need, it will literally cost you nothing to upgrade a plain tank top to a pretty chic one, so let’s get to it.
Inspiration…
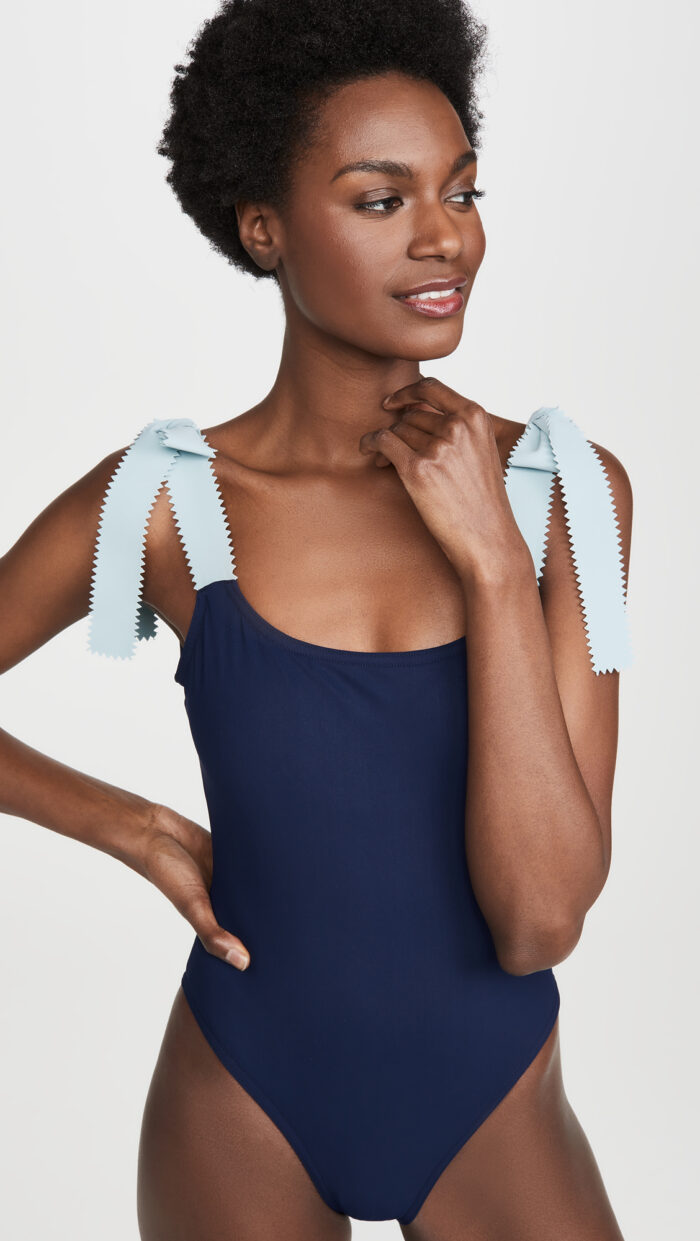
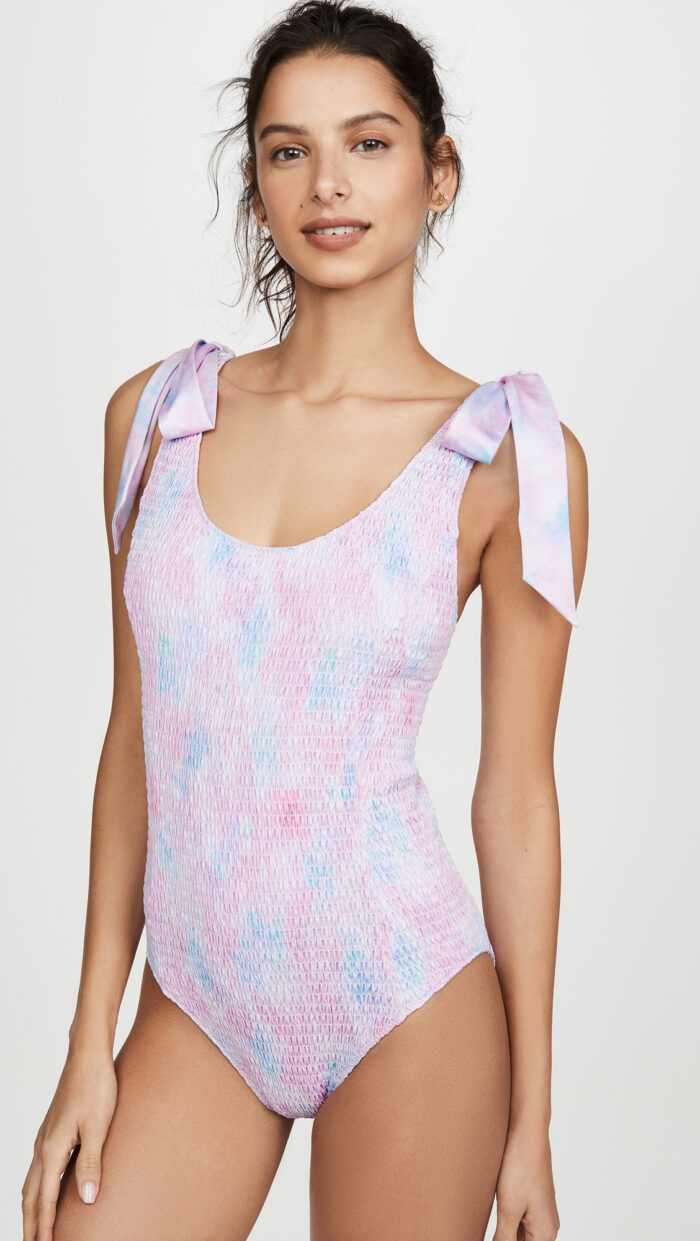
There are actually two ways different ways you can create this look…
A. the way I did it, which is basically just making the floppy bows and stitching them to the shoulders of the tank… or
B. cutting the tank top straps about an inch above the neckline and stitching a long ribbon to the front and back of the cut straps (ultimately creating new, adjustable straps) and then just tying a bow on top.
I chose A because well, it was easier and didn’t affect the look or shape or structure of the tank top and also assured the bows would be looking perfectly always, flopping right over the shoulder as I imagined it would. I used the grosgrain ribbon to mimic the ribbed tank fabric and the stiffness and width of of the ribbon also makes it difficult to get a good bow by tying it, but I wanted the width of the bow to match the width of the tank for this particular look.
I might actually create option B with a softer, satin ribbon on a different style tank or top or maybe even a dress, because it’s also a cute idea and would create an entirely different look.
Of course you can use any color tank and any color ribbon! Originally, I wanted to make a white tank top with a black and white striped bow but I didn’t have enough ribbon to make it happen, but get colorful and get creative!
One more thing, grosgrain ribbon washes pretty well (as per past projects I’ve made with it). I’d wash this in cold water and hang it to dry or lay it flat to dry. Keeping it out of the dryer not only maintains a super saturated color (in the fabric without fading) or shrinking, but also keeps your bows from getting frazzled. If your washer is rough on your clothes, you can hand wash it instead.
Here’s What You’ll Need…
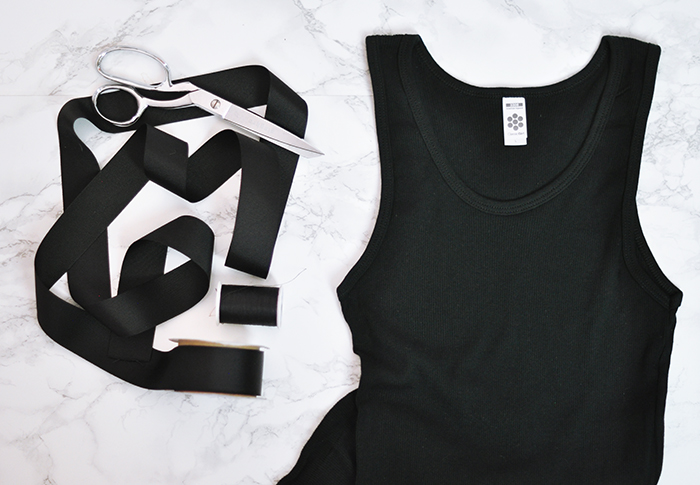
* 1-1/2-2″ Grosgrain ribbon (or whatever size you like) I wanted mines the same width as the tank straps
* Scissors
* Matching thread and needle
How to Make Your Bow…
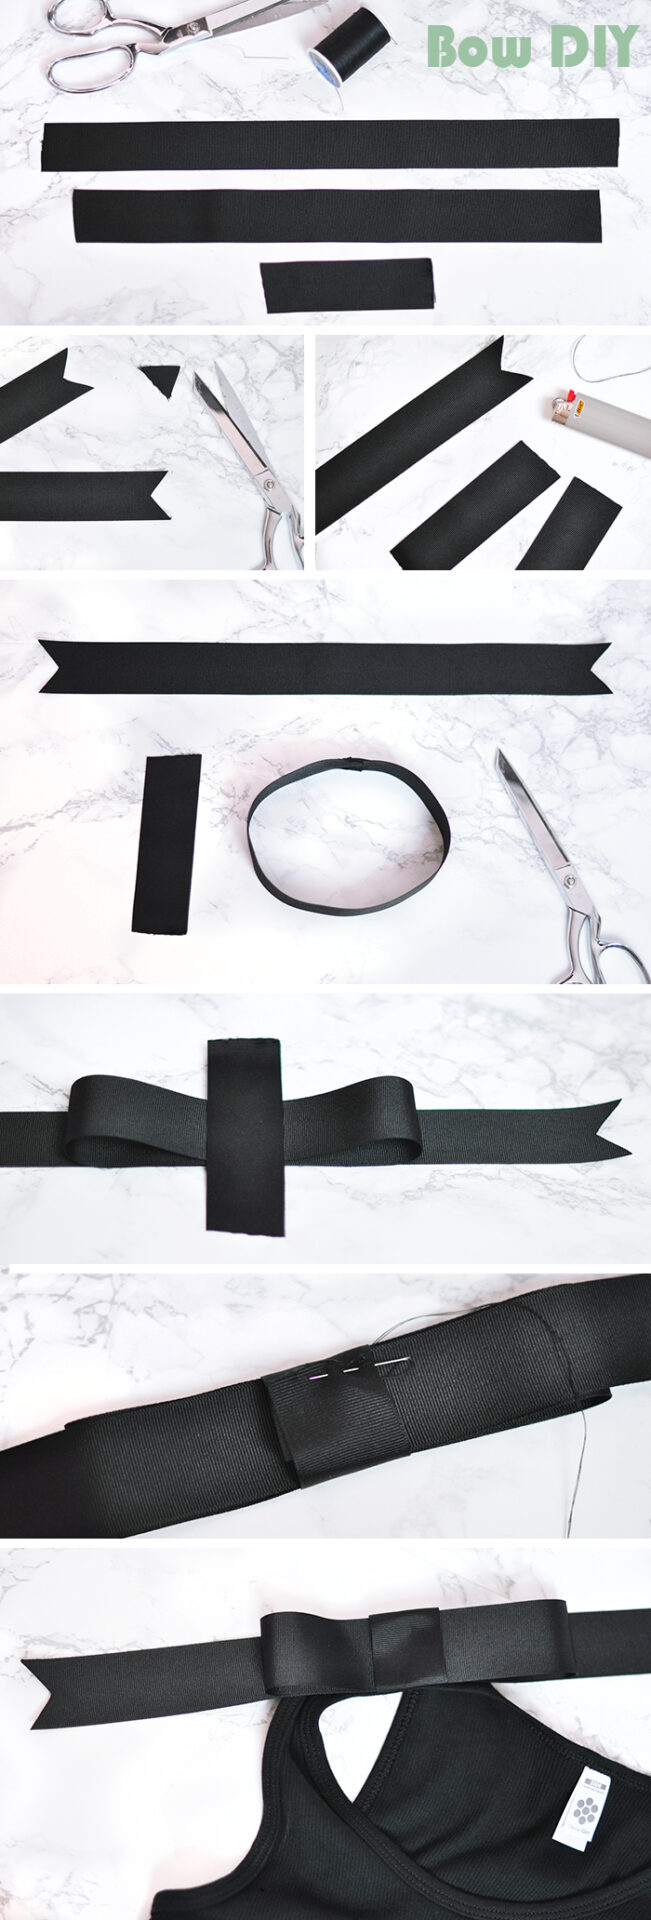
2. Optional: cut the ends of your LONGEST ribbon into a V shape by folding your ribbon in half and cutting the end from the bottom corner up at an angle. If you don’t like this look you can leave the ends straight or cut at a single angle as seen in the inspo photos above.
3. Carefully SINGE the ends of your ribbons with a flame to keep them from fraying. You can also use anti-fraying gel available at your local craft store.
4. Grab your needle and thread and your 15″ ribbon, the second largest piece. Create a circle, overlap your ends just about 3/4 of an inch and stitch together.
5. Lay your 16″ ribbon flat… Set your circle on top lined up) with the stitching hidden against the base ribbon, grab your shortest ribbon and horizontally wrap it around both your base and your circle and stitch into place in the back.
NOTE: If you don’t want to see stitch marks on top of your bow, make sure to keep your stitches only within the bottom two ribbons. HOWEVER, if you don’t stitch them down they will stand up and from the front and back you’ll be able to see through them, if that makes sense. I put two tiny stitches in mine to keep them flat, but I’d rather not see the stitches. I suppose you can use a little fabric glue there if you’d like.
ALSO NOTE: This is the same kind of bow used for wrapping presents, there are tons of videos on youtube if you’d rather watch a tutorial 🙂

TIP: Stitch your bow to the outer seems of your tank sleeve to make sure it’s secured in place and won’t move. The ribbed section is too stretchy to keep it as secure as I like it to be.
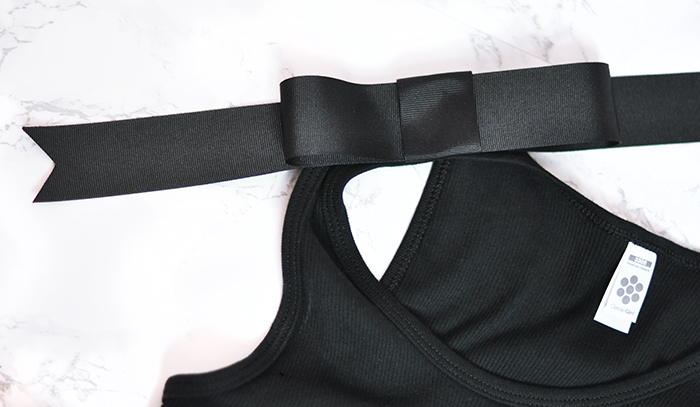
And… Voila!
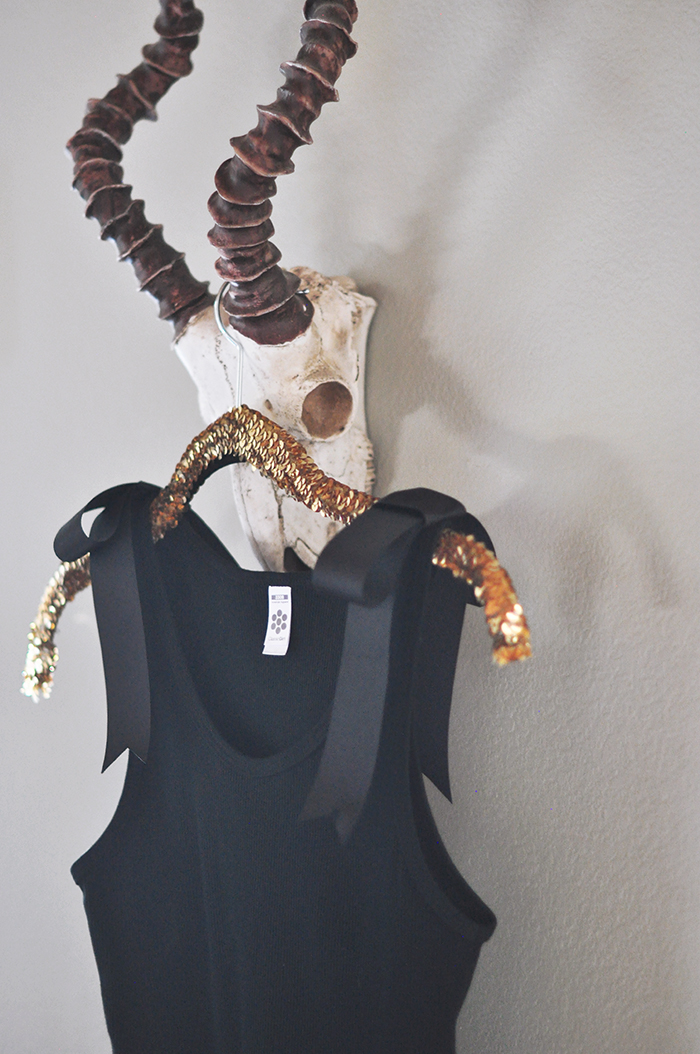
Have Fun!
* Find all my DIYs here


