While at first I was only going to do the “after -letting it go” Elsa costume and hair tutorial from Disney’s Frozen, in the furry of finding the right dress for the other, I accidentally found a dress that would indeed work for Elsa’s “before – letting it go” look, and couldn’t help whipping up a cute -but less than authentic DIY costume to match, and of course, had to do a hair tutorial as well.
And because I didn’t use enough pins in mine, and it loosened up, it’s not as authentic as I’d like it to be, but I suppose it works with my less-than-authentic costume to match. It’s a fairly easy tutorial though, and if you use enough pins and finishing spray at the end, you can achieve a much smoother and more authentic version… but the steps to get there are the same. Alternately, if you’re creating this look on somebody else, most probably your daughter, it will be far easier to get a perfectly smooth and glorious twist and bun. Enjoy and Good luck!
* But first… follow this link if you’re looking for an Elsa Makeup Tutorial.
This is what my hair looks like naturally…
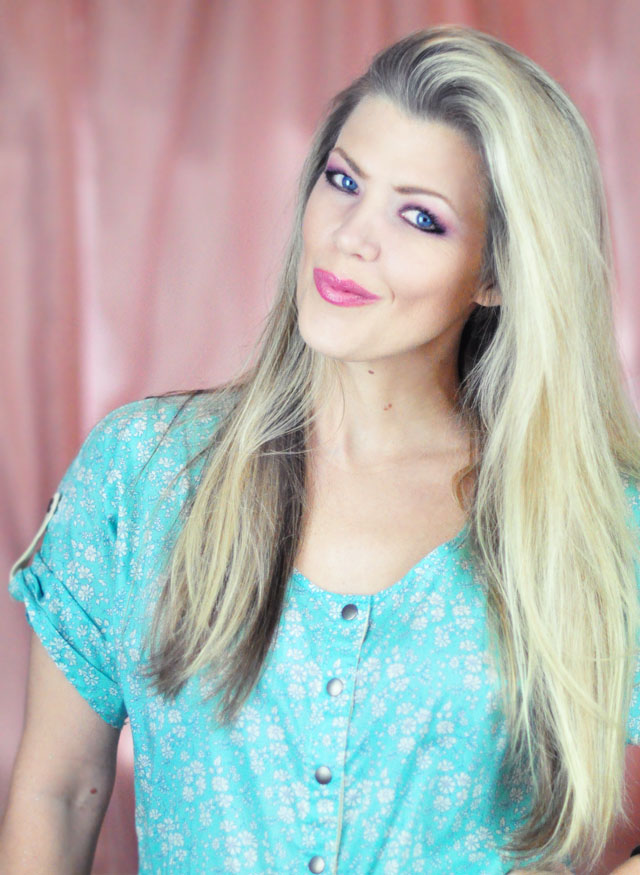
I am well overdue for a salon visit, as you can see by my horrendous roots and brassy blonde hairs. I actually had an appointment but had to cancel last week due to unforeseen circumstances and thought maybe it was better to do my Elsa hair tutorials as it is now instead of when it’s freshly highlighted. I was wrong, because the color would have been so much more magnificent had I gotten it done, but I wouldn’t have had the length I needed for Elsa hair.
But I do love a challenge and a challenge it was to try to lift my roots {and darker underneath hairs} to not only match my blonde streaks, but to lighten enough to look as platinum-white as Elsa’s hair. It maybe was a challenge I could not pull off, but it’s close enough. Maybe sometime in the near future, when my hair is freshly done, I’ll redo the style just for photography sake 😉 Enjoy
For more volume at your roots, apply dry shampoo before you go to bed, only apply conditioner to the lower half of your hair when washing, and blow-dry it upside down … * Follow this link for more Tips on Getting Big Volume in your Hair
Here’s What You’ll Need…
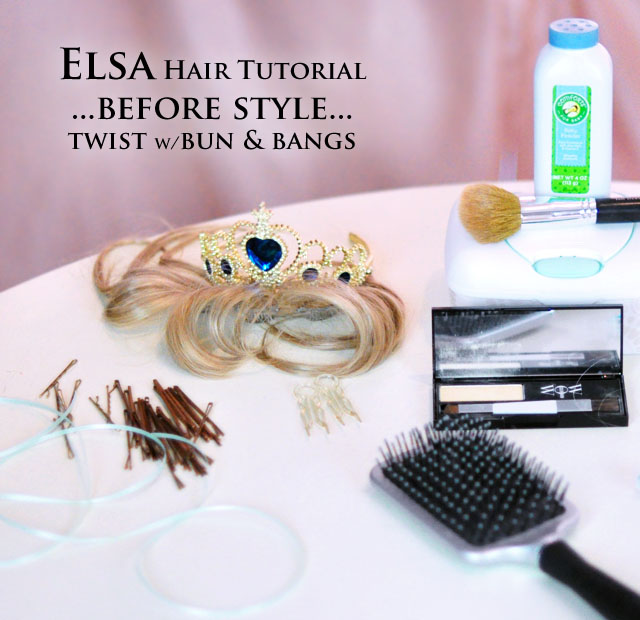
Obviously, if you have long blonde hair with bangs, you’ll only need bobby pins and a crown, but for the rest of us…
* Bobby pins… large and small
* Clip-in blonde/short bangs hair extensions
* Color WOW root cover {powder} in platinum or natural blonde + white baby powder, an old makeup brush, and a small tub {similar approach to my Temporary Hair Color with Eye Shadow}
* Gold tiara with blue gem {mine is from an old Super Mario Bros Princess costume -so not exact, but close.}
* Small minty green ribbon and large needle
* Hair spray to finish it off.
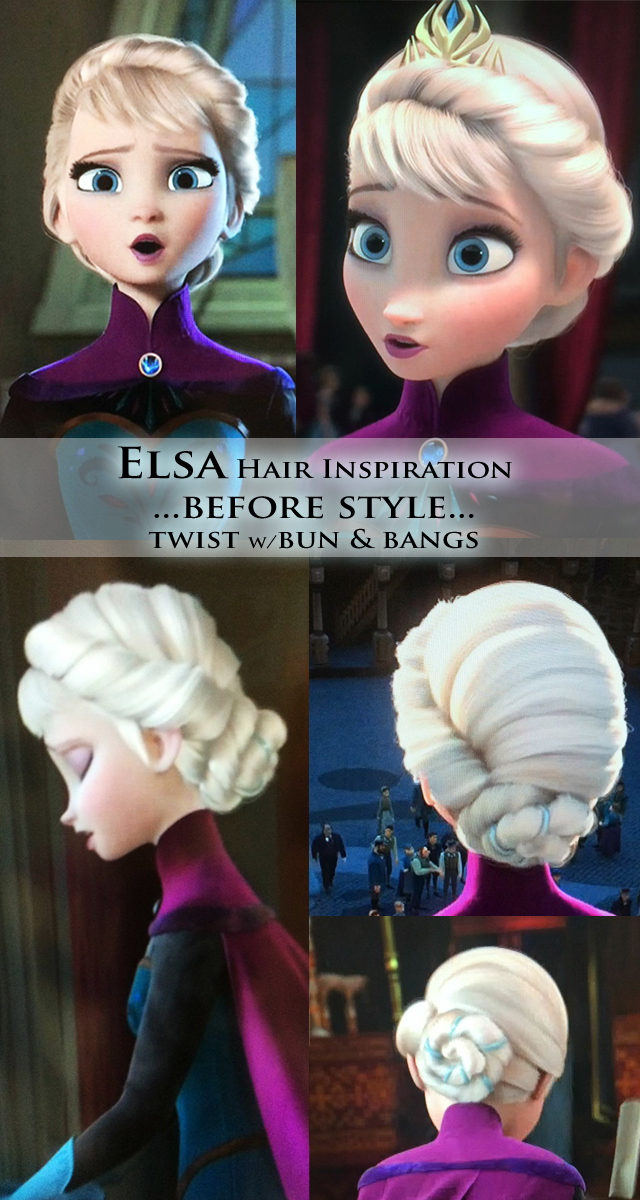
Elsa Inspiration Photos…
Steps…
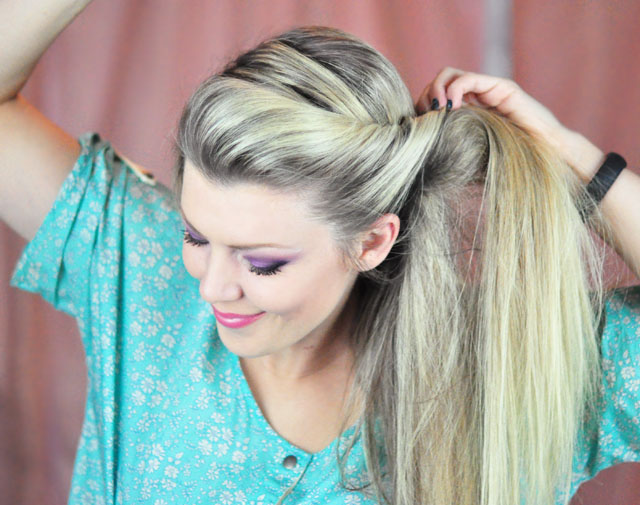
* Part your hair on the side {my right side} and swoop all of it over… Beginning at the top/front, twist all of your hair in a backwards motion…
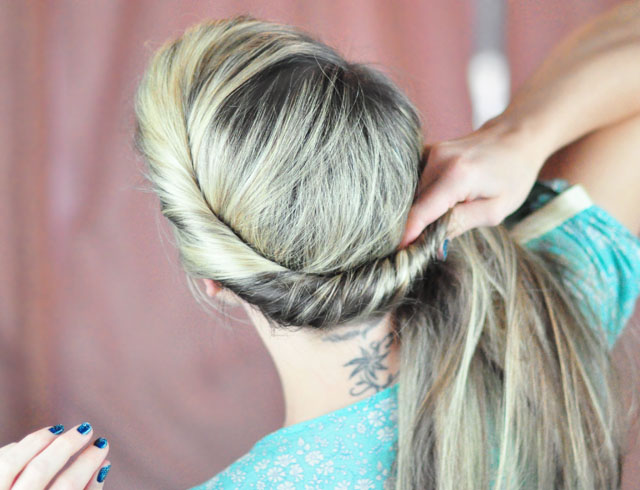
* AND continue twisting TIGHTLY down around the base of your head… pinning in place as you go.
NOTE: YOU MUST bobby pin your twist in place as you go… I DID NOT DO THIS, thinking it would just stay in place, but it didn’t, it loosened up and fell a little, and while it looked pretty, it wasn’t exactly Elsa’s ‘do’ … so I opted for the messy, romantic version instead.
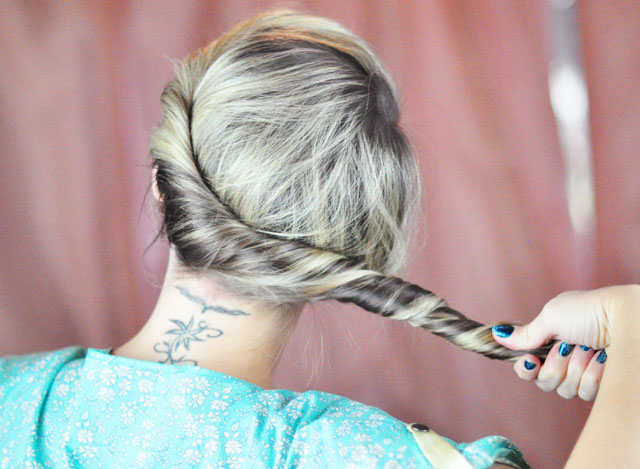
* Carefully grab the other side of your hair and continue twisting ALL OF YOUR HAIR together until the ends.
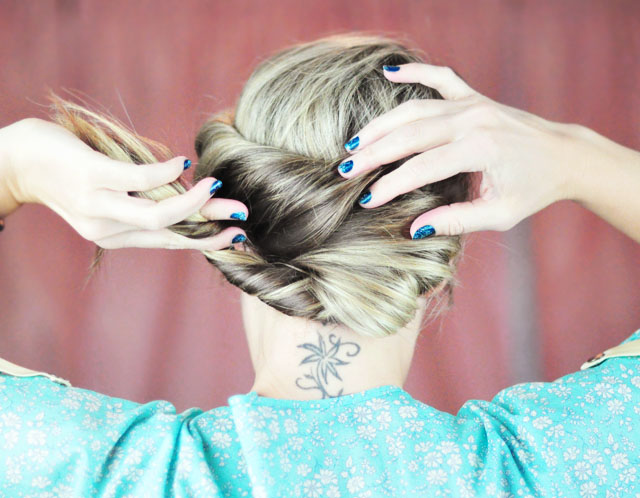
* Now twist the length of your hair/twist around and into a bun following the natural direction your twist wants to go {which should be downward}…
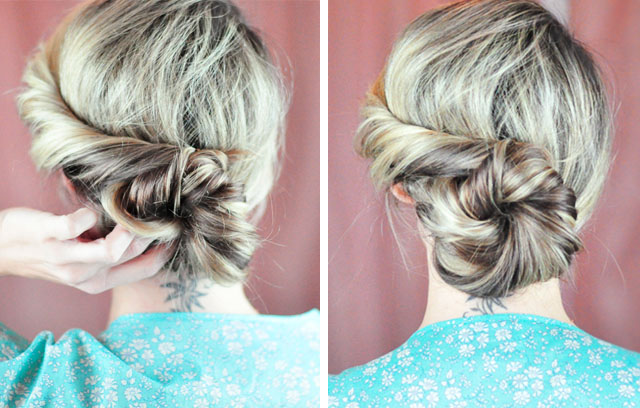
* Continue wrapping your bun until you can’t anymore. Since my was a bit loose and messy, I only got one large wrap around. If I had been a little more precise, I maybe could have made it neater…

* And pin in place until it feels secure.
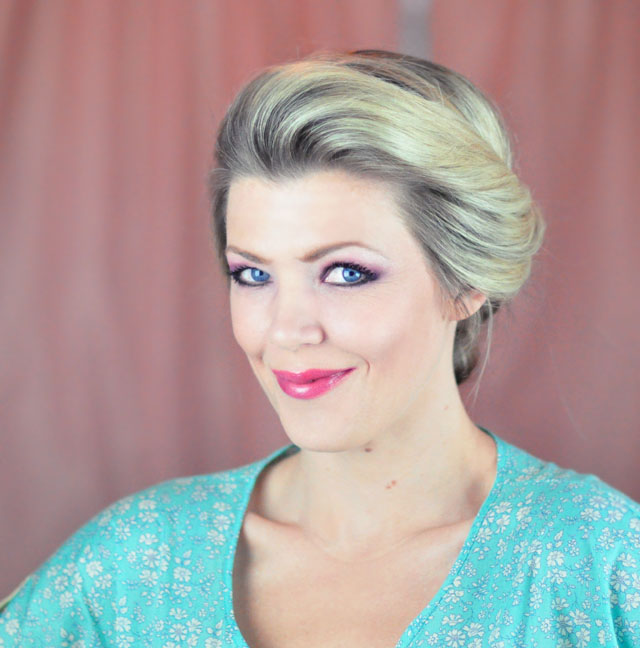
* Here’s what it looks like in the front…
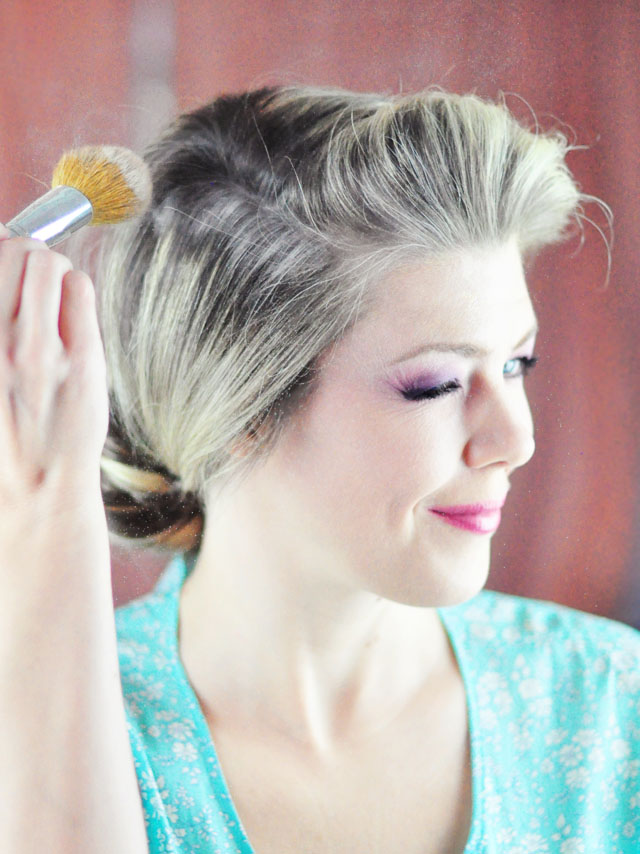
* Now… if you’re not blonde, have roots to cover, OR want to get your hair as platinum as possible, begin by brushing on your Color WOW, following your natural highlights around your root line THEN lay on your white baby powder by brushing it on heavily to all your dark spots {front and back} until you get your desired look.
NOTE: As you can see, the baby powder will definitely lighten your hair, but it also lightens the already-blonde hairs… so overall, it’s LIGHTER, but still has contrasting lights and darks.
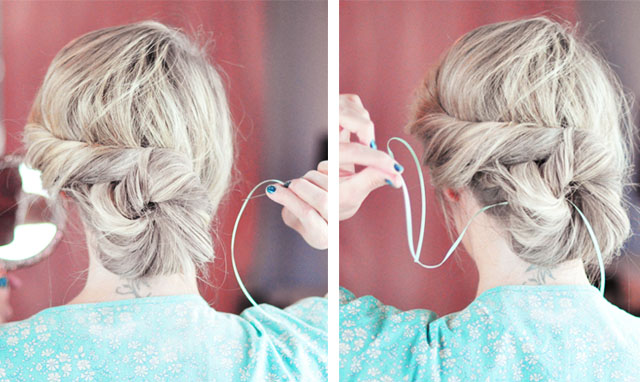
* With your ribbon on a large needle, CAREFULLY poke your needle through the center of your bun and out one of the sides at the base of it… weave it around and through and simply cut off the excess.
* See movie stills above for more inspiration
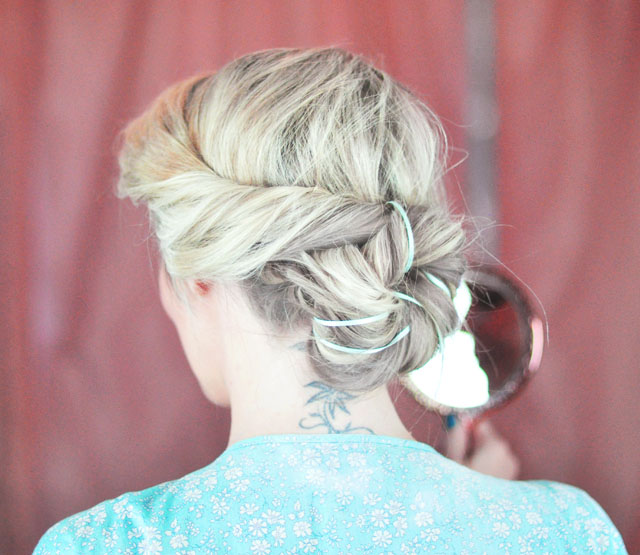
It will look something like this… possibly much neater than mine… and definitely neater if you have A. A little more patience than I did and B. if you’re creating the style on someone else.
But for all intents and purposes, it is Elsa enough for me 😉

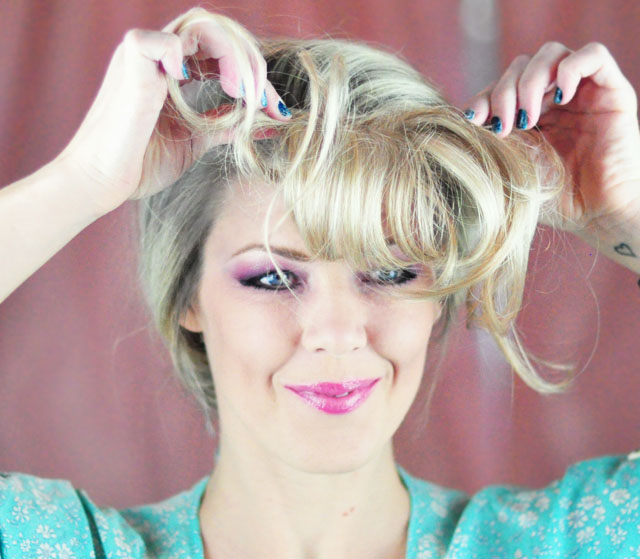
* NOW clip in your short bangs, and if you have longer strands like mine, swoop them over your twist and pin in place.
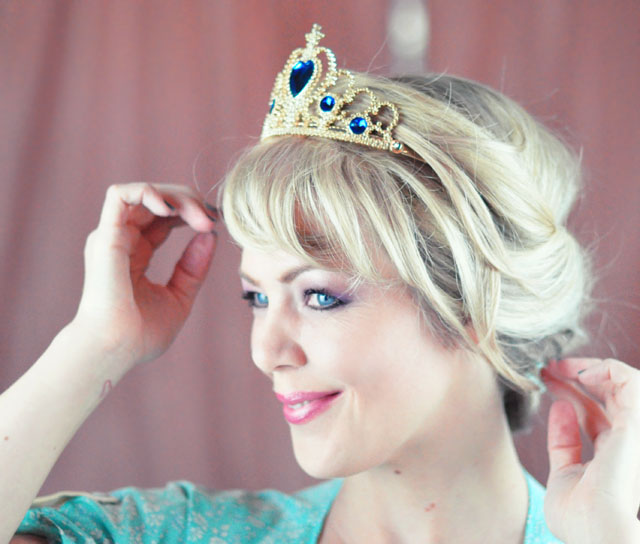
* And finally, add your tiara and adjust any hairs or strands {pinning them in place around your twist} to finalize the look. However, you don’t HAVE to wear the tiara, especially if you have natural bangs… Elsa wears this hair style both with and without the tiara.
NOTE: one more discrepancy with the look… TECHNICALLY Elsa’s tiara goes BEHIND HER TWIST {rather than in between her bangs and her twist -see inspo photos above}, but since I have clip-in bangs, I used the tiara to HIDE the seam and blend the extension with my real hair. Again, not 100% authentic, but gets the job done.
And… Voila!
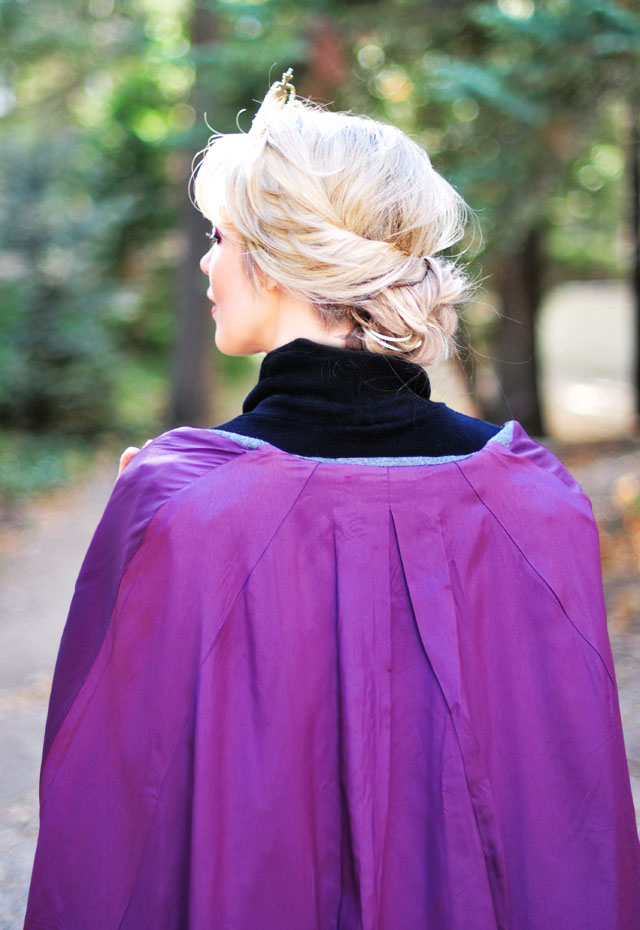
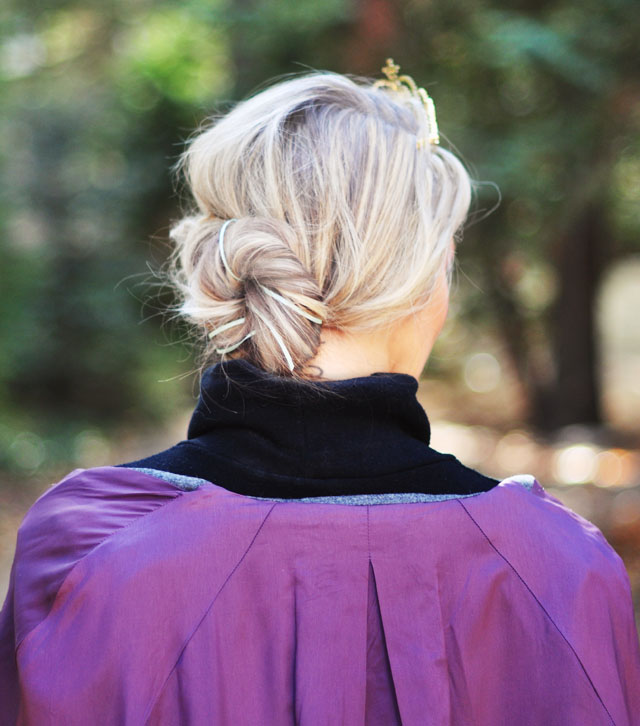
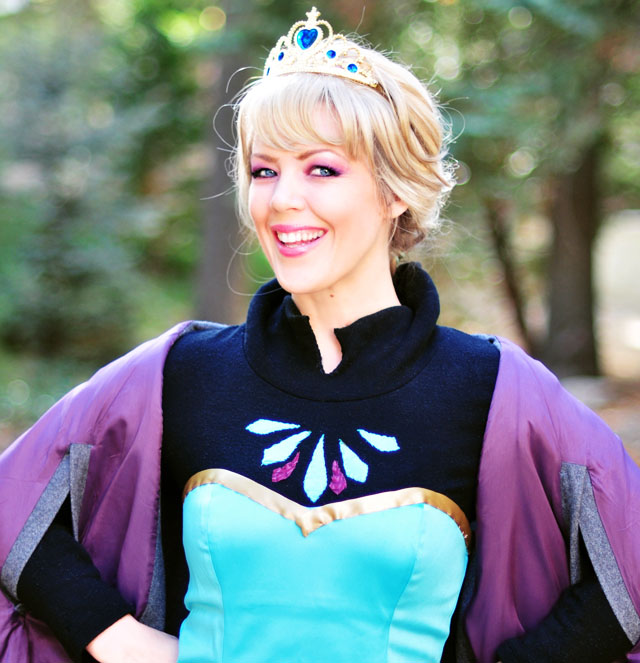
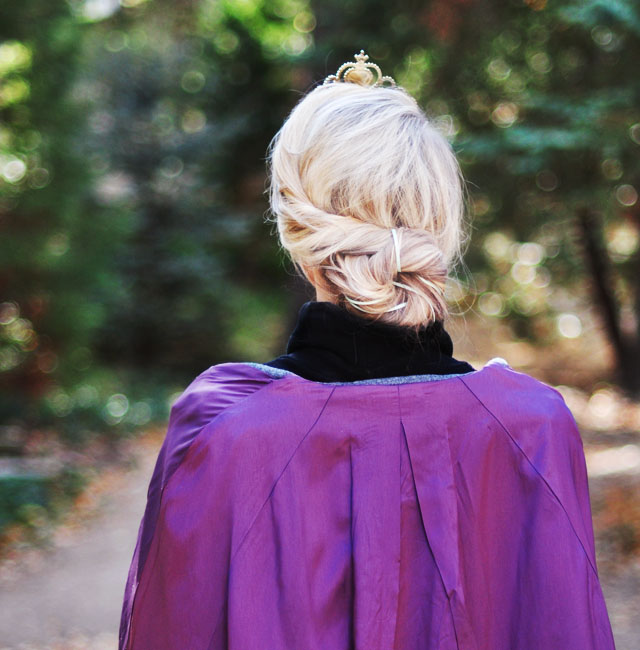
Have Fun! And Coming up…
* Elsa DIY costume seen here, Elsa’s long braid + DIY hair accessories, and DIY “after letting it go” Costume tutorial!
Looking For…
* Elsa Makeup Tutorial
* Queen Elsa of Arendelle DIY Costume
* Elsa Hair Tutorial ~ Snow Queen BIG BRAID w/DIY snowflake clips
Elsa Hair Tutorial // Snow Queen Big French Braid Halloween Costume
Elsa Hair Tutorial ~ Twist w/ Bun & Bangs // Queen of Arendelle


