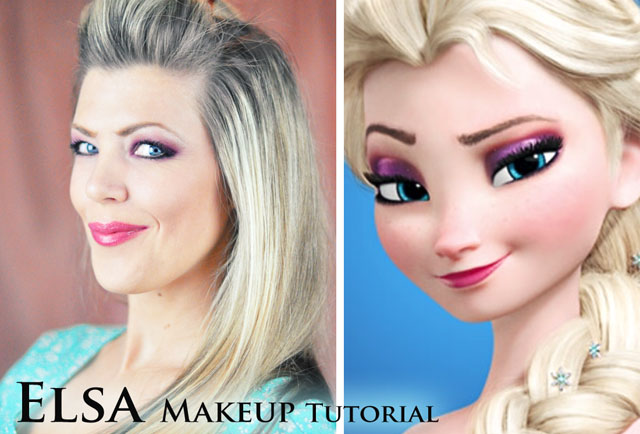
Though I had been dying to add Elsa of Arendelle ~ from Disney’s Frozen, to my DIY Disney costumes and characters {which I began last year when I was working with Babble/Disney}… by September, I was hitting burnout hard, and blew it off. Finally, two weeks into October, the fire burned again and I jumped on it… and though I still had time, finding my costume bases to DIY up on this little mountain {and sans the internet – because I wanted a real challenge -but didn’t want to sew my outfits from scratch} was more difficult than I anticipated.
But alas, last Friday I finally found workable options and got to work. However, I couldn’t create the makeup or hair tutorials until I had the costumes complete… thus, the final week before Halloween I finally have my Elsa looks and they were so much fun I can’t wait to share them with you.
But first, let’s begin with makeup, because creating Elsa’s look isn’t possible without it ~and really, it’s surprisingly easy… Enjoy.
Here’s What I Used…

I began with my base and foundation in place, but otherwise had a fresh face… So get your face on and get ready. I’ll list and link to the products I used beneath the demonstration photos…
Steps…
*
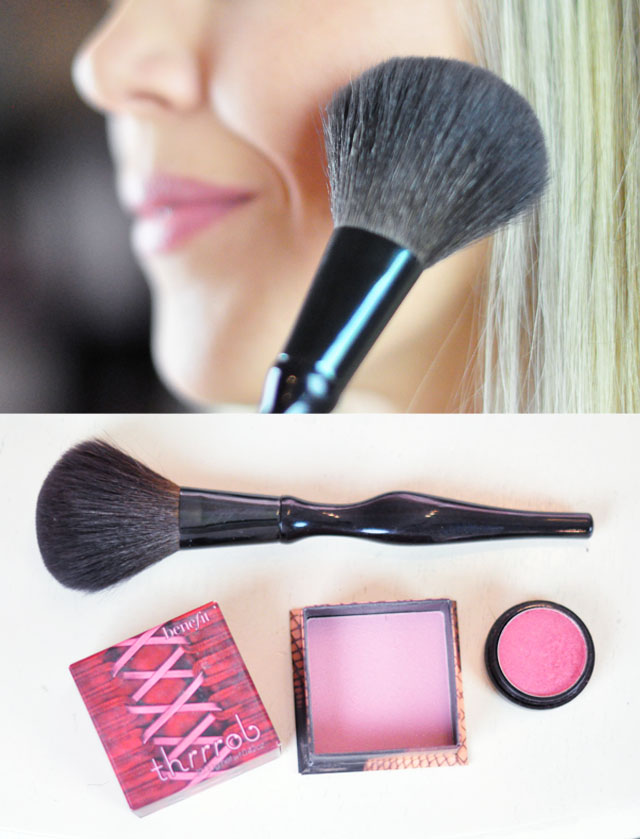
CHEEKS Begin with soft pink shimmer blush for all over shimmer… then blend in some bright pink on the apples of your cheeks.
Products: benefit thrrrob + covergirl flamed out shadow pot – red hot 345 + Sonia Kashuk® Blusher Brush – No 02

*
EYEBROWS Elsa’s eybrows have an almost evil swoop to them. They angle and point at the tips then narrow out – and are a little longer than mine, but I think I nailed them {though only one is complete in this photo}. Scroll down to see the photo I used as inspiration and more direct shots of my brows.
Products: Japonesque Eybrow kit {I used the center brown} + Lancôme LE CRAYON POUDRE – Blonde Powder Pencil for the Brows + Anastasia Beverly Hills brow gel

*
EYES – STEP ONE Begin by applying a thick amount of white shimmer eyeshadow all over your lids, from top to bottom and around all the edges. I used a few different whites, but mostly…
Products: covergirl flamed out shadow pot – blazing white 350 + Sonia Kashuk® Kashuk Tools Small Eye Shadow Brush 07
NOTE: For a really bright and shimmery eye, you may want to use cream shimmer shadows {I simply didn’t have them, but regular eye shadows work as well}

*
EYES – STEP TWO Using a bright-ultra pigmented, matte purple eye powder, I created the base of Elsa’s eye by following the creases of my lids, swooping and fanning it out to the sides, then down around the lower lids too. Look at Elsa for inspo.
Products: makeup forever purple shadow {mine is old} similar here and here}
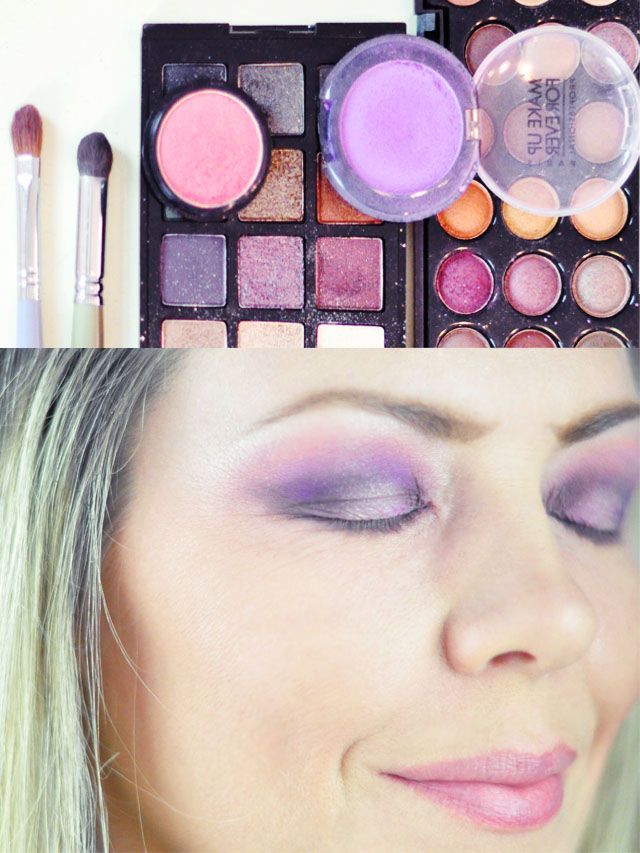
*
EYES – STEP THREE Using deep, rich purple eye shadows, I created depth in my eyes by applying the darkest color to the inner and outer lids, and fanning it out. I then added hot pinks and rich shimmery rusts around the edges, layered more of my purple pigment on top, and finished by dabbing my white shimmer powder on the top/center of my lids -fanning upward, then around the eyebrow again to finish it off.
Products: Sonia Kashuk deep purples Eye on Dazzling Color Instructional Eye Shadow Palette {s/o – this Nars purple palette is fab though} + covergirl flamed out shadow pot – red hot 345 + shimmery rusts and peaches for the accents.

*
EYES – STEP FOUR Curl your lashes {and add falsies if you’d like to} Using black liquid eyeliner {or gel liner, rather}, I created a heavy, but long, cat eye and went pretty thick around the lower lid as well. I started with my pencil liner, just to create a path to basically trace with my liquid so I wouldn’t make any mistakes. I used my smudger to blend the liner on the tops of my lids into the dark purple shadow… then layered on a few more shadows {as seen above} to really make the colors pop!
Products: Japonesque precision eyelash curler + Chanel le crayon yeux in black + Cailyn black gel eye liner
*
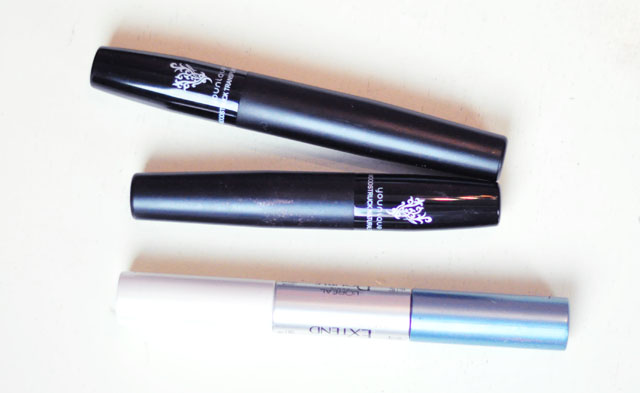
EYES – STEP FIVE If you used falsies, simply apply a coat of mascara over them and you’re done. Since Elsa’s lashes are kind of shorter and thicker than longer, I opted to use my own fiber mascara to get the look and I love it. Click the link below for a full mascara review.
Products: Moodstruck Fiber lashes REVIEW

*
LIPS Elsa’s lips are a glossy/shiny bright pinky-berry color. I achieved it by using these three different lip products in the order seen above.
Products: LAQA fat lip pencil in shimmer pink + old berry gloss + Chanel glossimer in desir
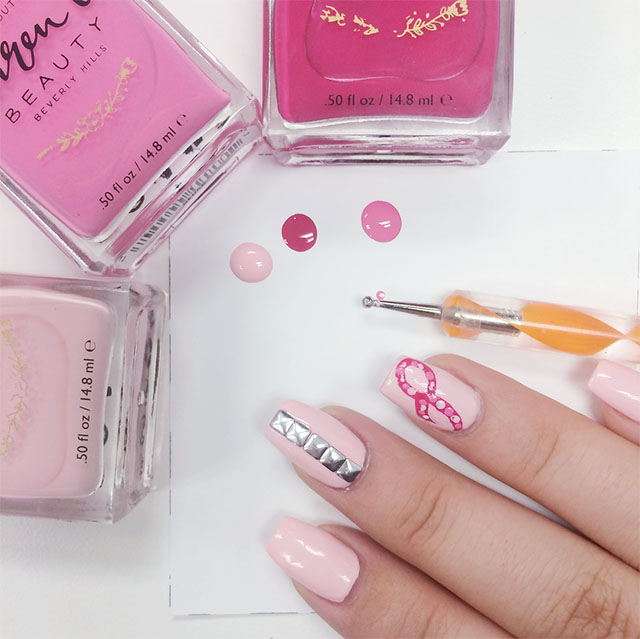
Frozen Nails…
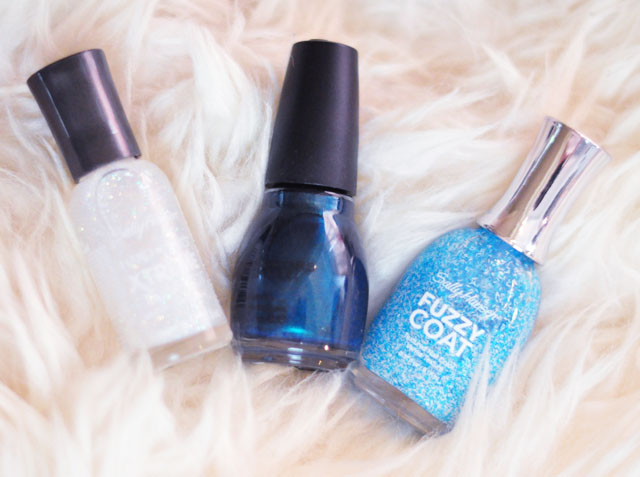
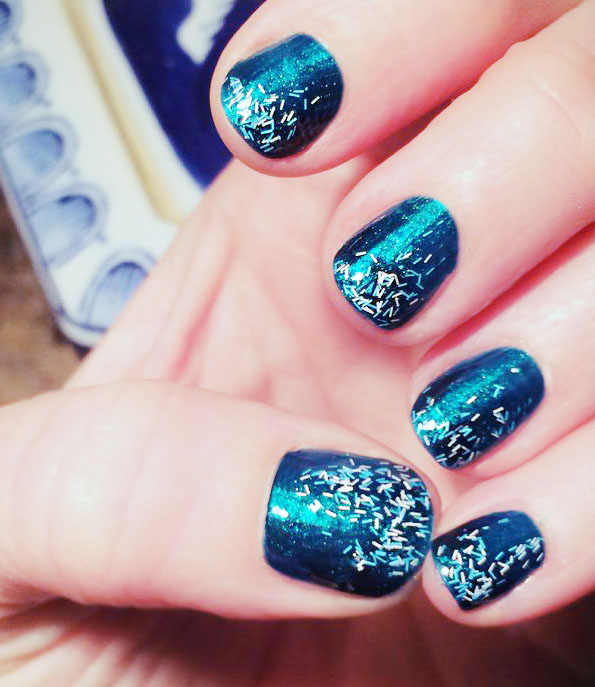
* My nails have all broken and are really short right now, so an intricate Frozen manicure and nail art was out of the question. I liked the darker nails for Elsa’s “before” look, and wanted to go lighter for her “after” look {but I forgot} but I love these nails regardless. The fuzzy top layer looks like snow falling, so I added it just to the tips and partially down the beds of my nails -and mostly off to one side or the other.
Products: Shimmery Teal by Sinful Colors + Sally Hansen aqua Fuzzy Coat -I didn’t use the white shown above for this one, but topped it off with a coat of Seche Vite for quick drying and staying power – all polishes found a the drug store.
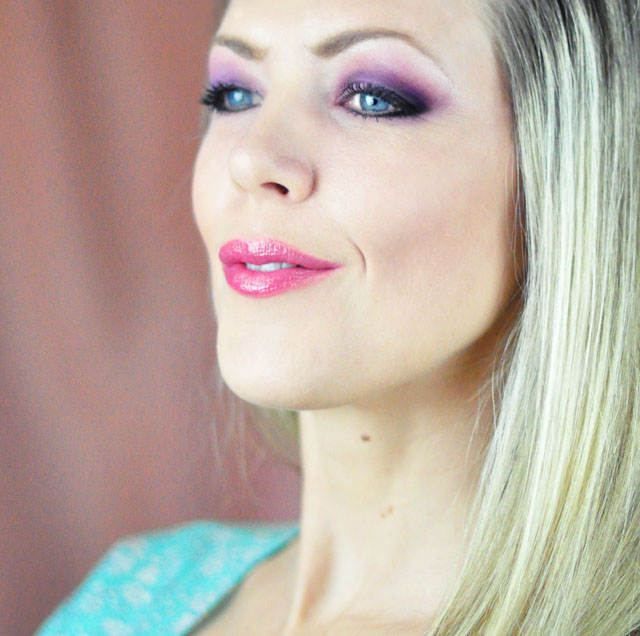
And… Voila!
Elsa of Arendelle makeup complete!

Also Find…
Elsa Snow Queen DIY Costume and Elsa Big French Braid Hair Tutorial
Ana DIY Costume from my closet and Ana’s Bun Hair Style Tutorial
I love Halloween!
DIY Frozen Elsa Snow Queen Costume // Let it Go!
Elsa Hair Tutorial // Snow Queen Big French Braid Halloween Costume
Frozen DIY Elsa Costume ~ Before Look ~ w/ Short Dress
Elsa Hair Tutorial ~ Twist w/ Bun & Bangs // Queen of Arendelle