I’ve had this desk system from Ikea now for well over five years, and I have to say, for what I use it for, it’s still totally functional and amazing. I love all the shelves and the size of the desk is perfect for my needs. It has held up through a move and still stands tall… I cannot say the same about the top of my desk though, which has various spots of wear and tear that are clearly visible. What’s worse though, is the fact that the white lacquer is peeling up along the edge.
I’ve lived with it for a few years now without much care, but recently I found a full kitchen counter remodel using marble adhesive film and my jaw literally dropped. The idea of recovering an entire kitchen counter with shelving paper would have never crossed my mind, but the project actually came out pretty good and I figured if it was strong enough to handle kitchen use, it would definitely be strong enough to handle my work/office use.
I’m not entirely happy with the one seam, but otherwise, it’s kind of awesome. It’s smooth and cool to the touch and looks pretty great AND my mouse glides perfectly on it. I think the key is using this specific adhesive film because it’s super thick (it’s like plastic) which makes it easy to apply and will stand up through everyday use.
I used two rolls – but not entirely. I have a good amount leftover from each roll, but one roll wasn’t long enough to cover the distance (unless I applied three pieces vertically, creating 2 seams, which I didn’t want). The rolls were under $10 each on amazon, so for just about $18, I’ve gotten a brand new marble desktop, which I have to say, I’m pretty excited about.
Here’s What My Desk Looked Like Before…
* Find my DIY Gold Nugget Door Pulls here~
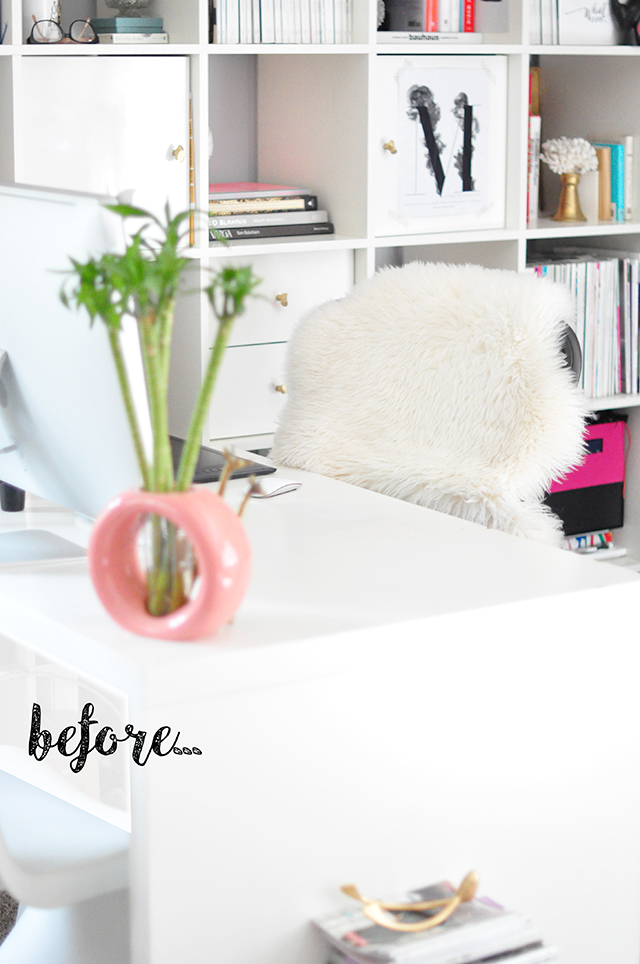
. . . fine from a distance BUT. . .
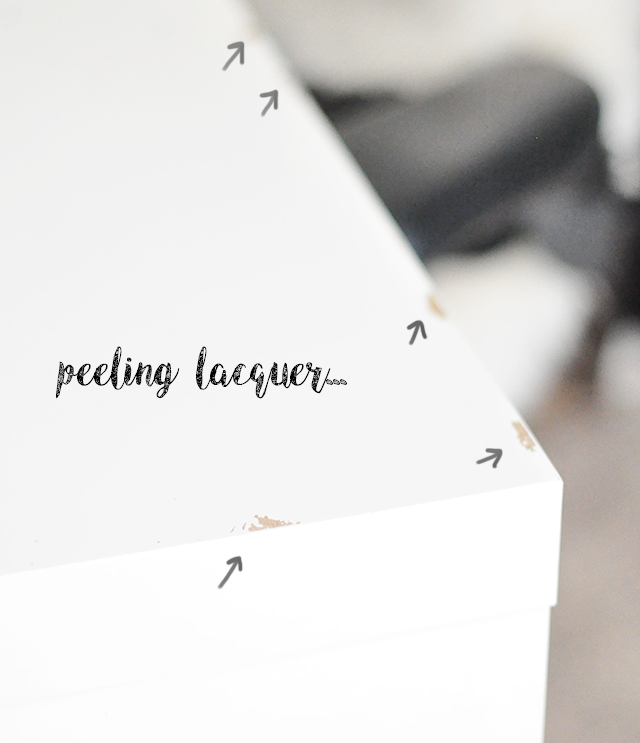
. . . up close is a different story… and honestly it looks worse in person than in this photo.
Here’s What You Need…
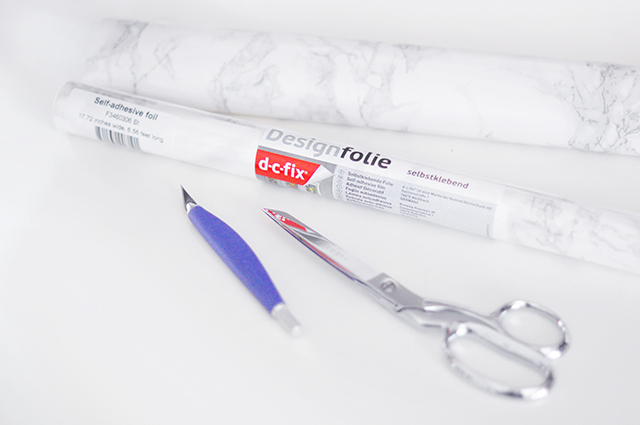
- Adhesive film // I used DC Fix 346-0306 Adhesive Film, Grey Marble
- Scissors + Blade
- Smoothing tool (Not shown: I used a square ruler)
Steps…
This is pretty self-explanatory and you can follow the instructions on the marble adhesive as well, but below are a few tips that may be useful. ALSO NOTE: the color of the marble may differ from reality in the photos since I shot the steps and did the DIY at night.
Clean your surface completely, making sure there are no dust particles or hairs left behind (they create bubbles and bumps beneath your paper).
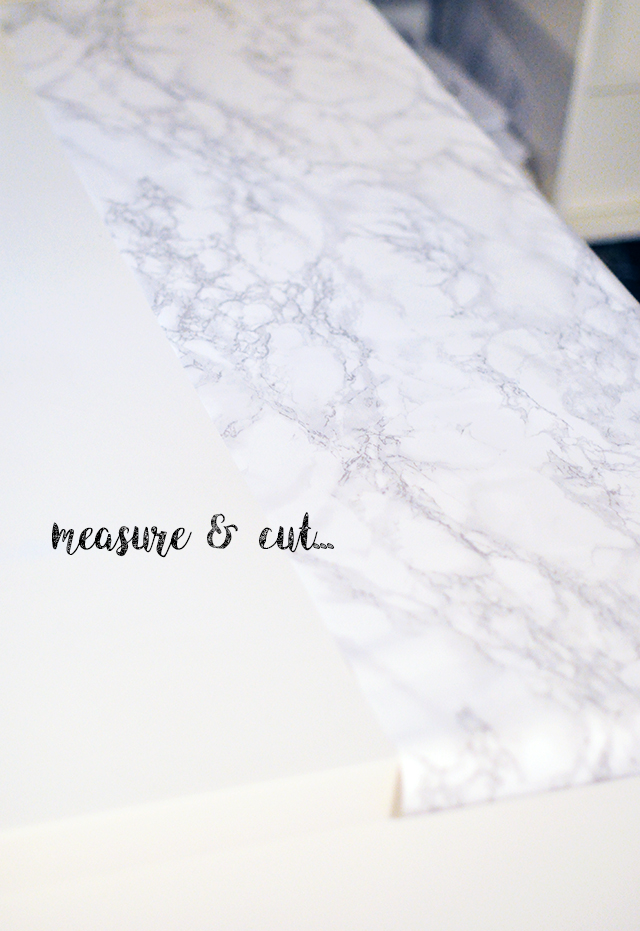
Measure your space, decide where you want to apply your adhesive film
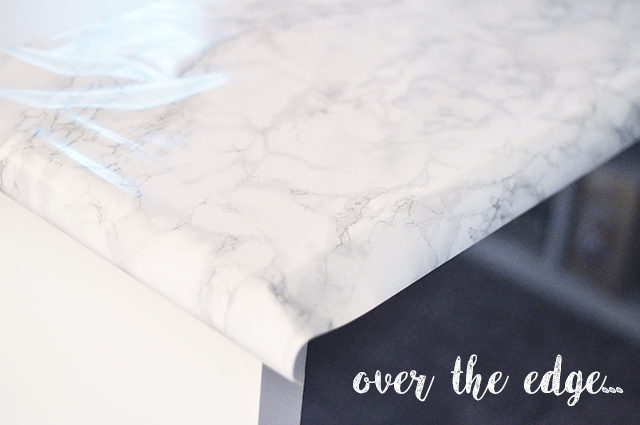
I wanted to make sure my paper went down and over the edges so it looked like an entire marble slab was sitting on top. I also made sure the adhesive was long enough on the sides to fold under the edge of the desk so it wouldn’t start peeling up on the edges.
Peel up a few inches of the backing from the end you’re going to begin on, set in place, then peel the rest of the backing off as you lay it down.
It’s best to lay it down with your hands first, smoothing as you go – making sure it’s straight and even – because it’s actually pretty easy to pull back up and reset if you’re just using your hands.
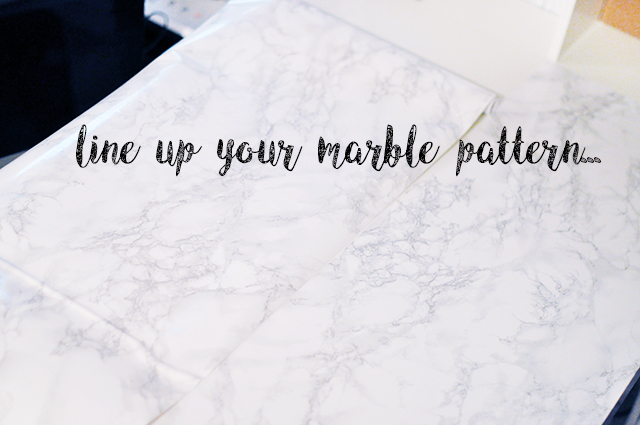
I wanted my marble to look as seamless as possible so instead of starting at the end of the adhesive film, I matched up the marble patterns as well as I could and cut the piece I wanted to use.
I also overlapped the seam about 1/8″ of an inch so dirt wouldn’t get caught and create a more visible line.
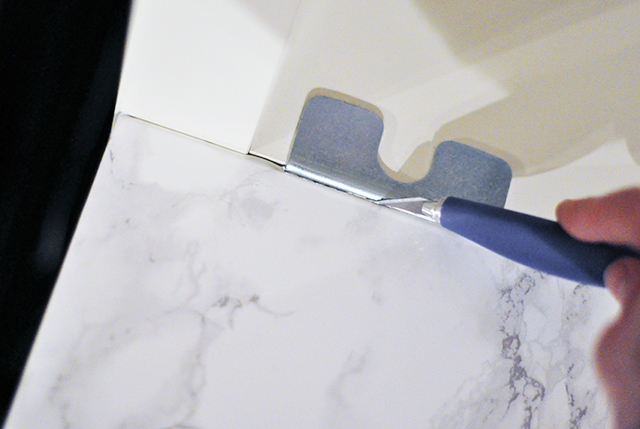
Trim or push down areas that need it… and cut away areas that are too long.
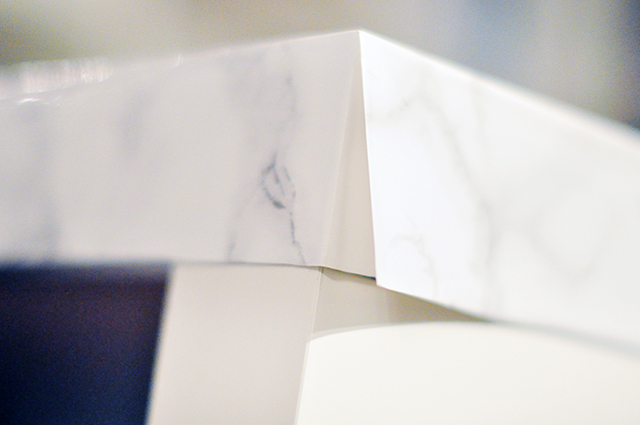
I folded the corners in like a present and then used E6000 glue to seal them in place. It’s not my favorite option, but it works and looks pretty good.
And… Voila!

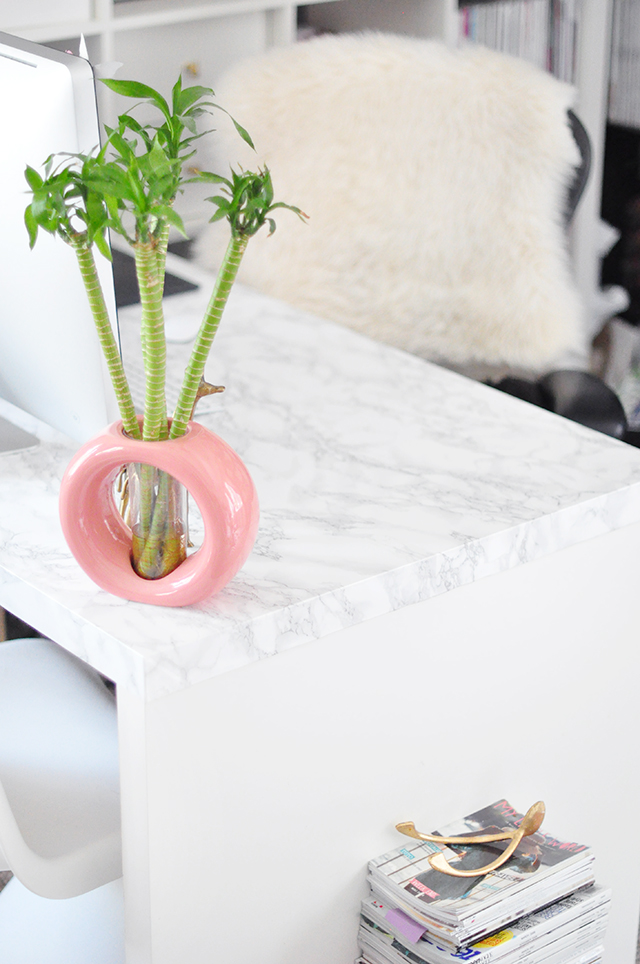

I’ve been waiting forever to do a finished home office tour, but it seems as though my office is never finished… but hopefully soon!
Have Fun!
* Find all my DIY projects here
* See My Home Office here
* Check out my Old Home Office and Dressing Room here

