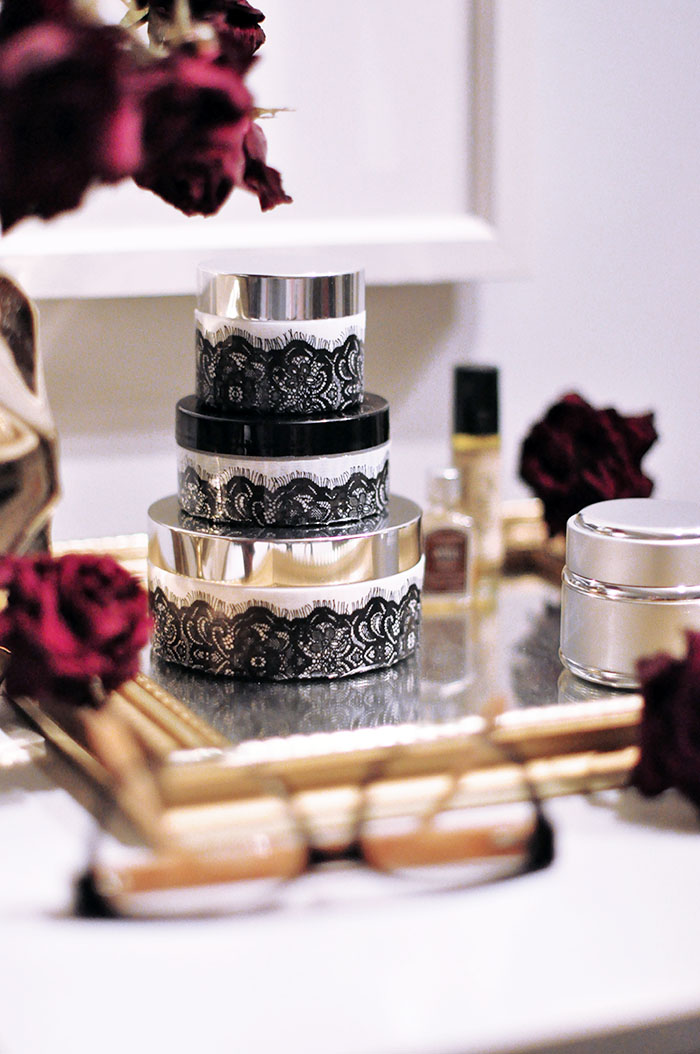
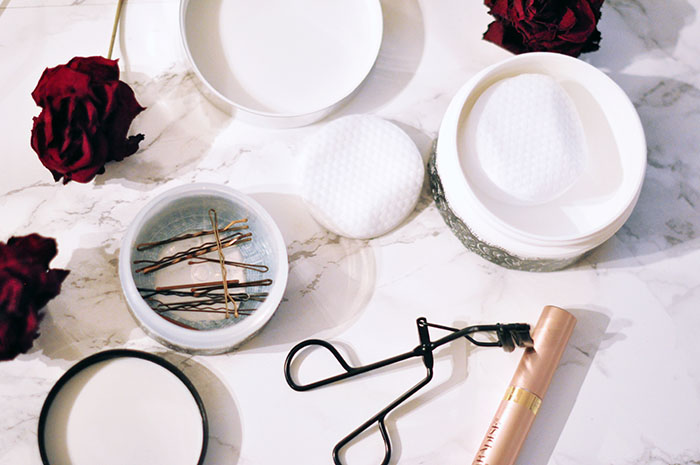
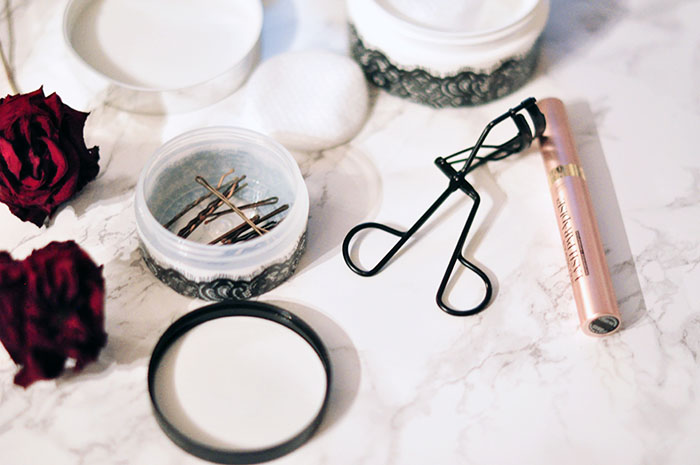
This DIY was hatched out of the need for a clean place to store my facial cleansing pads which came in a little bag and have been just sitting in the top drawer of my master bathroom. I use them for my toner after I wash my face at night and I hated pulling them out of the little baggie each time because more than one would come out at once and it just didn’t seem efficient to me.
In that same drawer, towards the back, was an empty face cream jar from Beverly Hills MD (actually it was crepe correcting skin cream jar – the largest container you see) and even though it was empty, I hadn’t thrown it away because it was pretty.
Yes, I do that. No, I’m not a hoarder, but I do hate waste and I do hate tossing an item that is perfectly usable if I don’t have to. SO, this jar, among others, have been sitting and waiting for the perfect repurpose, and now I have one.
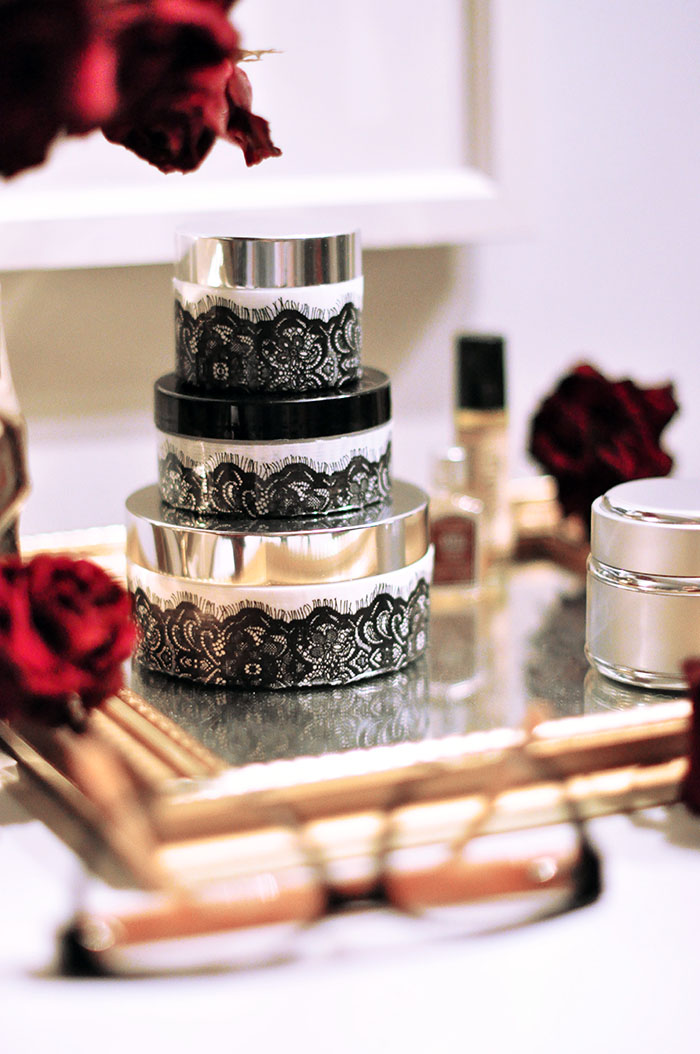
So what’s the point of recovering them? WELL, I wanted to the cover the label so I wouldn’t grab the old jar thinking it was full of face cream (because I also hate wasting time)… I needed a way to differentiate them and decided I could easily do that with printed tape AND make them visually pleasing as well…
This is how I did it. (It’s really easy :))
Here’s What You Need…
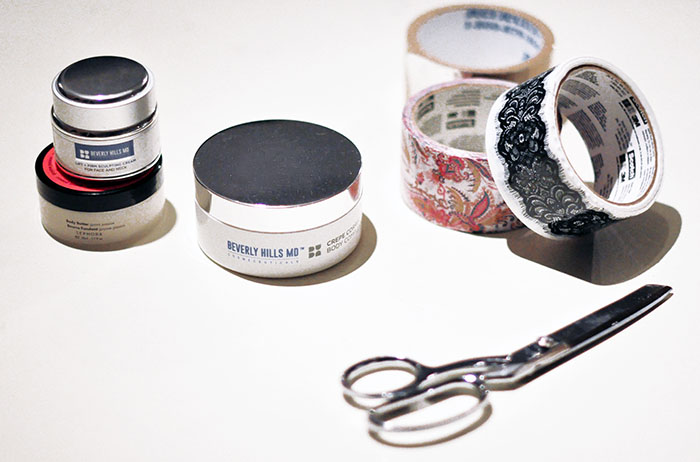
* Old face cream jars and containers (with pretty lids!)
* Pretty, printed tapes… I used Scotch Duct black lace tape
* Scissors
Steps…
Wash out your face cream jars.
Most of my jars were already empty, so it was as simple as using really hot water and a bit of dish soap, replacing the lid and shaking it up really hard until it wasn’t slick any longer.
For creams and lotions that are heavier and leave an oily residue, use rubbing alcohol (carefully) to remove.
Let them dry.
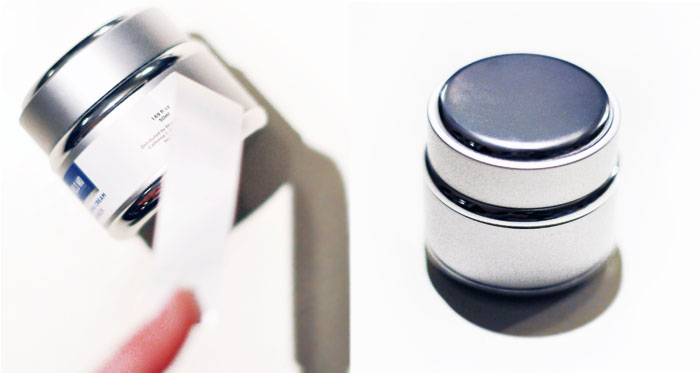
This jar (above) was so pretty and the label was so easy to remove, leaving no residue, that I just left it as it is. It’s perfect for little earrings or for use when traveling to hold your tiny little things.
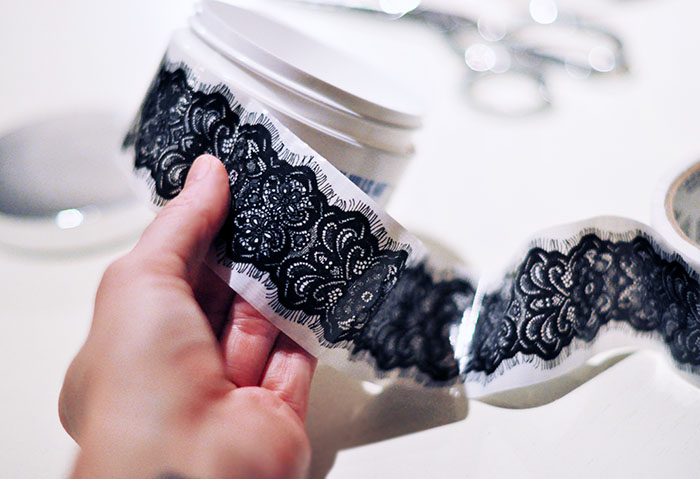
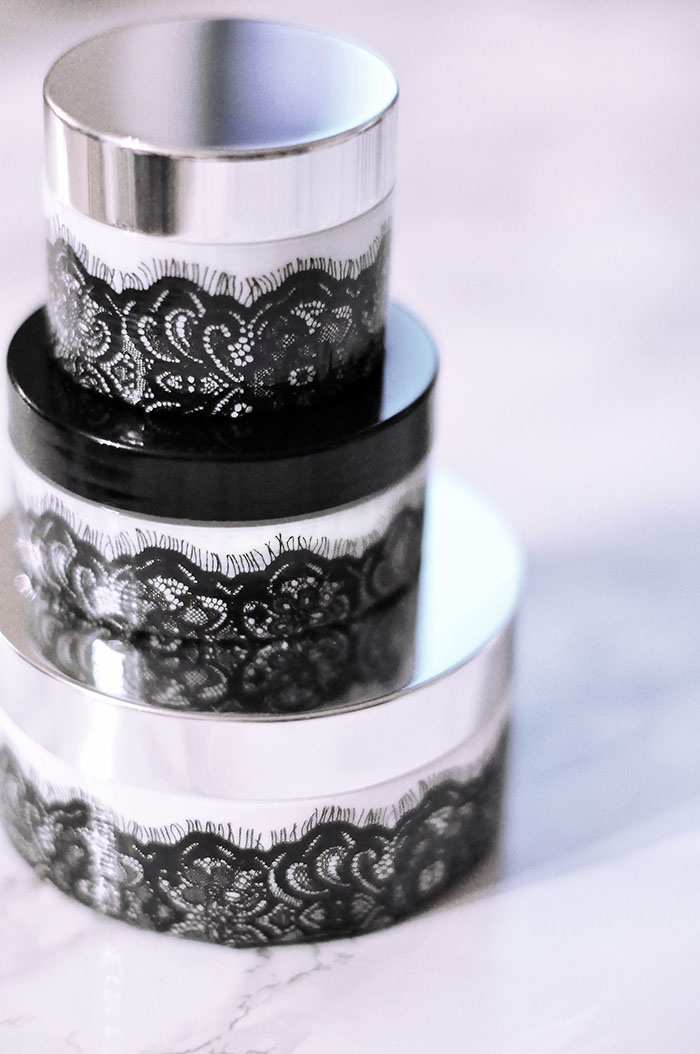
Once I decided what tape design I wanted to use, I carefully applied it evenly to the side of the jar, directly at the line without going above or below it, and applied it slowly as I turned my jar. I overlapped the end and cut it so that the lace pattern lined up.
On shorter jars, you’ll have to trim away a bit of the ends…
Clip or notch the tape that hangs over the edge of the jar.
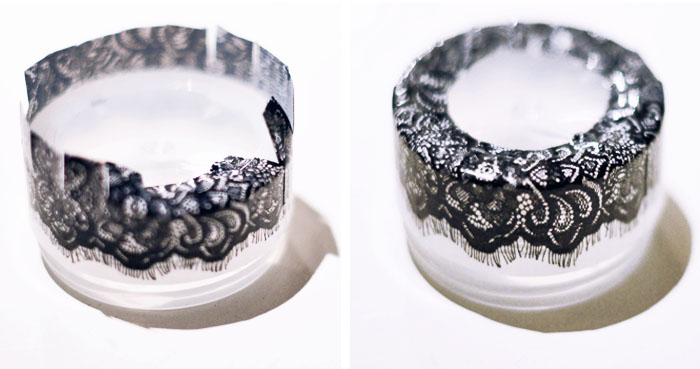
For the cleanest line, begin at the seam and lay a clipped area down, lay the next one down almost over it and repeat all the way along the bottom of the jar.
Smooth it out with your fingers.
This one below finished the nicest.
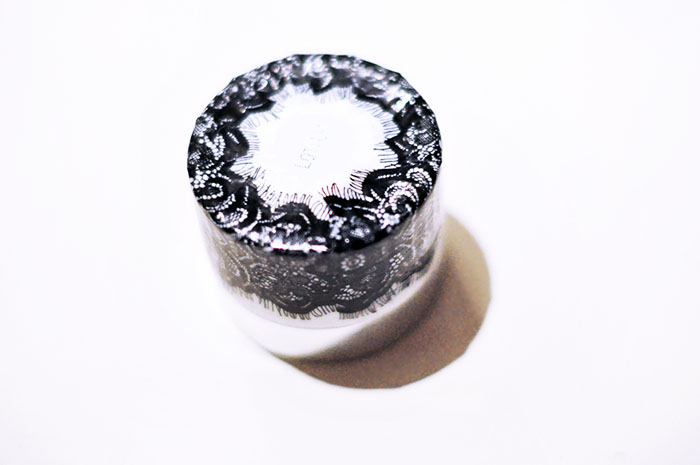
Fill them up with goodies!
That’s it!
NOTE: You COULD actually glue lace onto your jars, but I promise, this way is far quicker and easier 🙂
And… Voila!
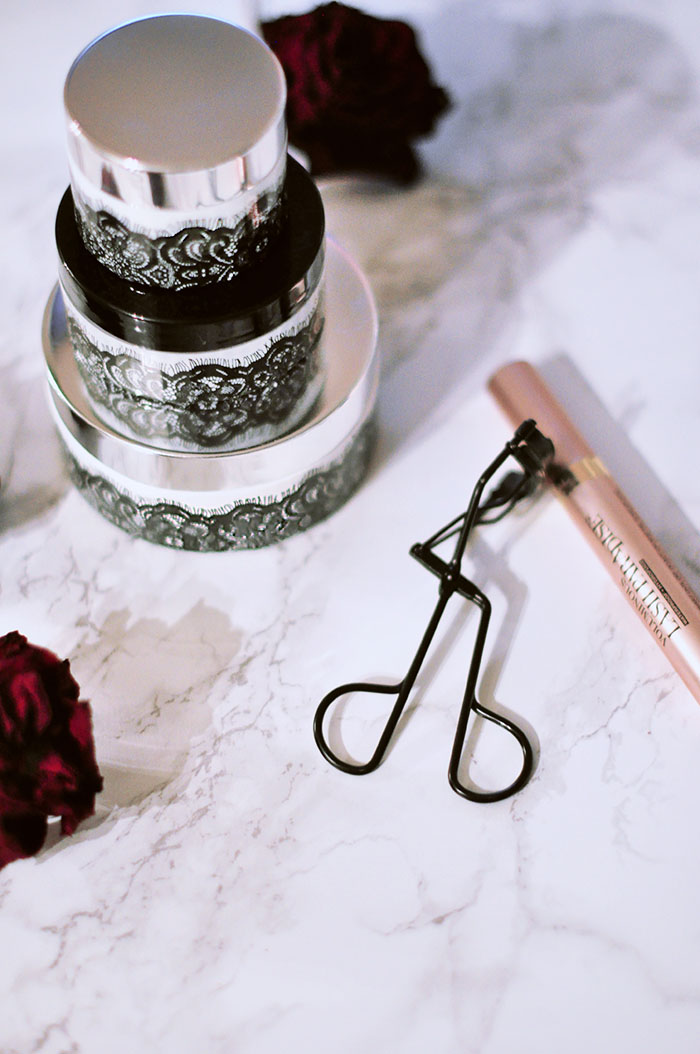
Have Fun!
* Find all my DIY Tutorials here


