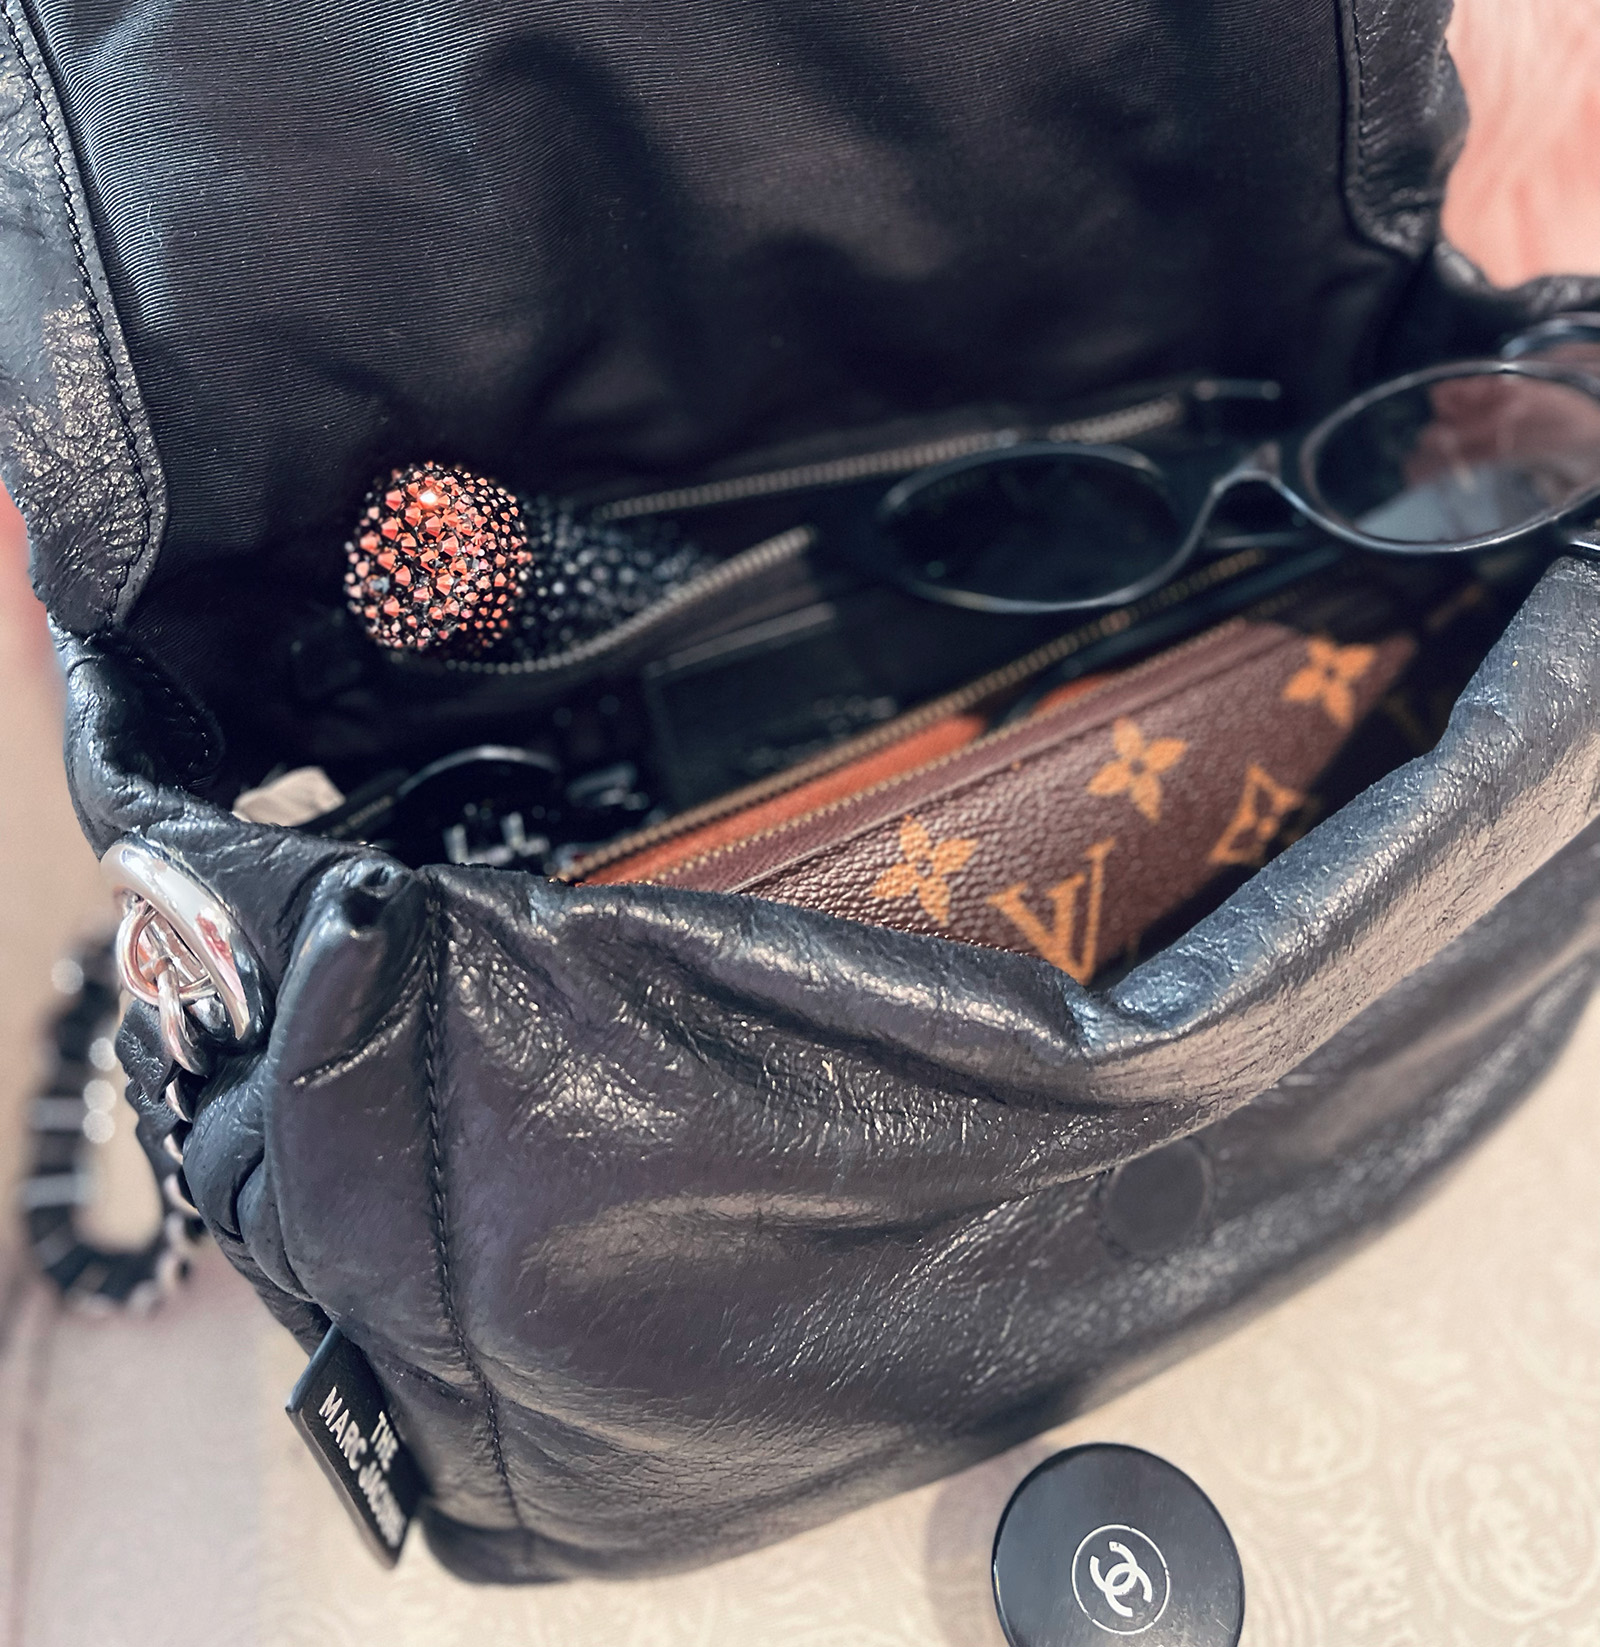
I realized the other day when I opened my bag and hadn’t zipped up my little side pocket after using my lip gloss, that at first glance, all you could see was my ORANGE PRESCRIPTION BOTTLE OF PILLS, which is technically only filled with Tylenol (and maybe a few Xanax just in case) in an old container… BUT STILL, it just made me feel like some kind of addict and I immediately wanted to remedy that situation.
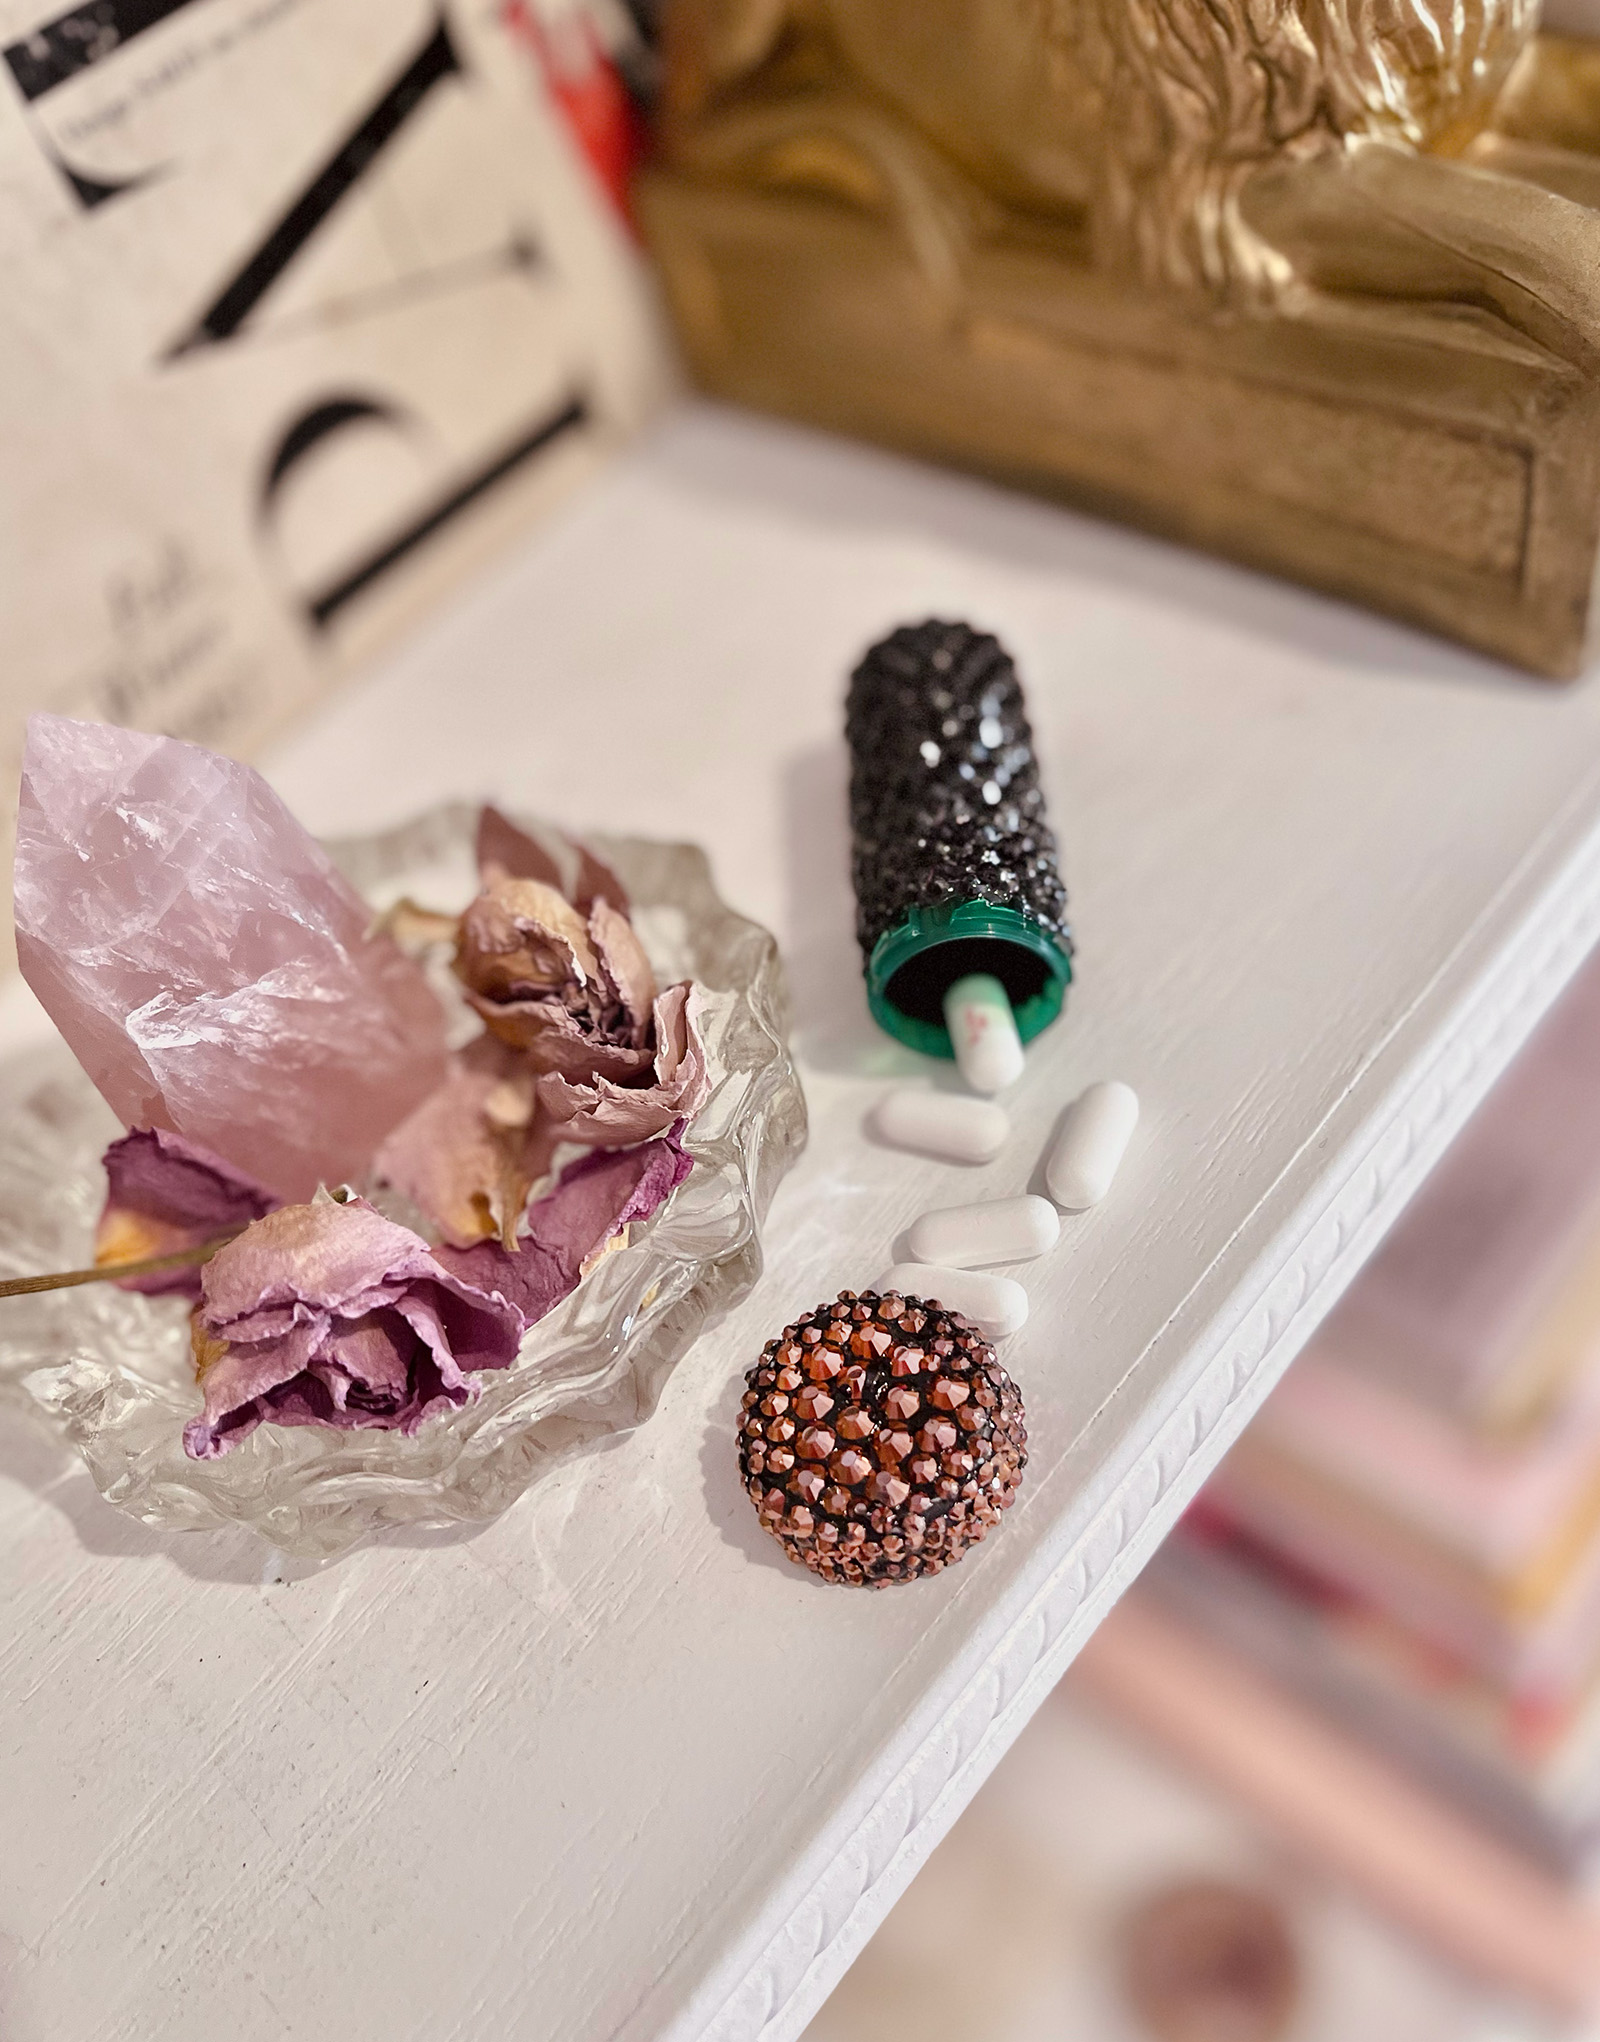
Not only is it far too big to keep in my bag, (how many Tylenols do I really need anyway?) and takes up too much space, but it’s also ugly. Now, sure I could’ve just purchased a cute little Judith Leiber pillbox for $700-$1000 😂 , or used the vintage Chanel container you can see in some of the photos at the end, which was my grandma’s, but I really wanted to make a crystal one that in some looked like a tube of lipstick or something you might not even think twice about if you saw it poking out of my bag.
Anyway, I found a few little containers as options, but went with one from the vet because it was so tiny. Although it doesn’t look very small in the pics, it is by comparison. However, the crystals add to its overall size in the end… and the dark black background reminds me of these crystal heart rings I posted many many moons ago.
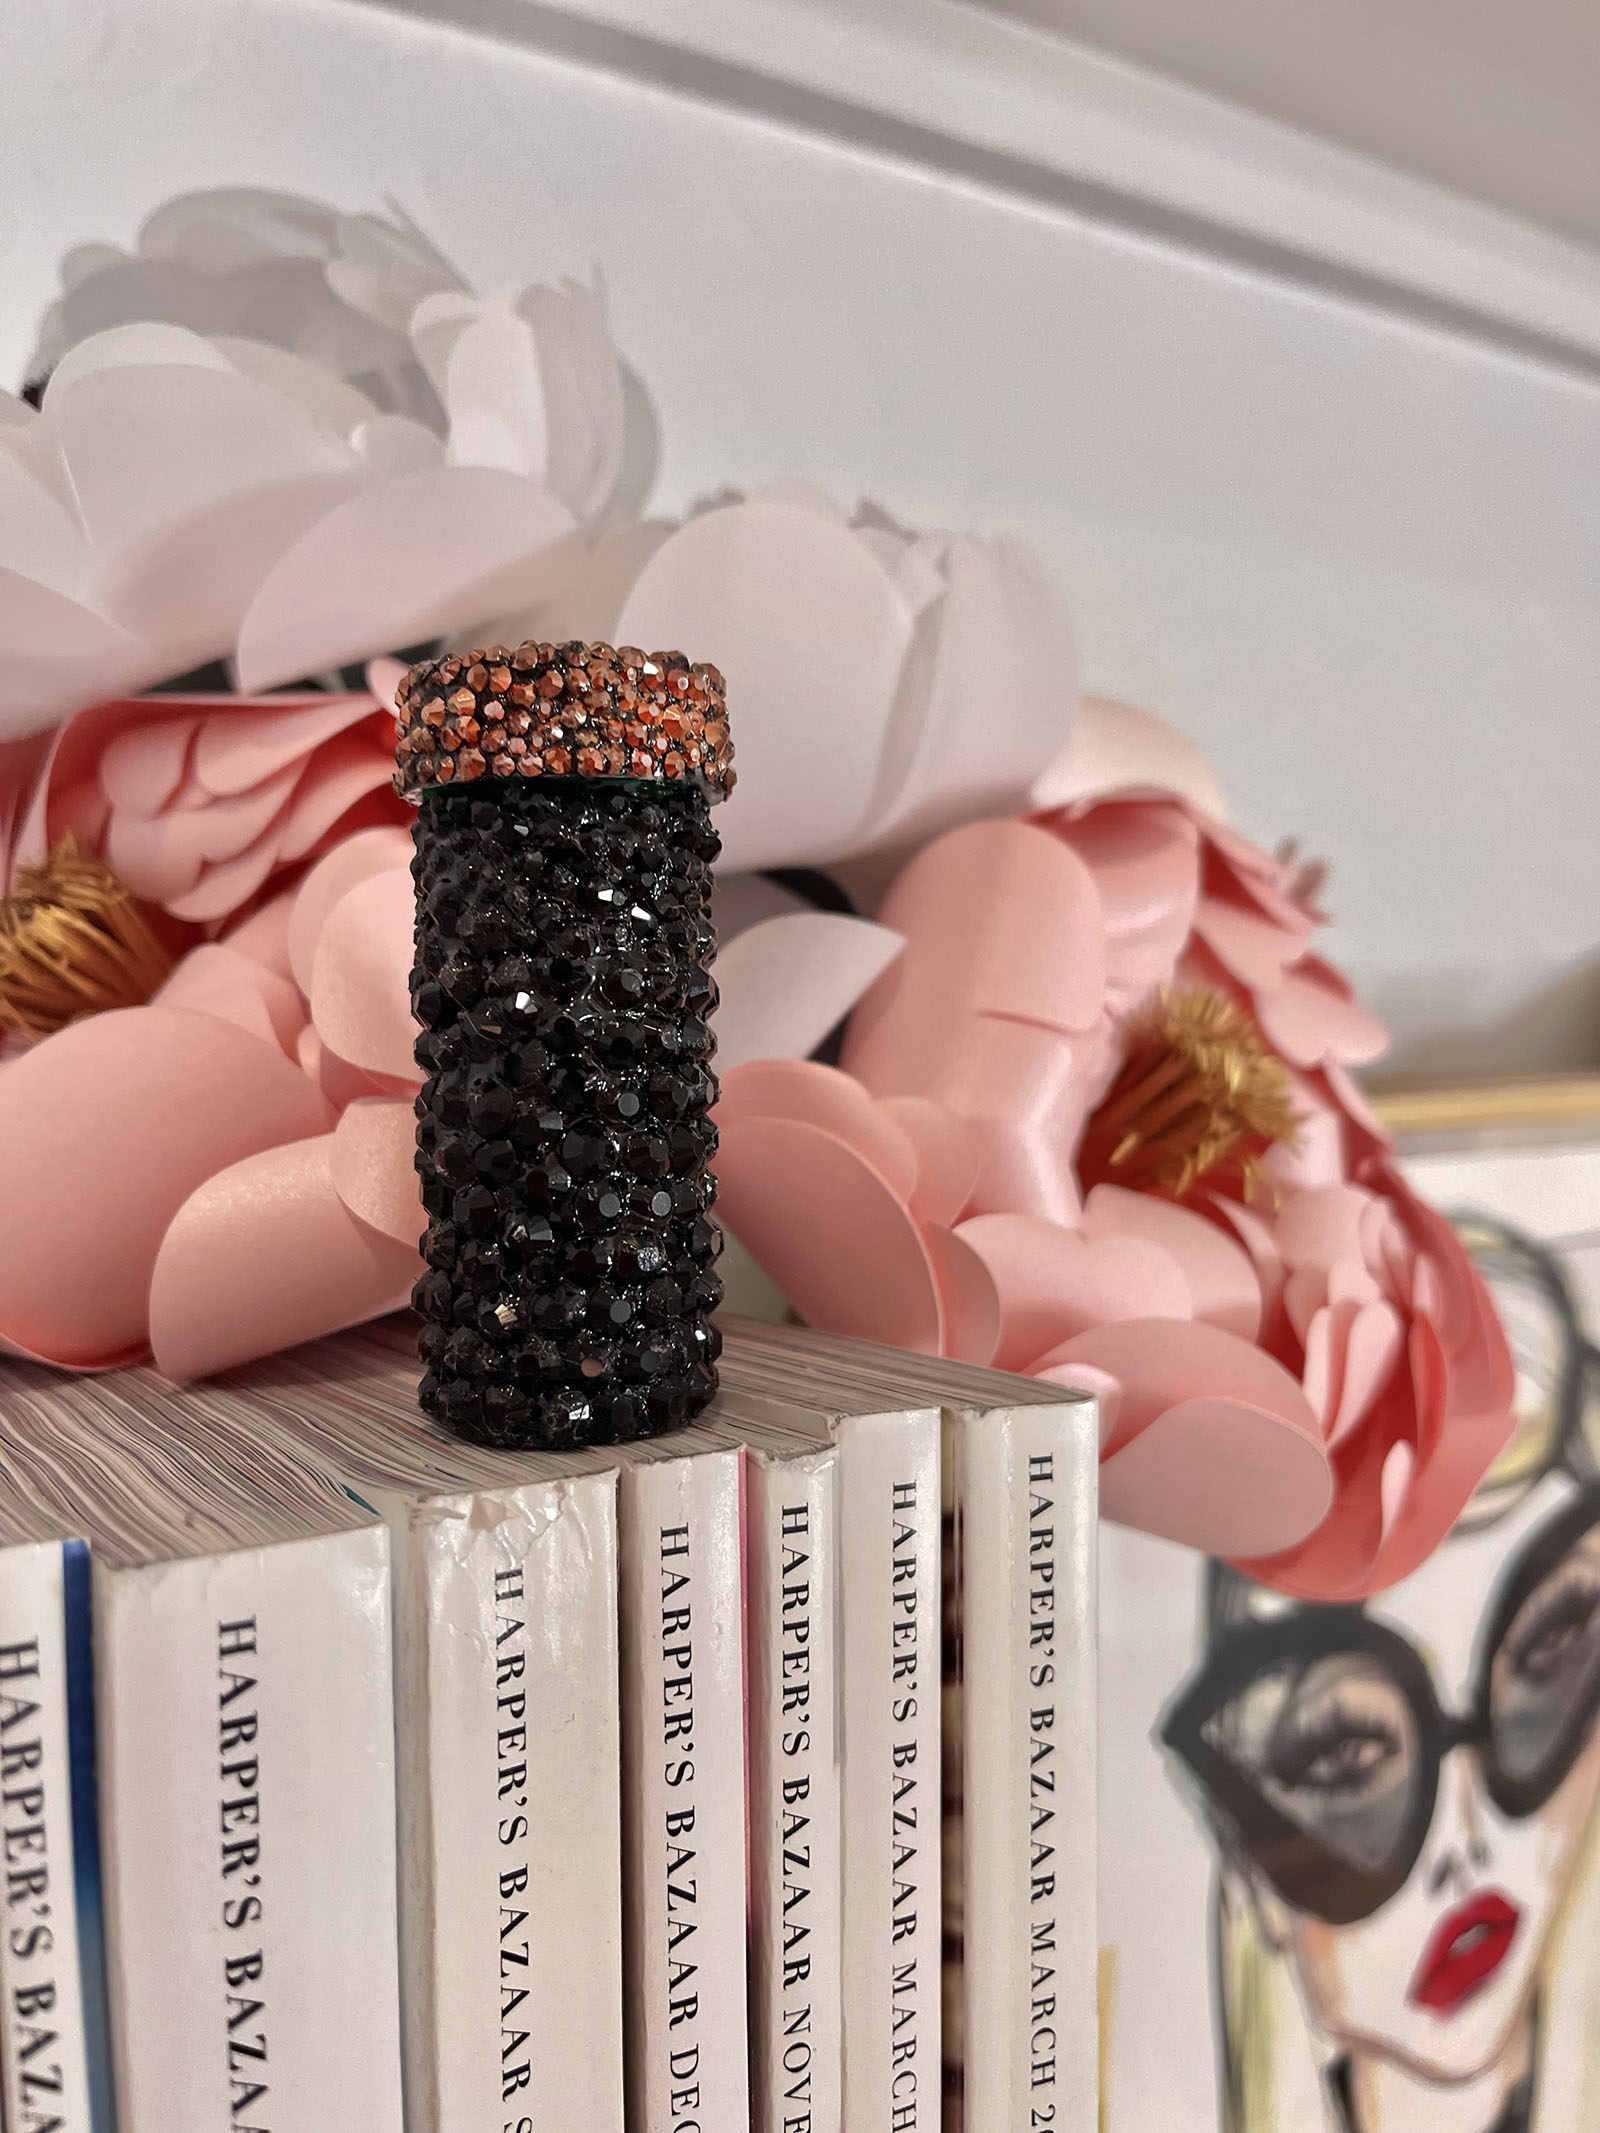
Now look how cute it looks peeking out of my zipper pocket! 😍
Here’s What You’ll Need…
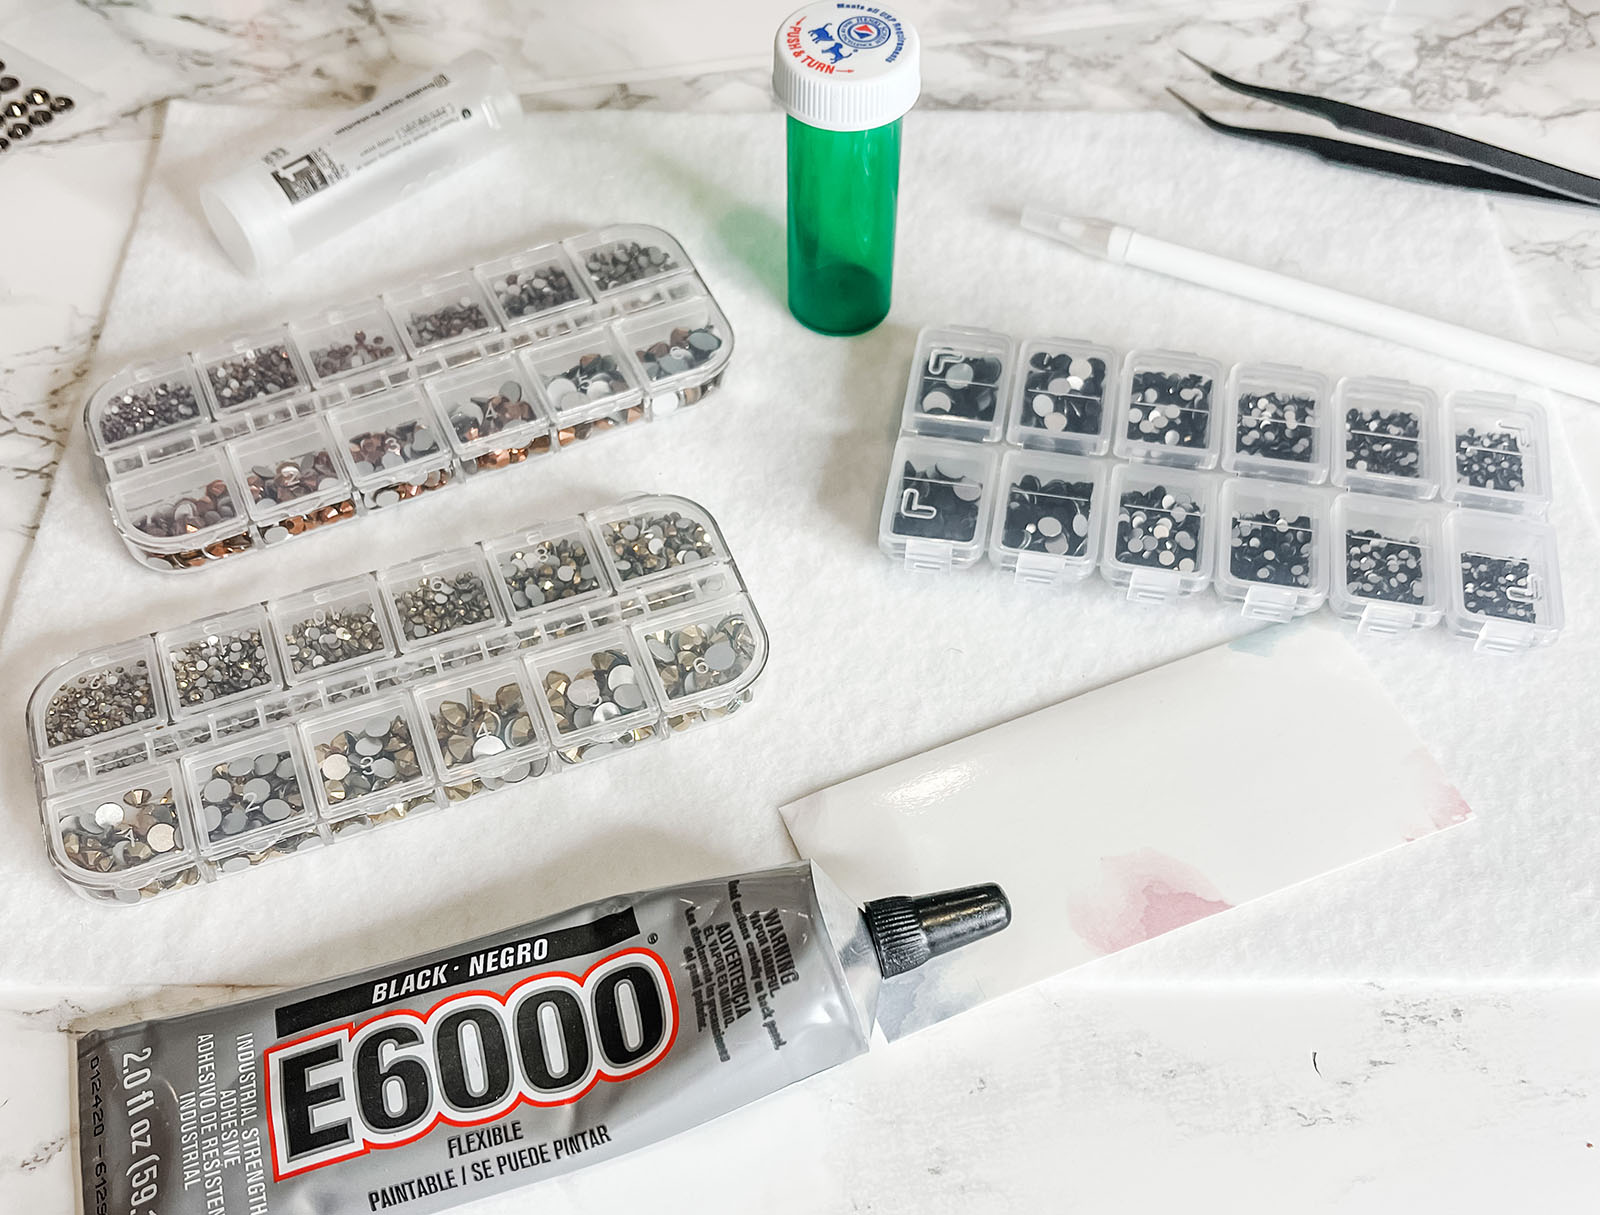
* Small case or box with lid (I’m using one left over from the dog meds… I chose it for its small size)
* E6000 Multipurpose Adhesive, Black- Normally I like the clear but for this, I think black makes it look better.
* Flat Back Crystal Rhinestones Gems in Black and Rose Gold (these come with tweezers for picking up the gems)
* Optional: q-tips, tweezer, felt to lay your gems on,
Here’s How to Do it…
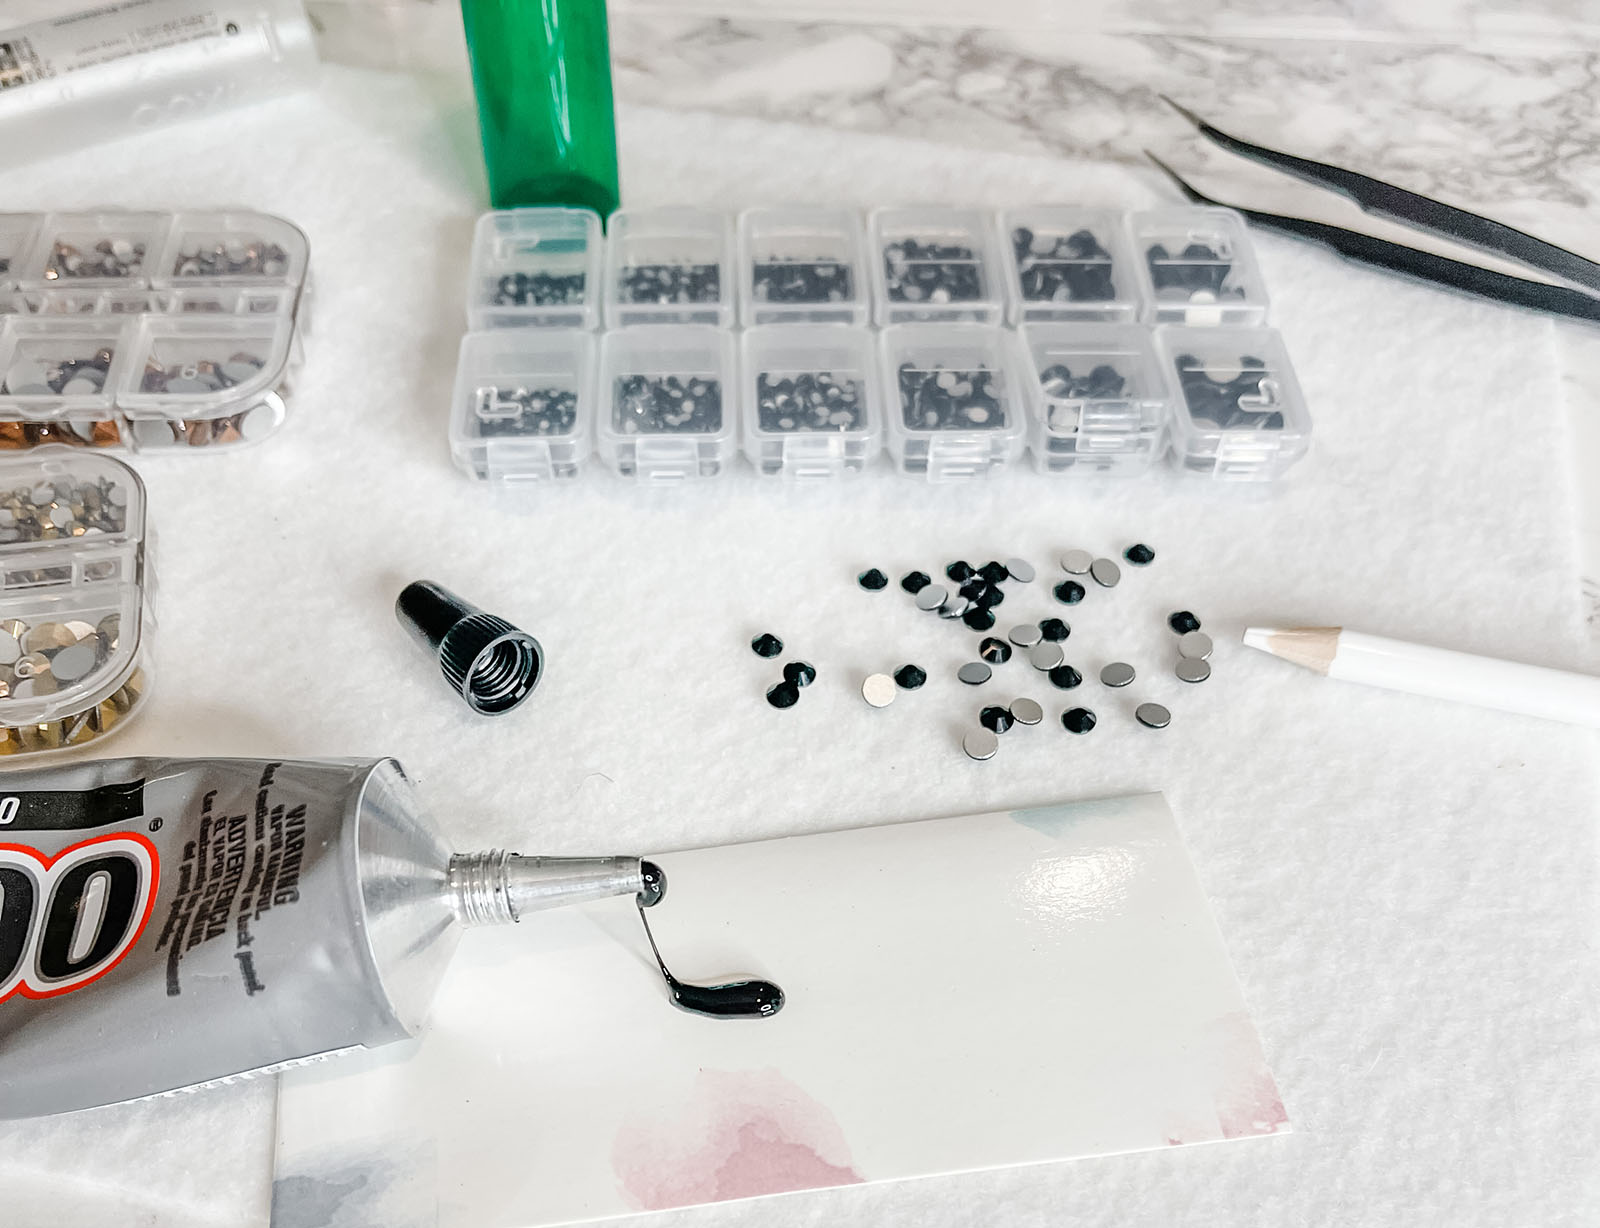
Okay.. you’re basically just glueing gems on… yes, but it takes SO MUCH PATIENCE – and quite honestly, I didn’t do the best job ever, but since it’s just for me, I don’t care too much. If, for instance, I was making these to sell, I’d have been FAR more careful about setting the stones.
Also, if you’re using any other glue but this stuff, you’ll probably need to sand your plastic container prior to glueing just to give it a little texture to adhere to. I find that this E6000 glue works very well for plastics… Check out my old DIY 3D Butterfly Phone Case… that I used FOREVER and never lost a critter!
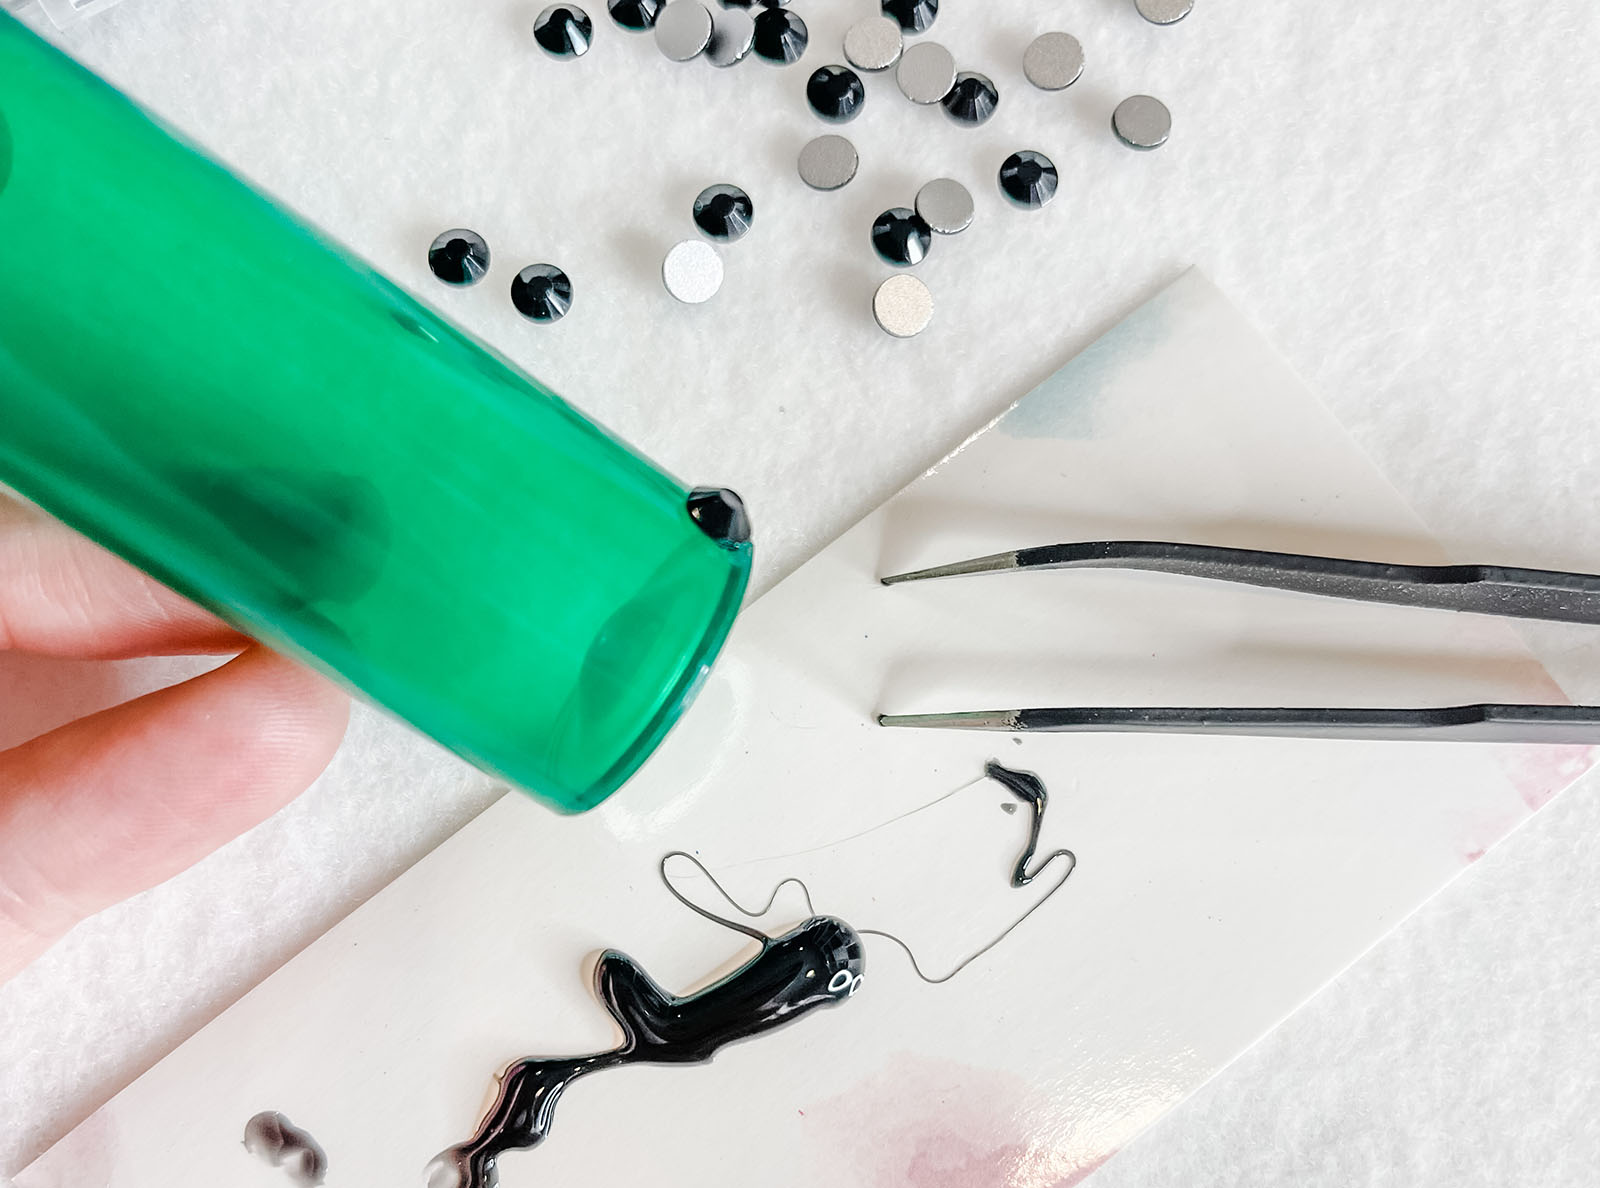
I started by dipping each gem into the glue, which was the cleanest way… but not the most effective, AND the gems would often get stuck in the glue or flip and just make it harder.
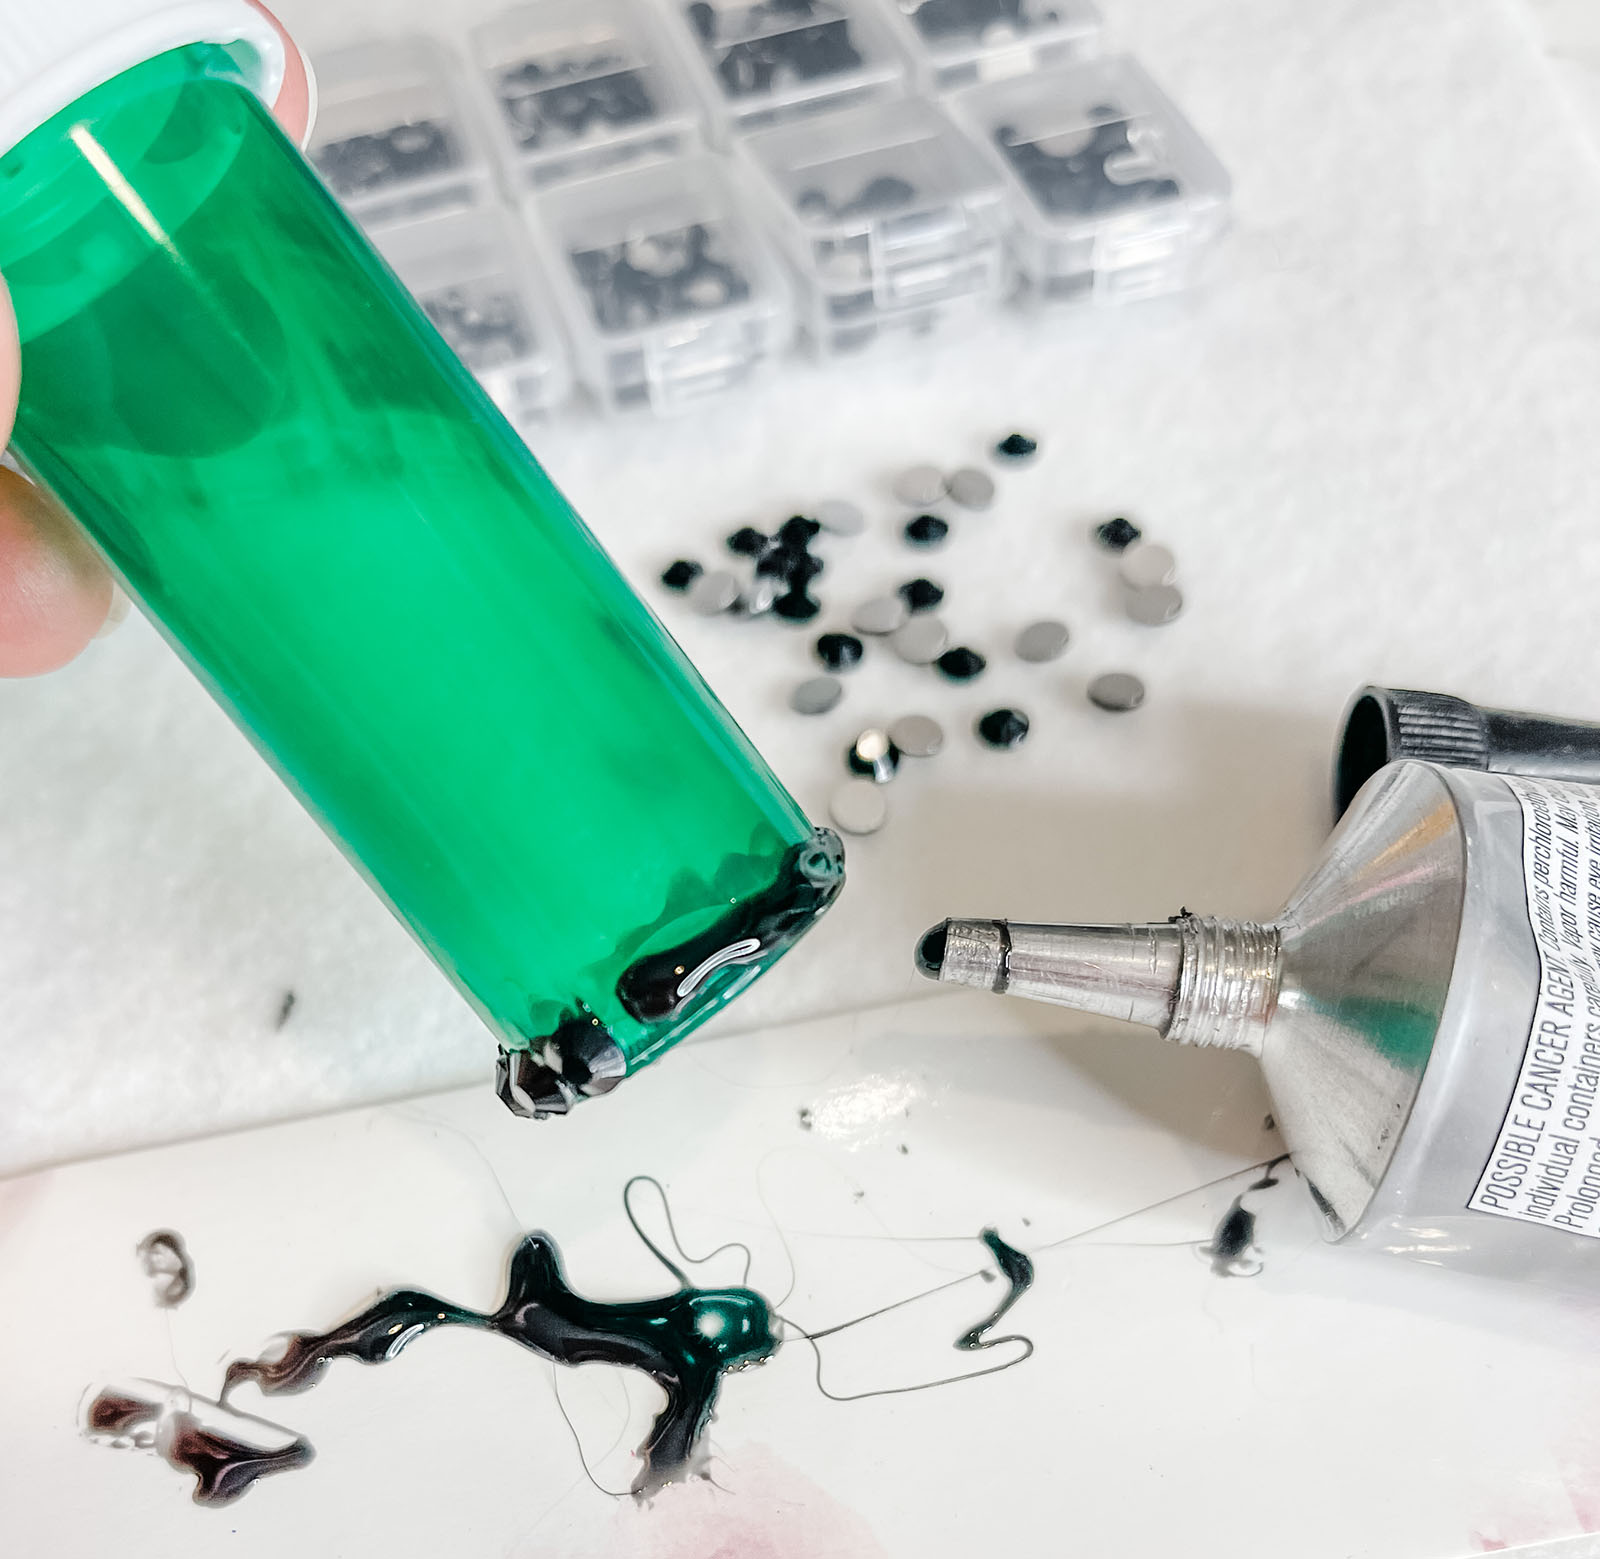
Then I began adding the glue to the base and setting the gems on… this did cause excess glue to squeeze out, HOWEVER, because it’s black, it kind of looks cool in between the stones (PS it dries black).
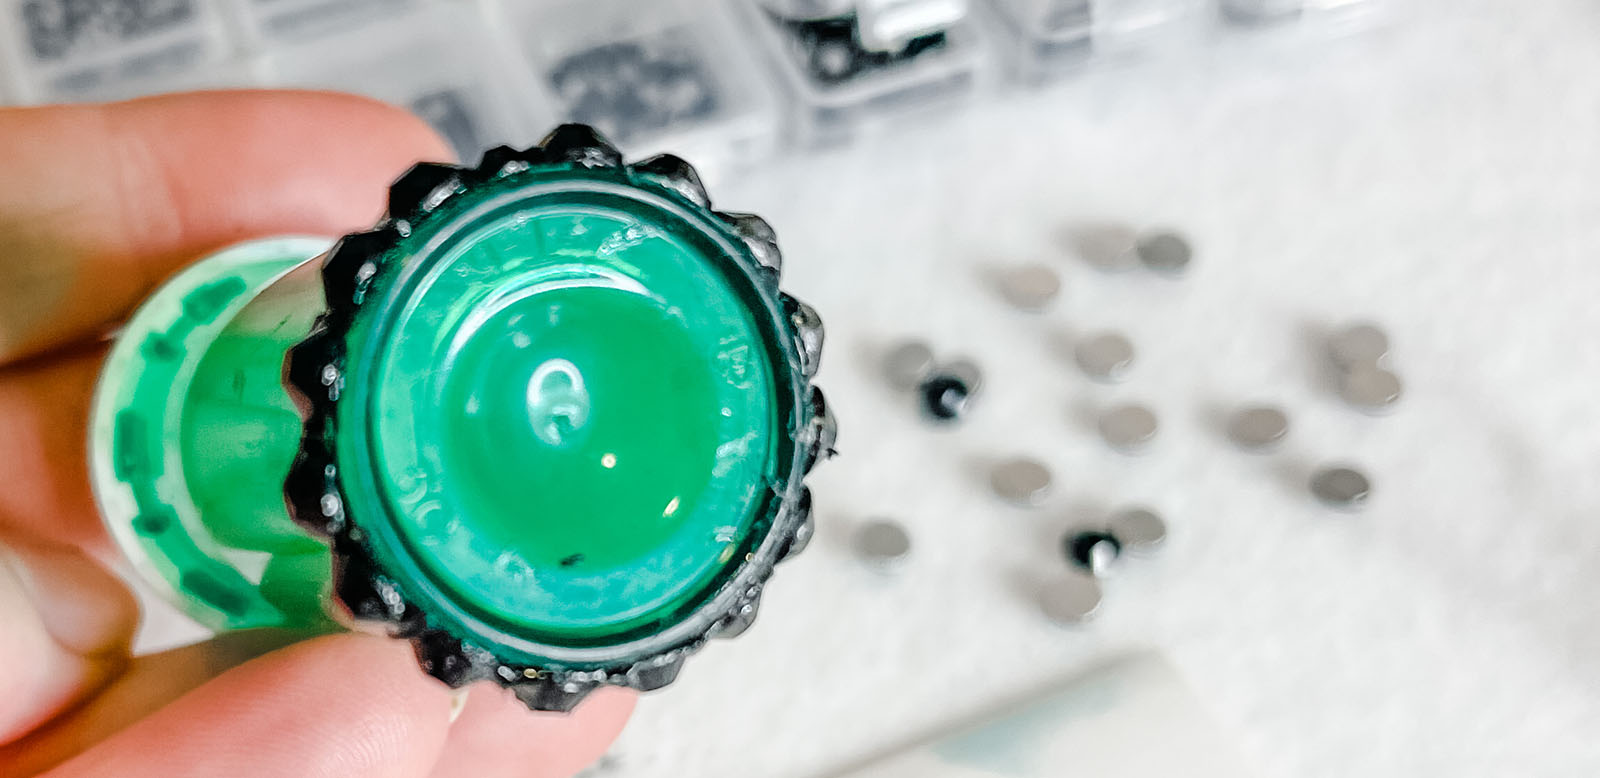
Starting at the bottom…
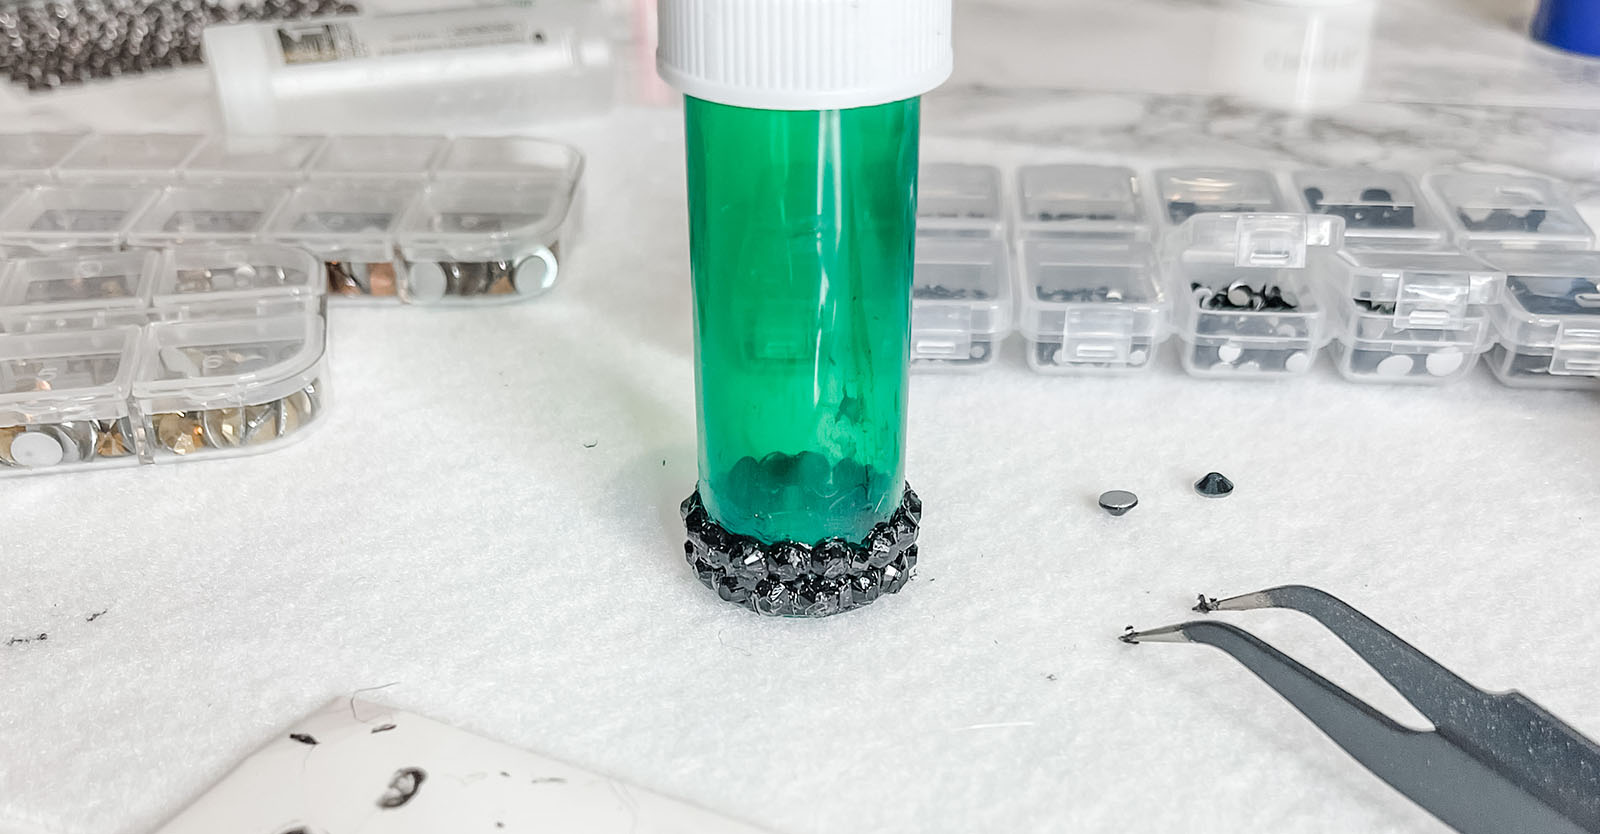
…working around and around, slowly going up to the top
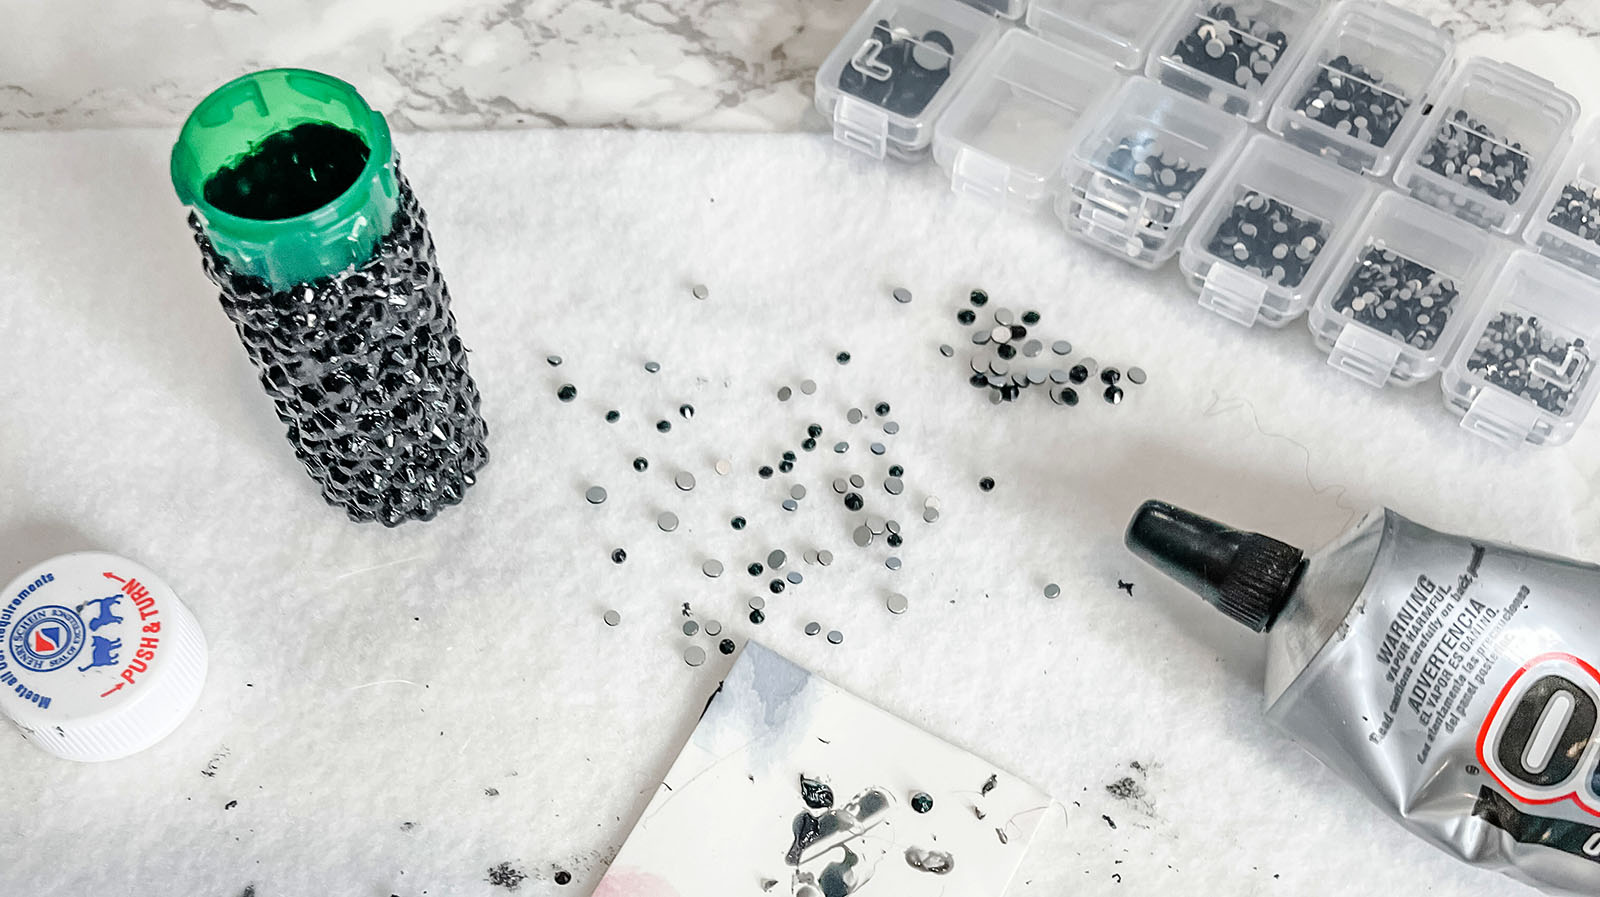
I mostly used the second largest stones in the kit and then went smaller in blank sections and as I got closer to the top
NOTE: Make sure to leave space at the top for the lid to go on and press down and twist, if this is the kind of container you’re using.
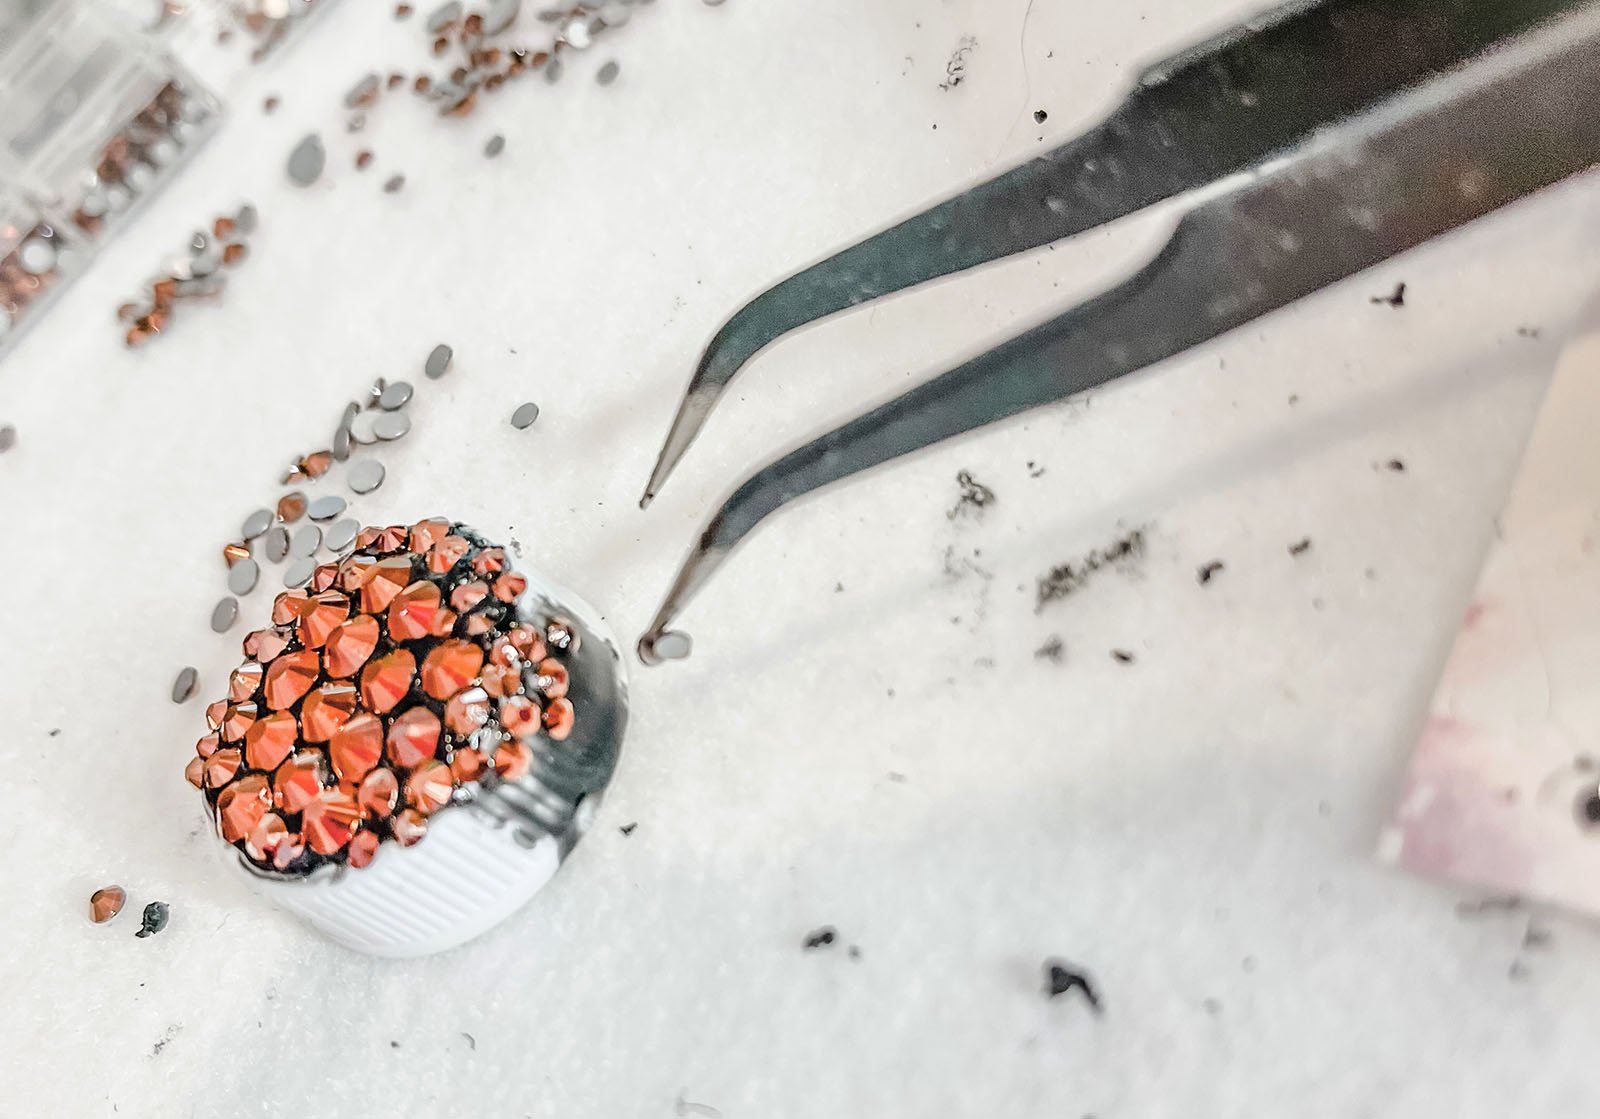
I did the same thing for the lid… applied glue to the entire top and STARTED SETTING STONES IN THE CENTER and WORKING MY WAY OUT…
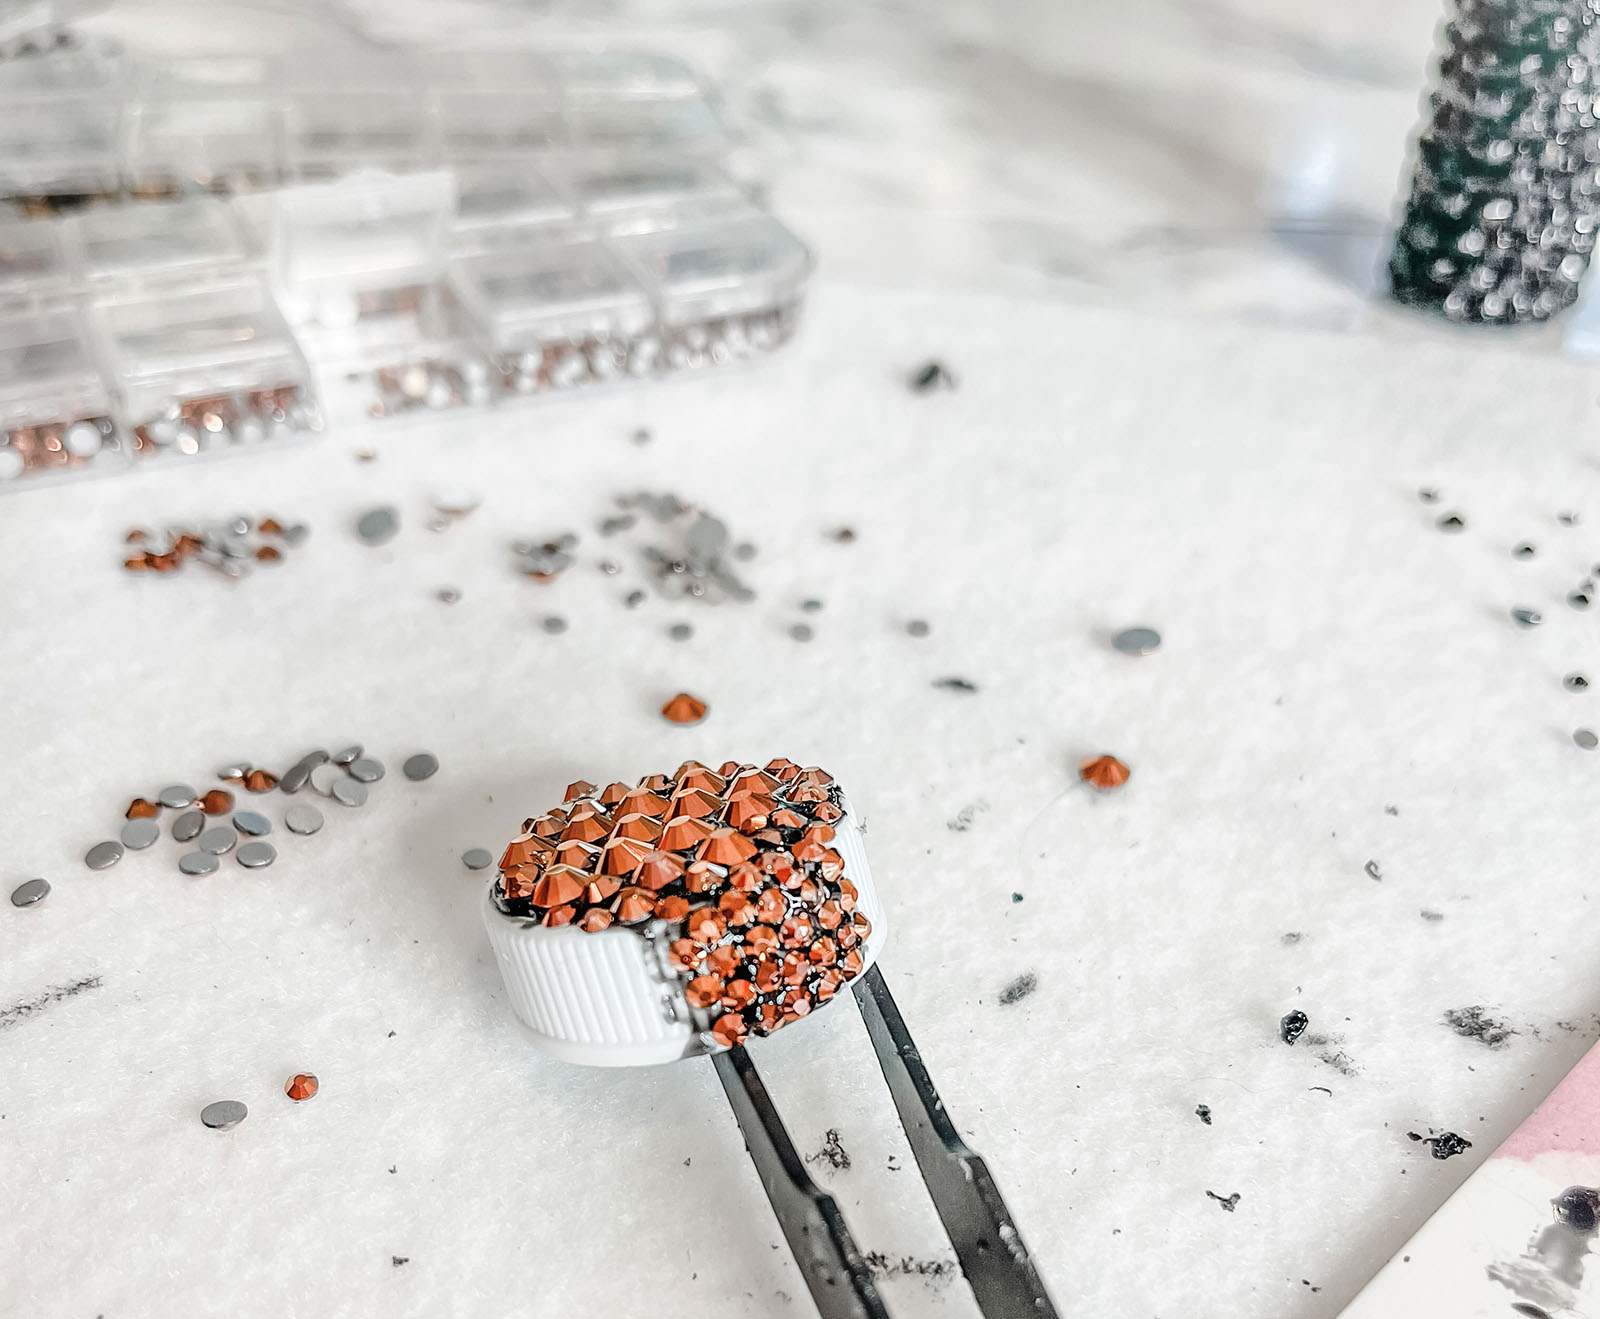
Then down the sides with a smaller stone size. And ultimately I liked the way the smaller stones looked, especially in the rose gold with the black glue in between.
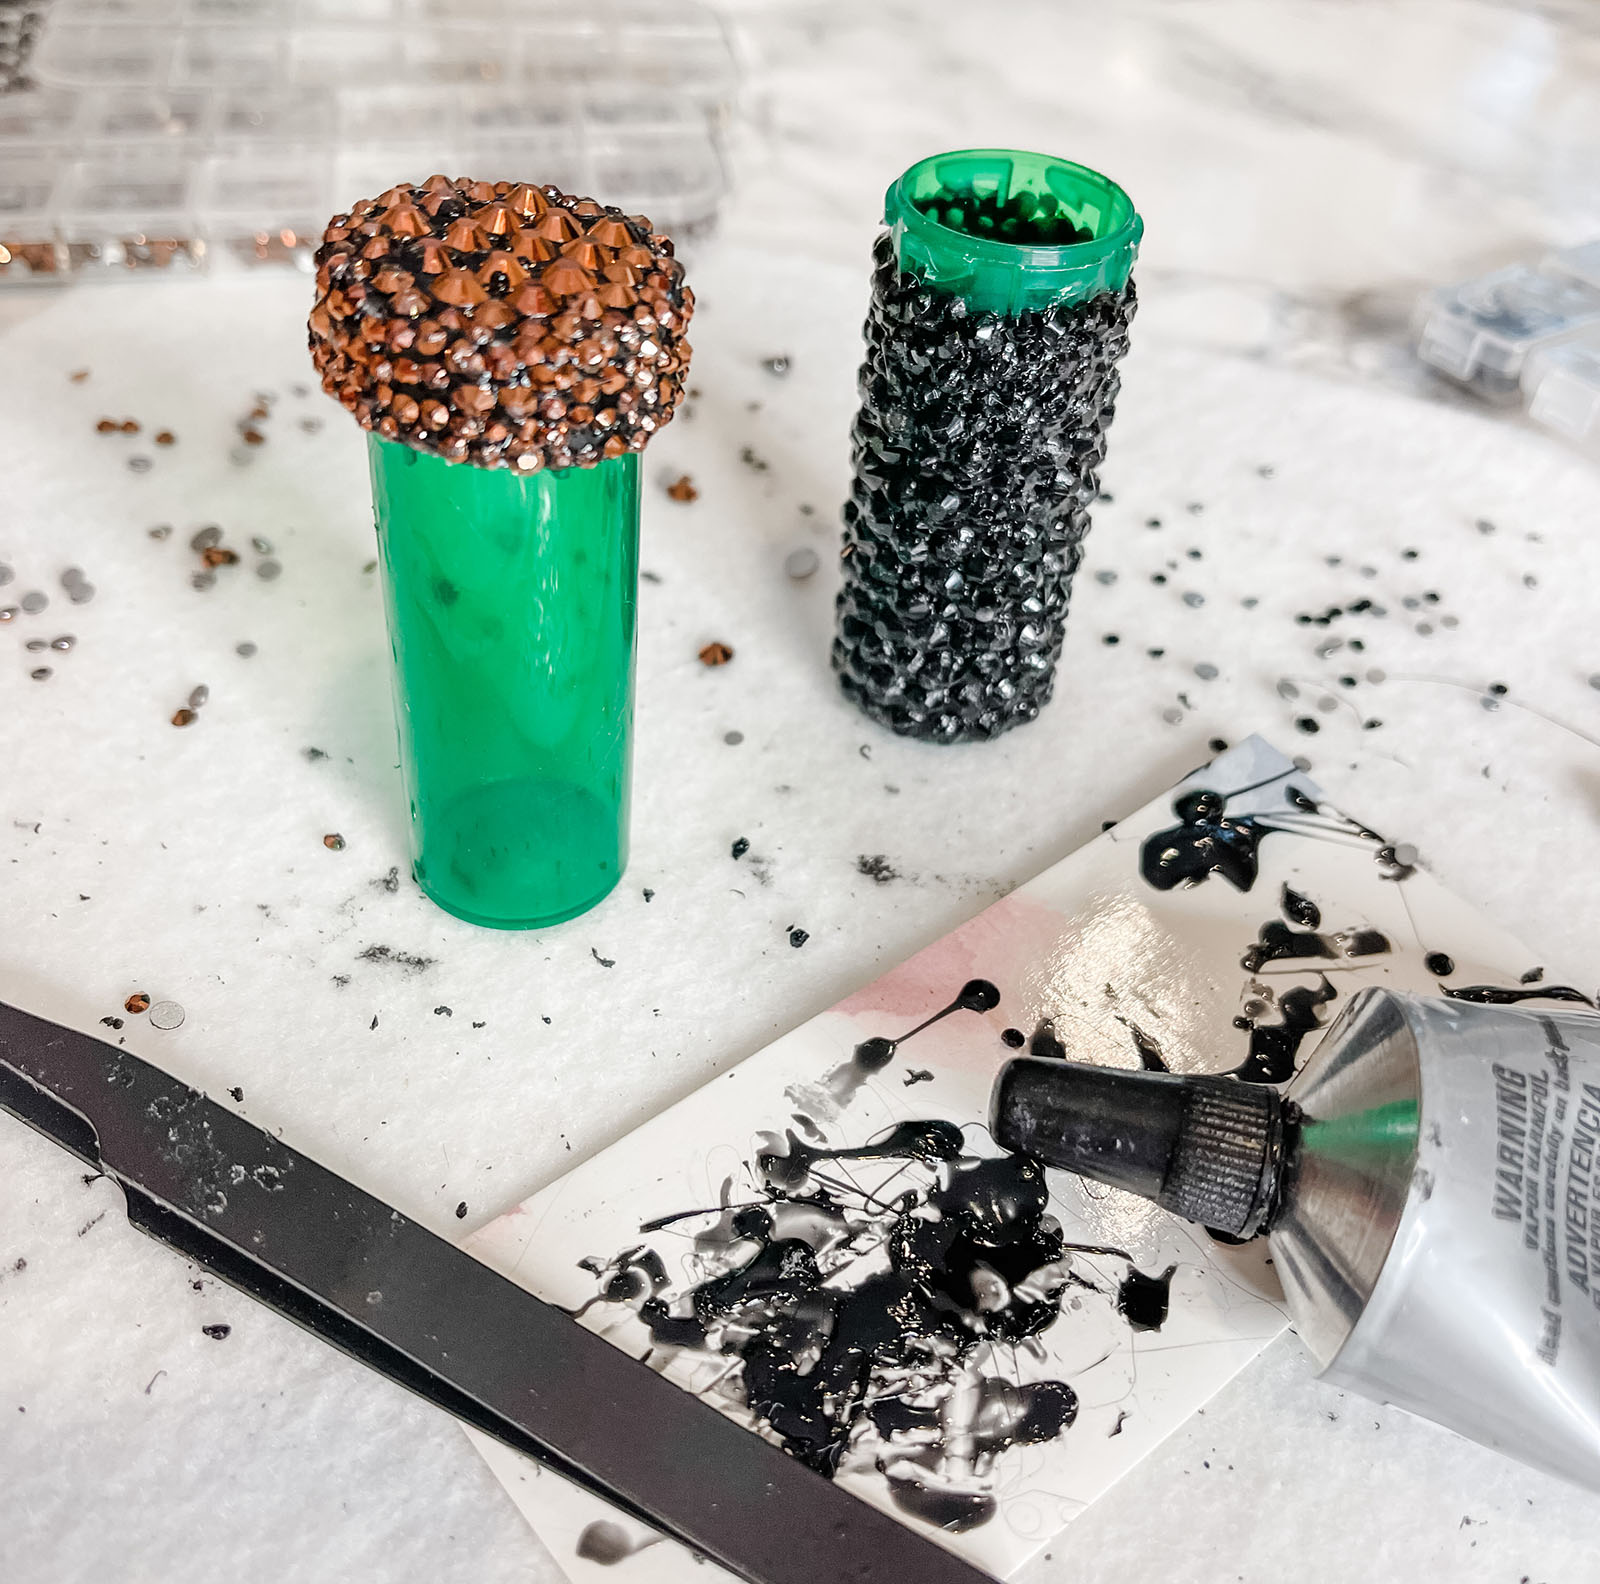
I thought of this a little too late BUT if you have a second container, set the top on it so you have something to hold while you’re glueing on the stones to the sides.
Allow it to dry OVER NIGHT at least… before using it AND, clean up the residual glue with a q-tip and rubbing alcohol once it’s dry. If you get a little messy, as I did, you might have to spend a little more time cleaning up the glue, but it’s worth it if you run out of patience while setting your stones 😉
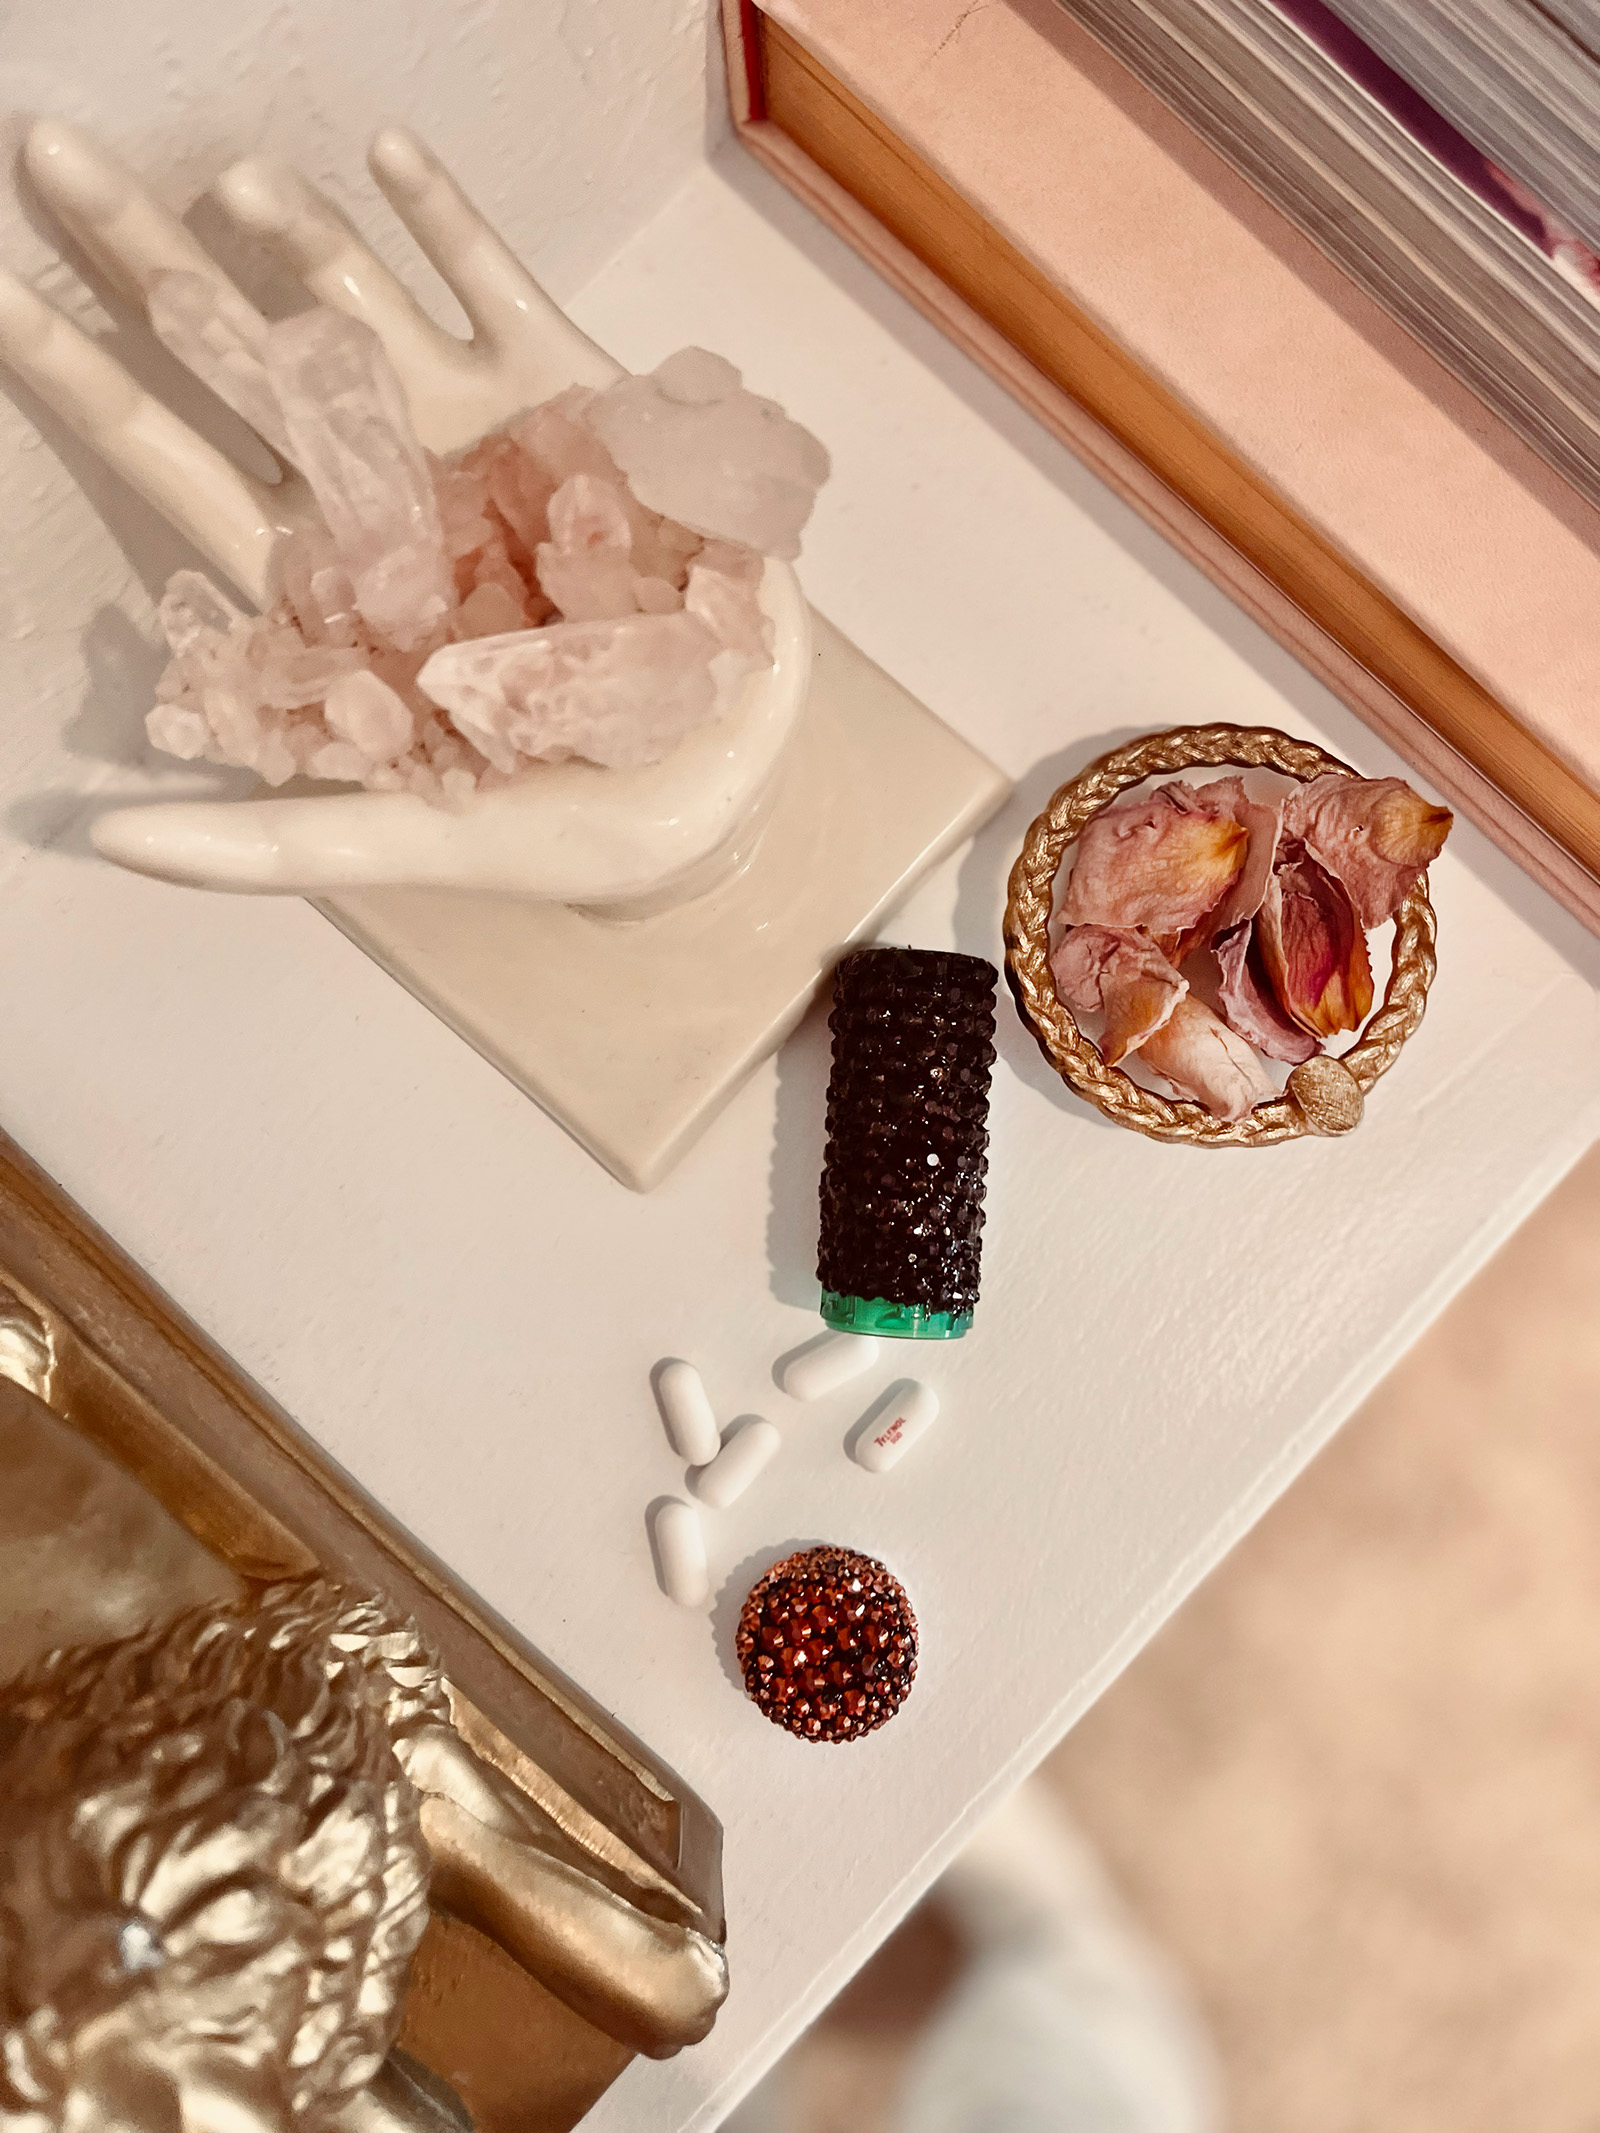
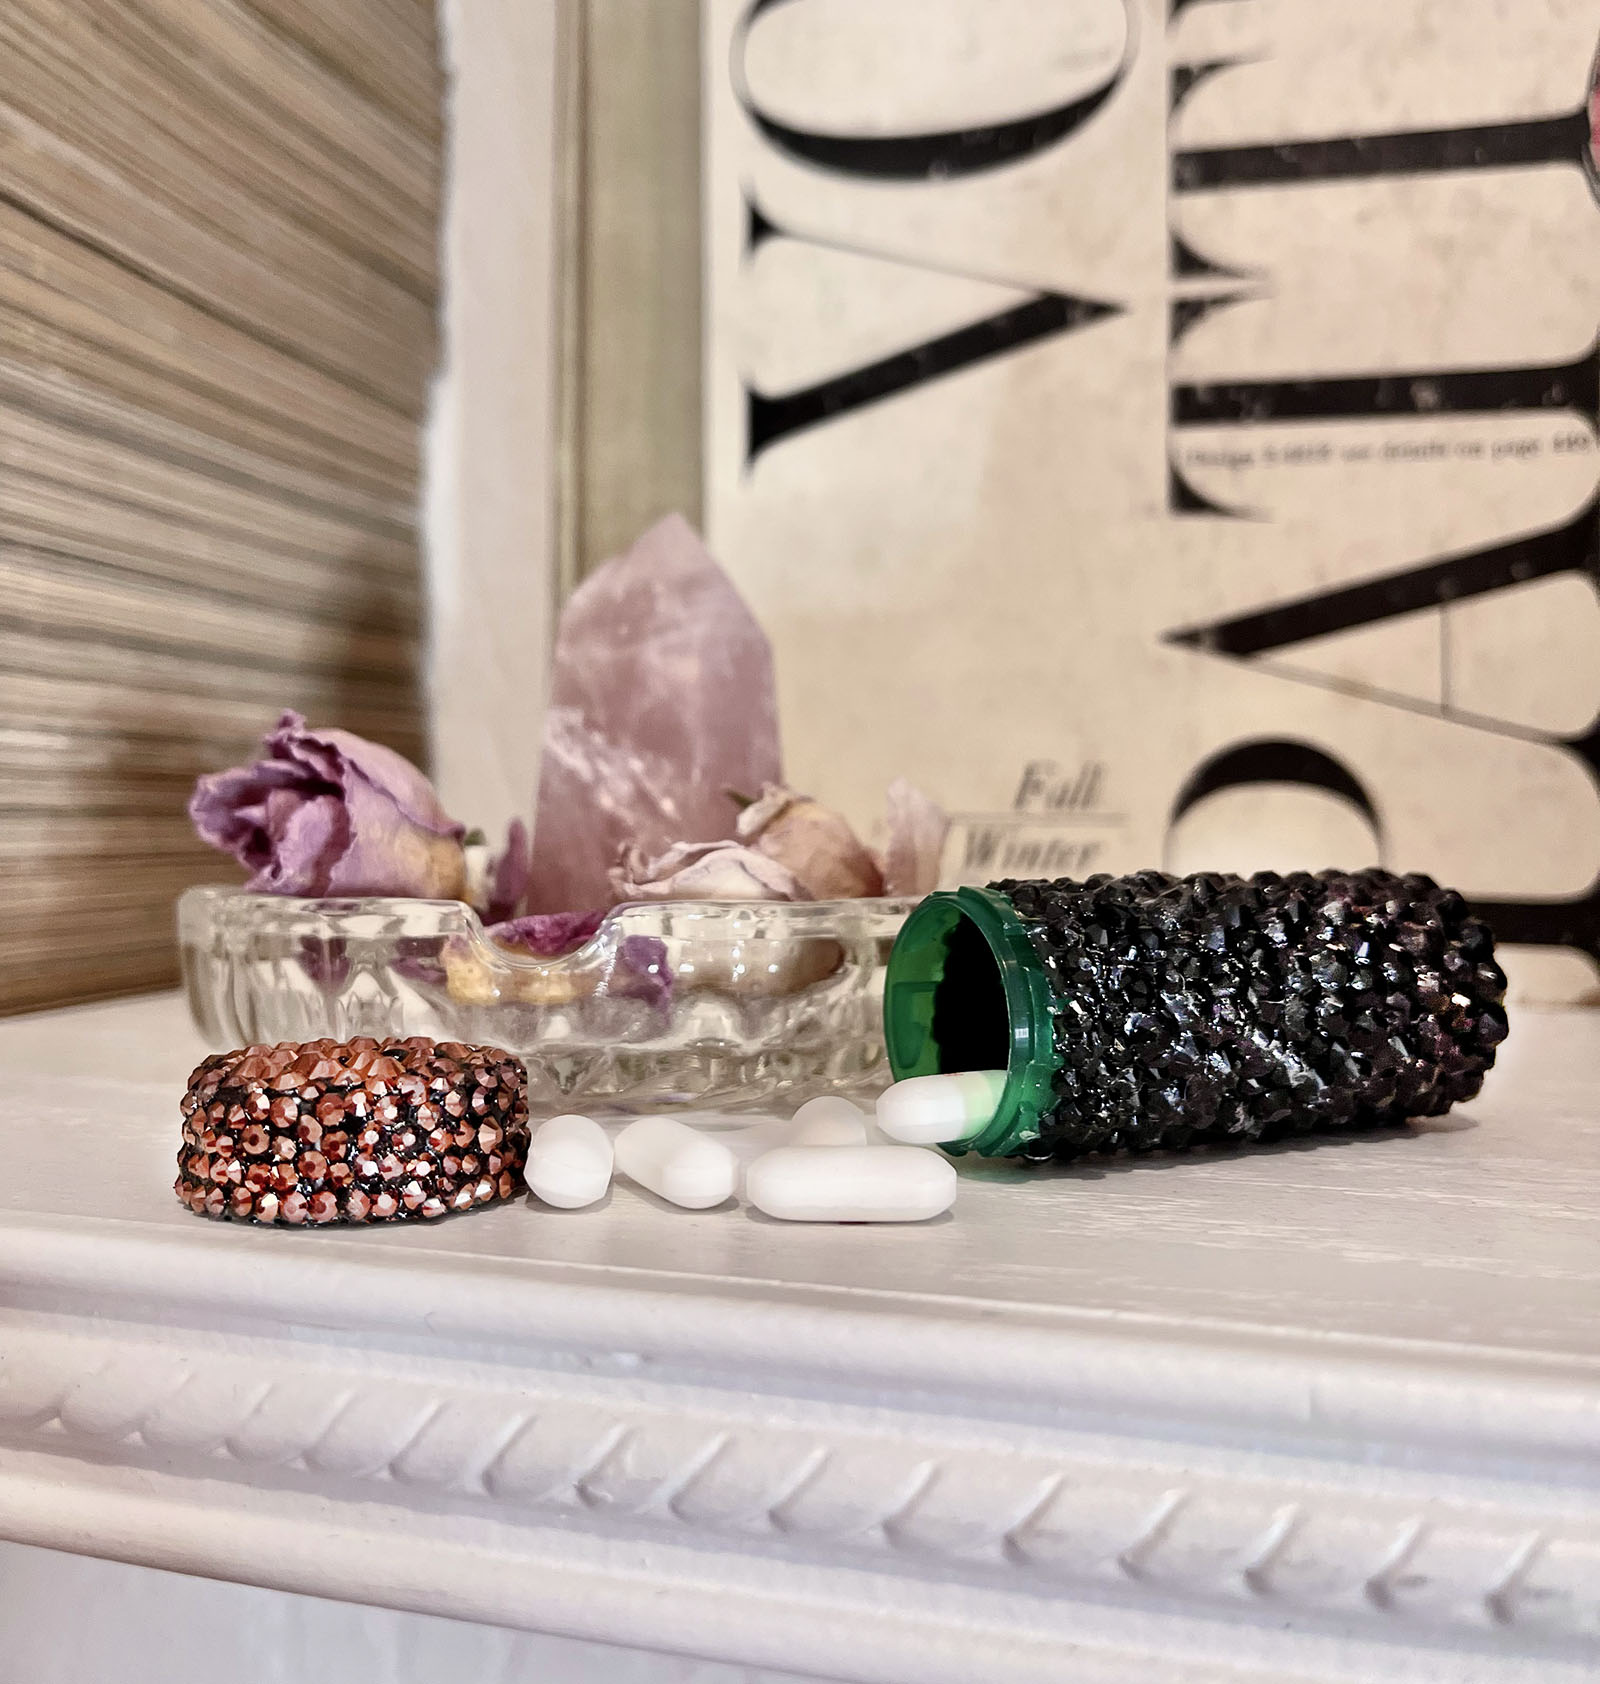
And… Voila!
…and I should also tell you that it looks a bit better in person… a little richer, less clumpy. The photos don’t do it justice. I almost want to make another one 🙂
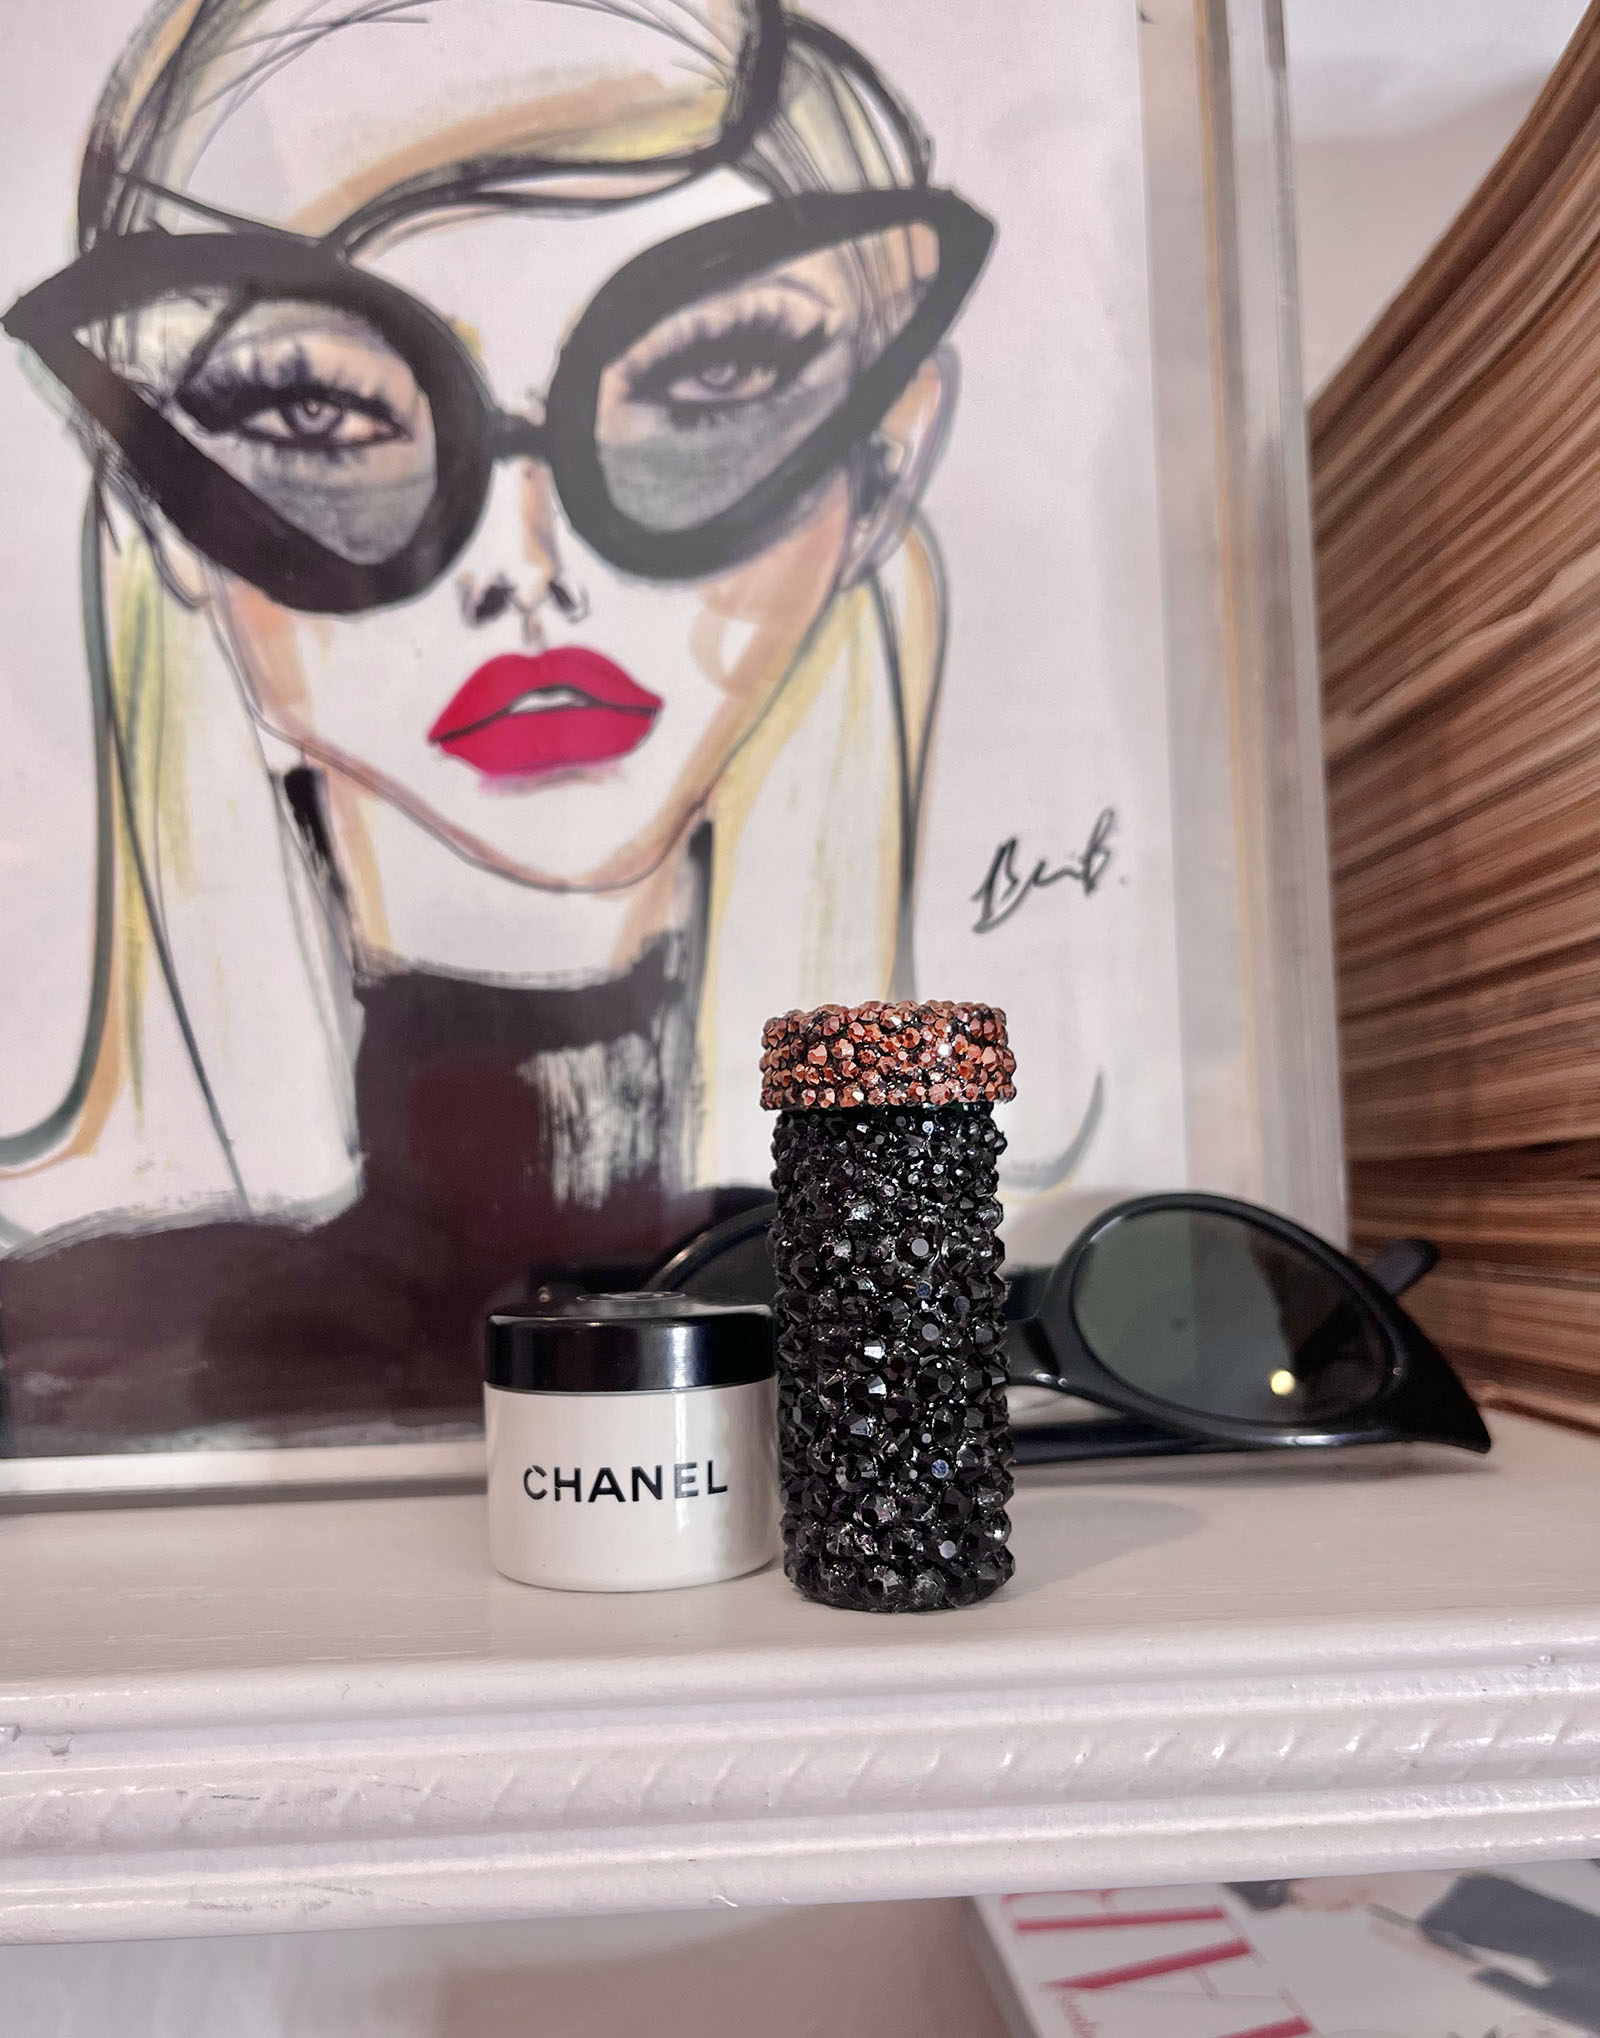
Have Fun!
* Find all my DIYs here

