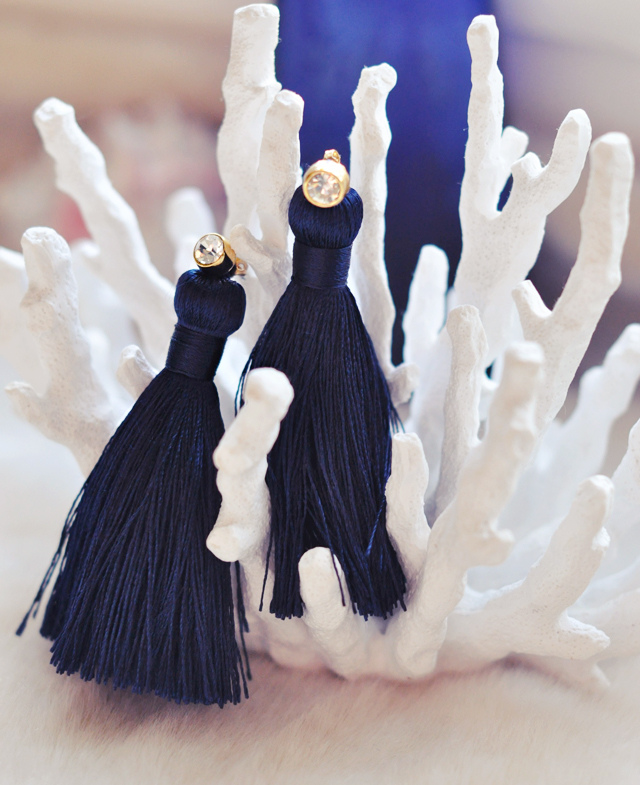
I MIY’d a pair chain tassel earrings back in August 2009 and have worn them enough to see a bit of tarnishing on the gold hooks and chain …which doesn’t bother me really. But since they’re a bit shorter and well, dripping with chains, they have a particular style. And like many things, there are various different styles of tassel earrings.
I picked up a few of these rope tassel tiebacks in different colors a while back on a trip to JoAnn’s and thought I’d ultimately use them as necklaces. One morning, however, I needed a pair of cognac colored earrings, saw the rope tassel hanging from my mirror, grabbed it and a pair of stud earrings and left for work. Once at work, I snipped and tied them up into a cute pair of tassel earrings that tied my entire outfit together. It took about 5 minutes!
Since there are a handful of different tassel earring DIYs out there, {including the ever adorable Geneva from APairandASpare’s neon duo and I decided not to post my original DIY earrings. But because I got so many requests for it and since mine is a bit different, here it is. {it looks like a lot of steps but really, it’s a 10 minute DIY}.
Here’s What You’ll Need…
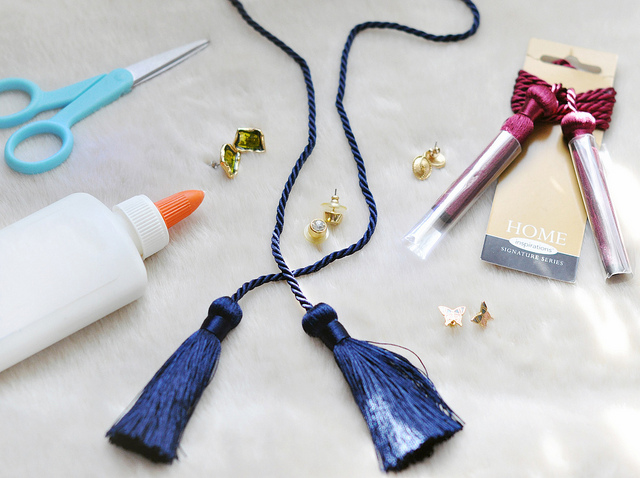
* Home Inspirations rope tassel tieback {found at JoAnn’s} …I like these in particular because they look expensive but are between $4.99 and $7.99 {I can’t find them online}
* A pair of stud earrings
* Scissors
* Any kind of glue
Steps…
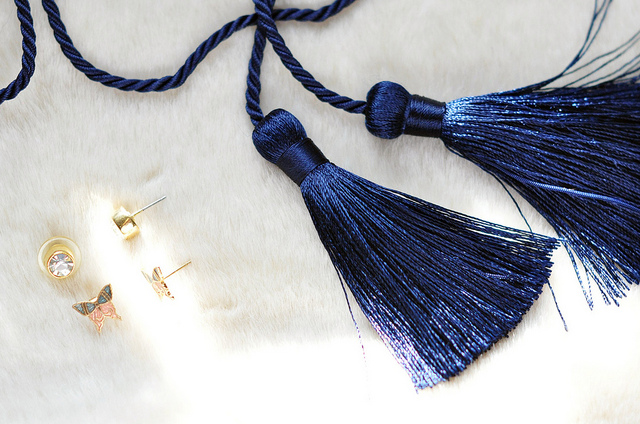
* Choose stud earrings with long stems.
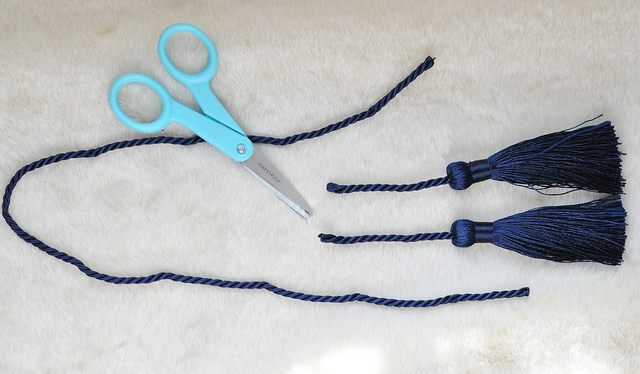
* Cut tassels from rope, leaving about 2-1/2″ on each. {save the rope for a future project :}
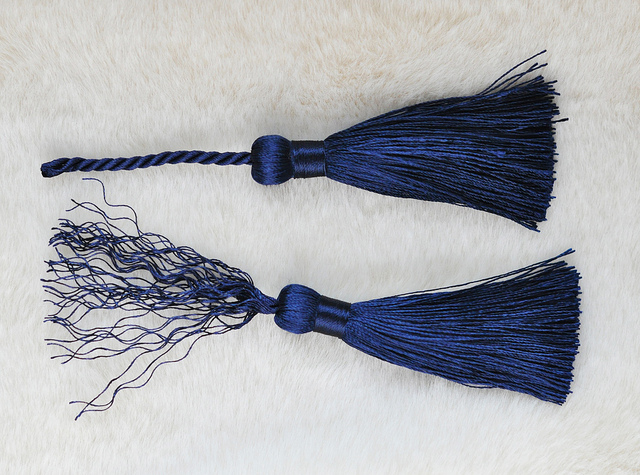
* Unravel rope.
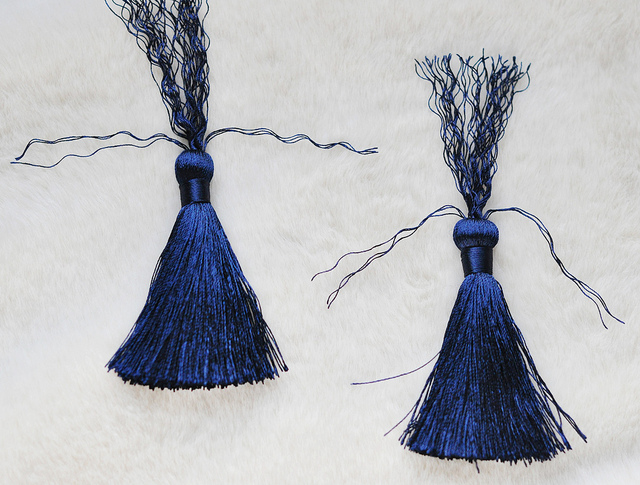
* Find three strings on each side closest to the edge and to each other and separate them from the rest.
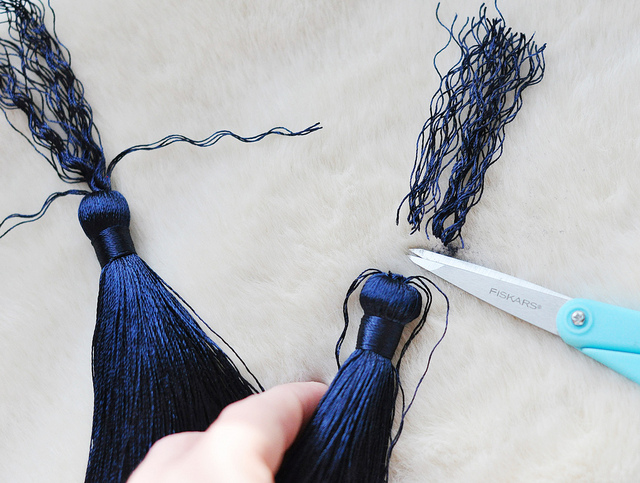
* Holding back the 6 strings you’ve separated, carefully cut the others out and toss away.
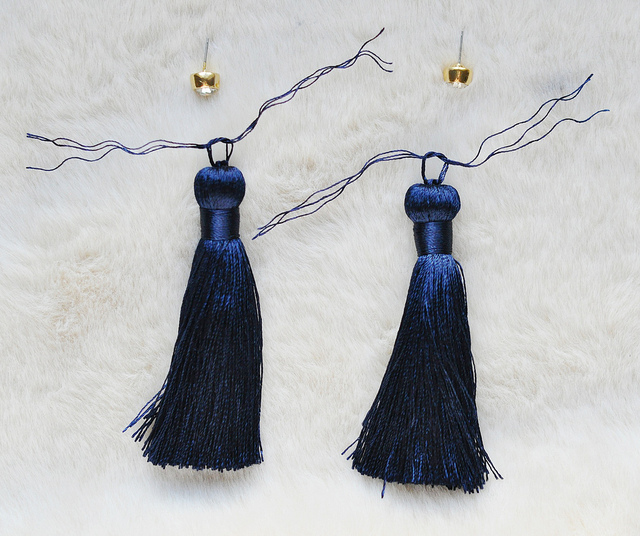
* Create a loose knot with remaining strings.
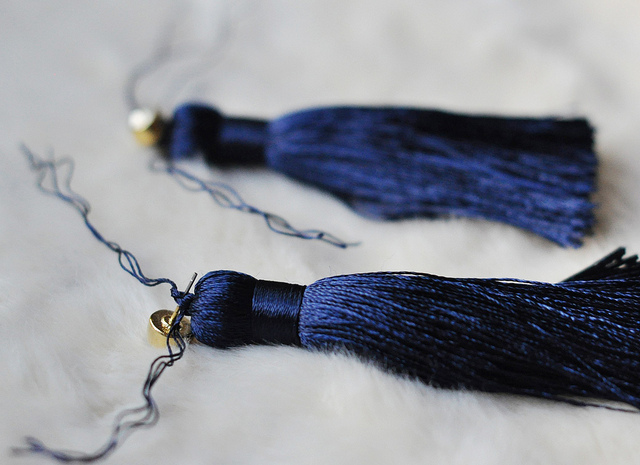
* Slip studs through knot and tighten.
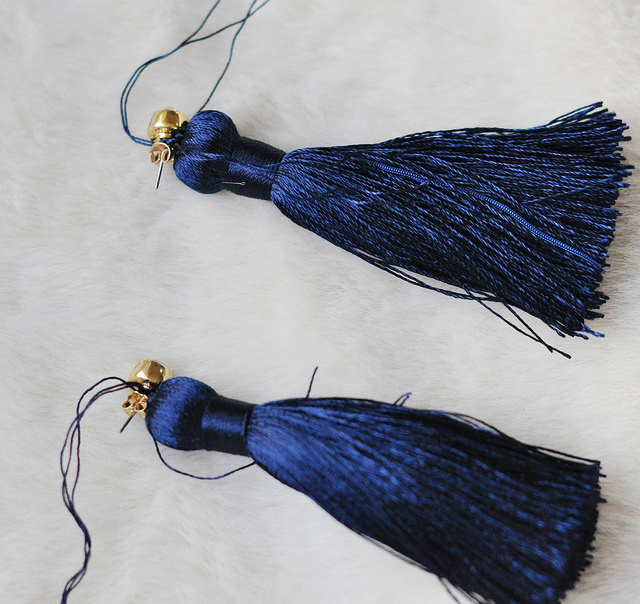
* Replace earring backs to hold your first knot in place.
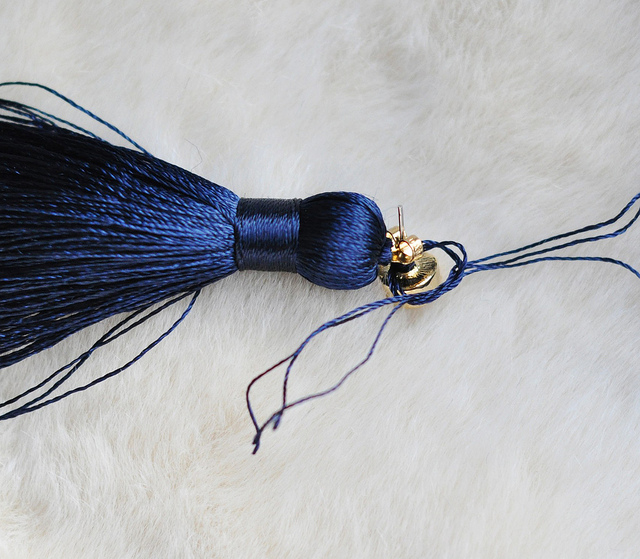
* Bring string around the stem and knot again on opposite side of first knot.
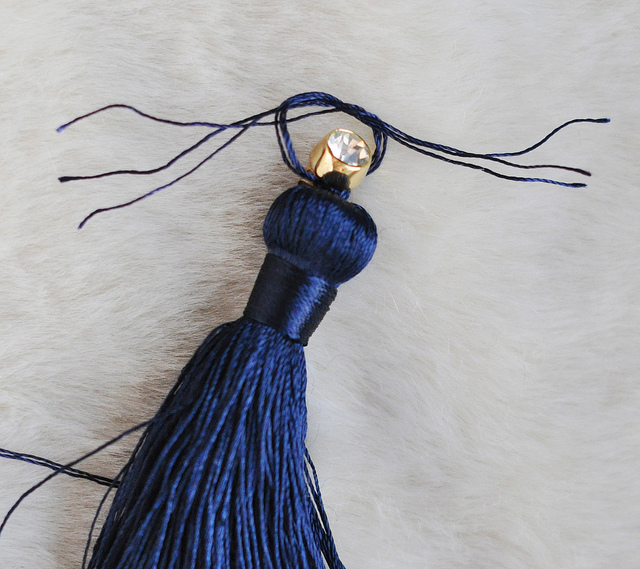
* Bring rope around again to the opposite side {the first side} and tie another knot …then tie one knot on top of that one and tighten all the way, leaving no visible length/strings between studs and top of tassel.
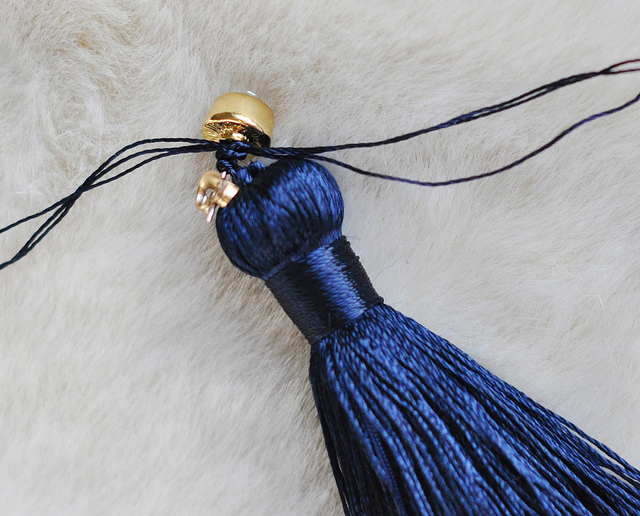
* Final knot
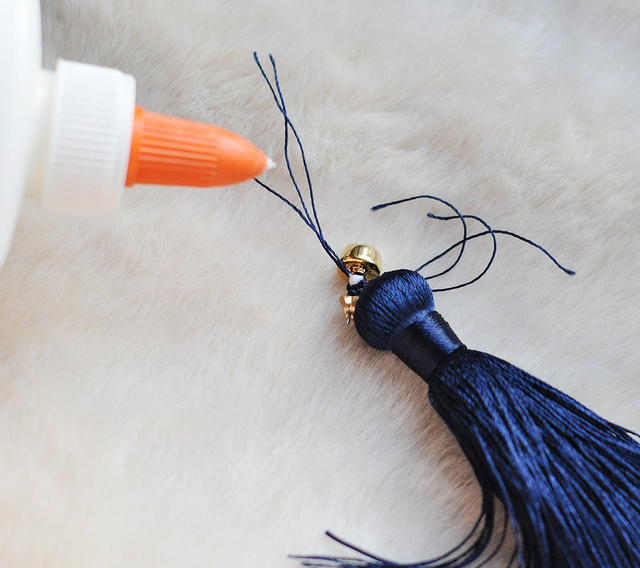
* Dab a bit of any kind of glue over the knots just to ensure they stay tied …& let dry.
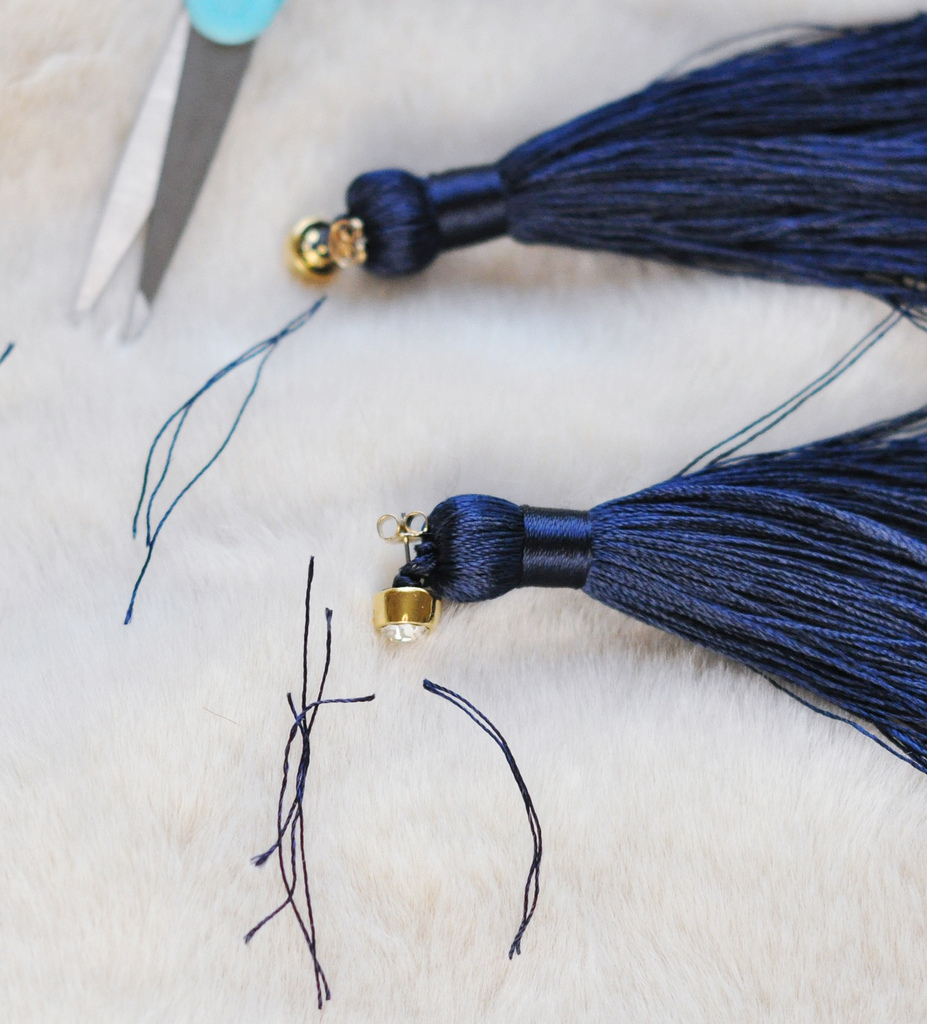
* Once glue is dry, snip remaining ends, leaving about 1/8 of an inch {unless your studs are small, then make sure no thread is visible from the front}
And… Voila!

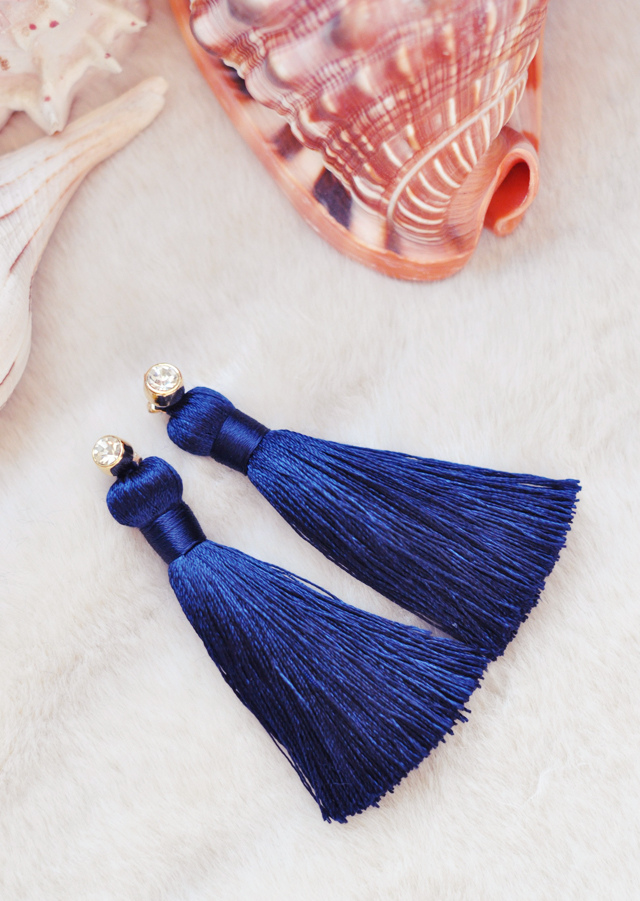
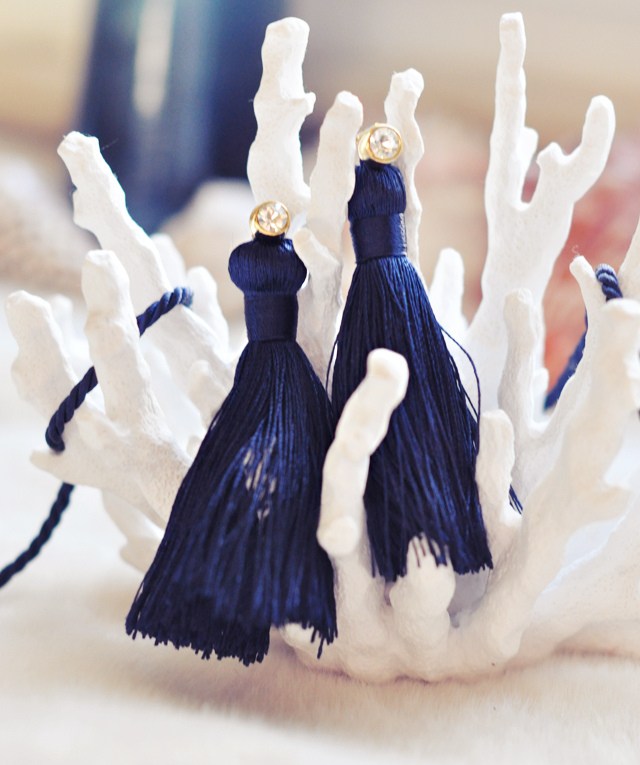
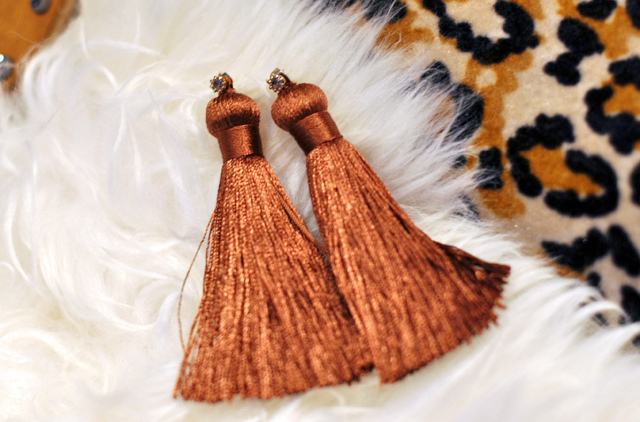
And here are the originals . . . with much smaller studs, giving them an entirely different look than the glamourous feel the navy/diamond ones have above. I think what’s most fun about this DIY is you can swap out any studs you like!

Have Fun!
* Find all my DIYs here

