Happy Friday Lovecats!
I have been MIA for a while, busy with Dogwood business as of late, and just kind of trying to get back to some sort of baseline normal emotionally and physically since the insane storm last month and it seems like things are starting to come together… FINALLY! All that said, Dogwood’s 5 year anniversary was on April 7th and I am still reeling from that because it just doesn’t feel like 5 years! I think the pandemic sort of blurred out at least a year and a half and things haven’t been quite back to normal since, but it feels like that’s all changing right now and this summer is going to be epic.
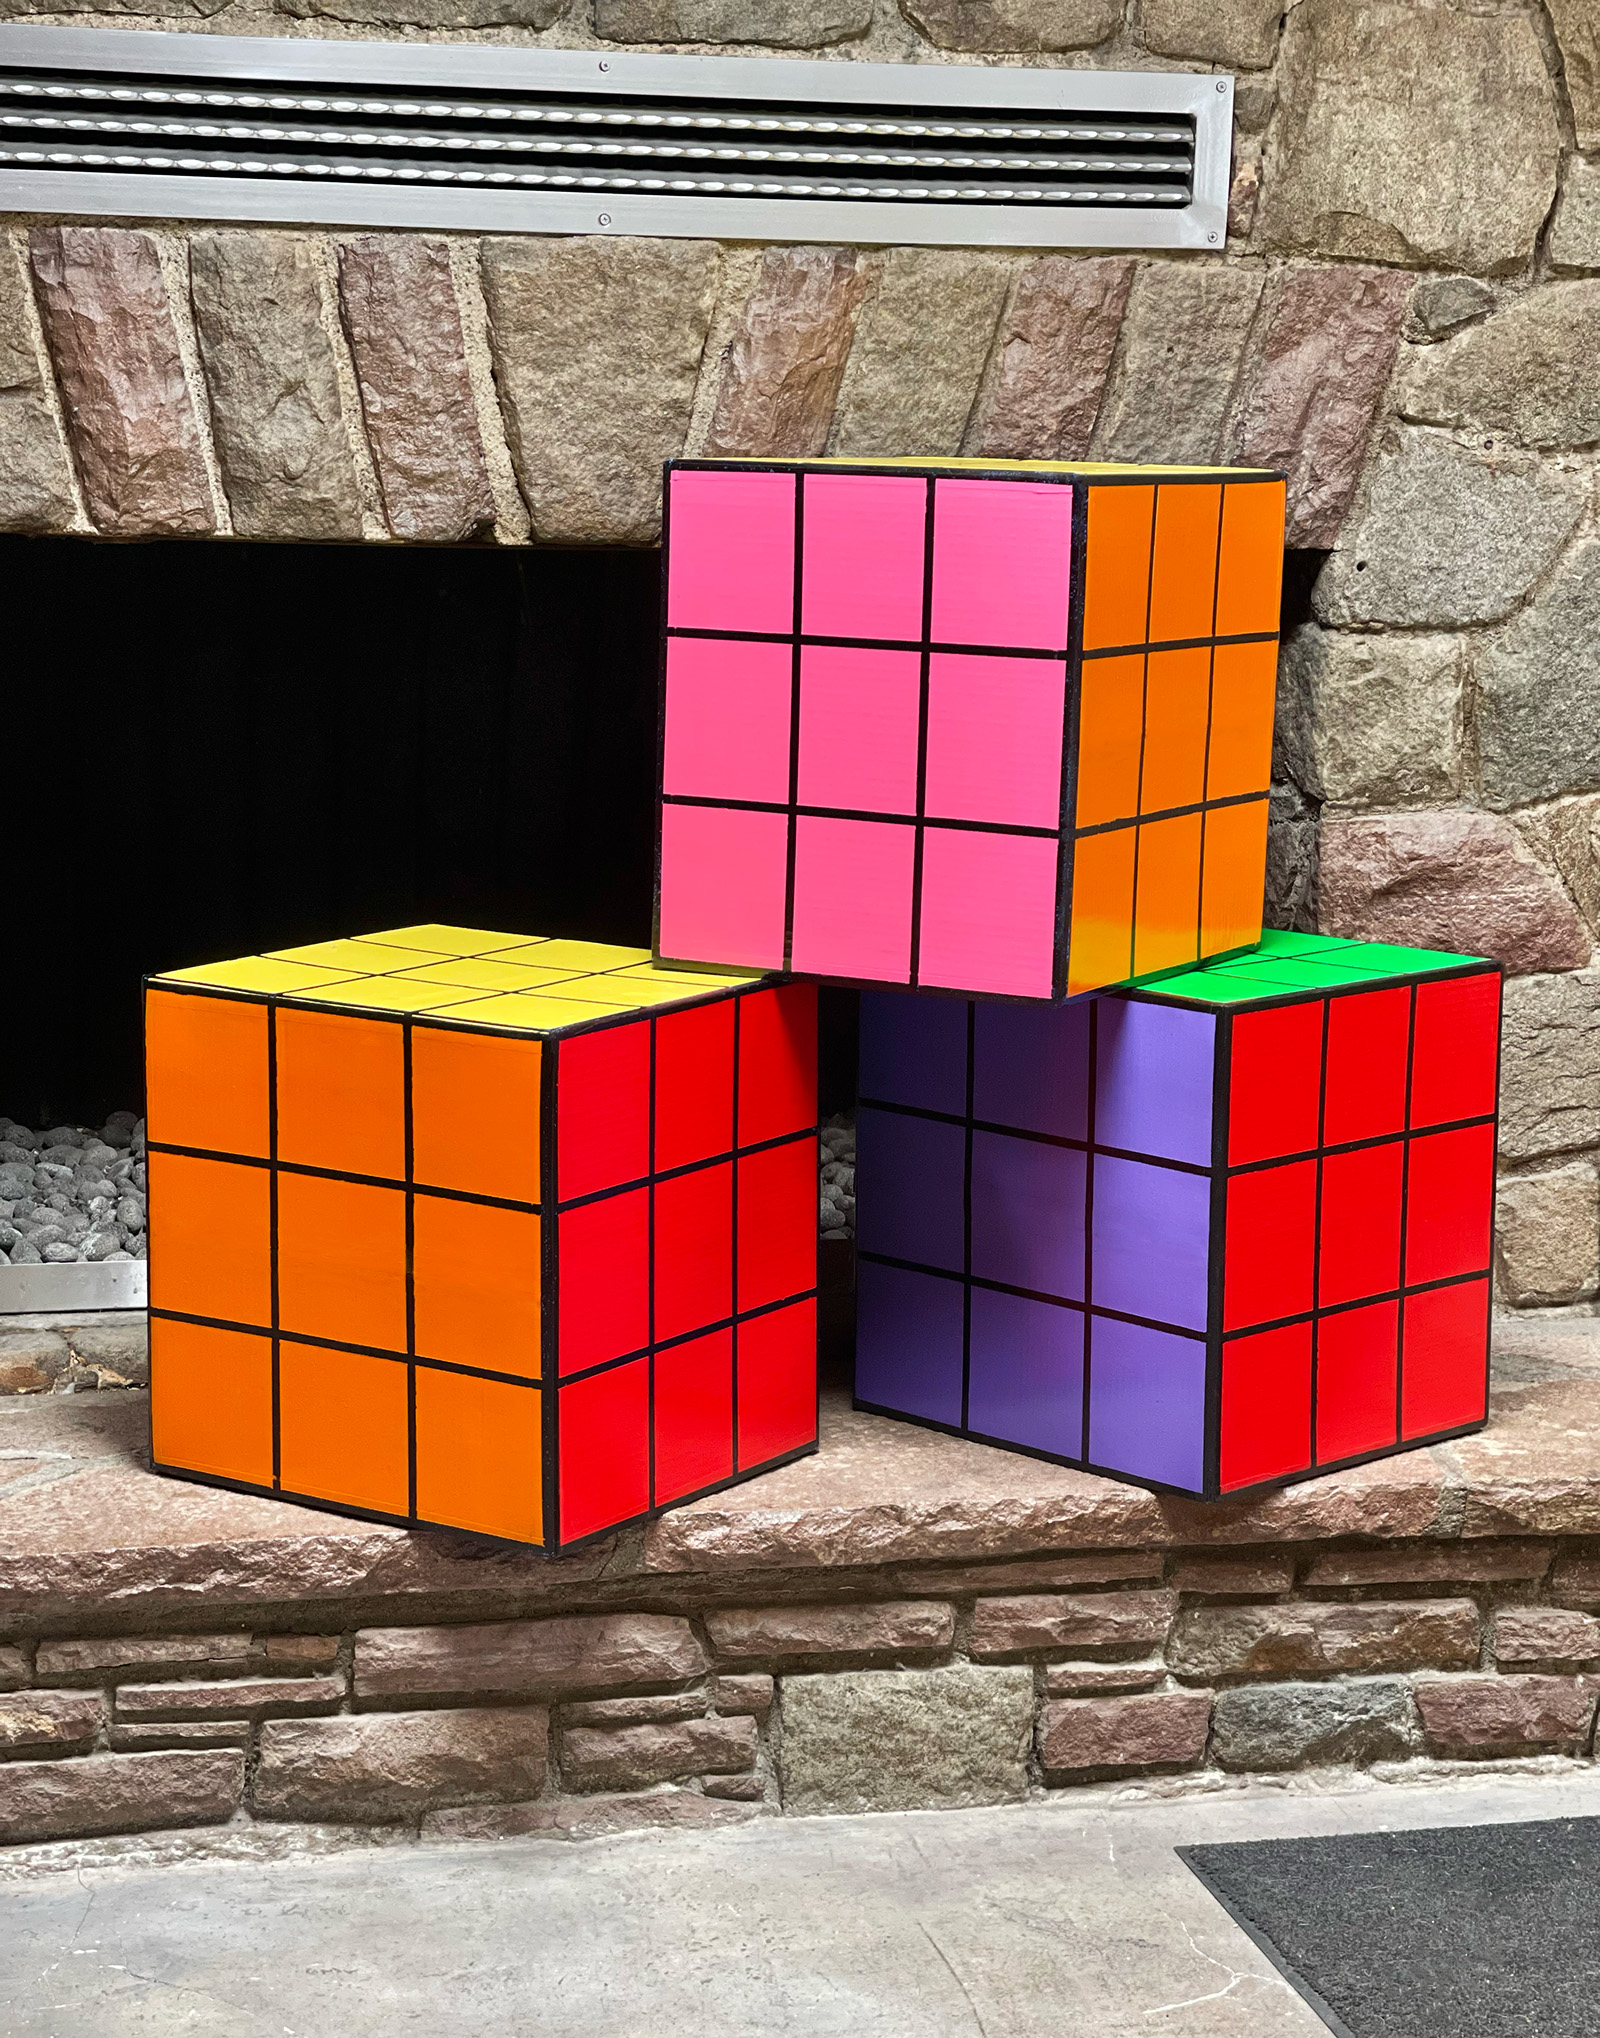
So each year we celebrate our anniversary with an ’80s party just because I think it’s our favorite decade and is always so fun to decorate and dress up and last year while we were planning decor we found these huge cardboard Rubik’s Cubes and decided to make our own for two reasons… 1. Price. We were not willing to spend $140 on something that felt easily DIYable and 2. We knew that if we left them on the ground, they’d probably get ruined and might be a safety hazard. So being that we wanted to hang them, we made them ourselves (well, mostly Chad made them) and I forgot to share them last year and because this year’s party is TOMORROW NIGHT (April 15th) I thought it was the perfect time.
Here’s What You’ll Need…
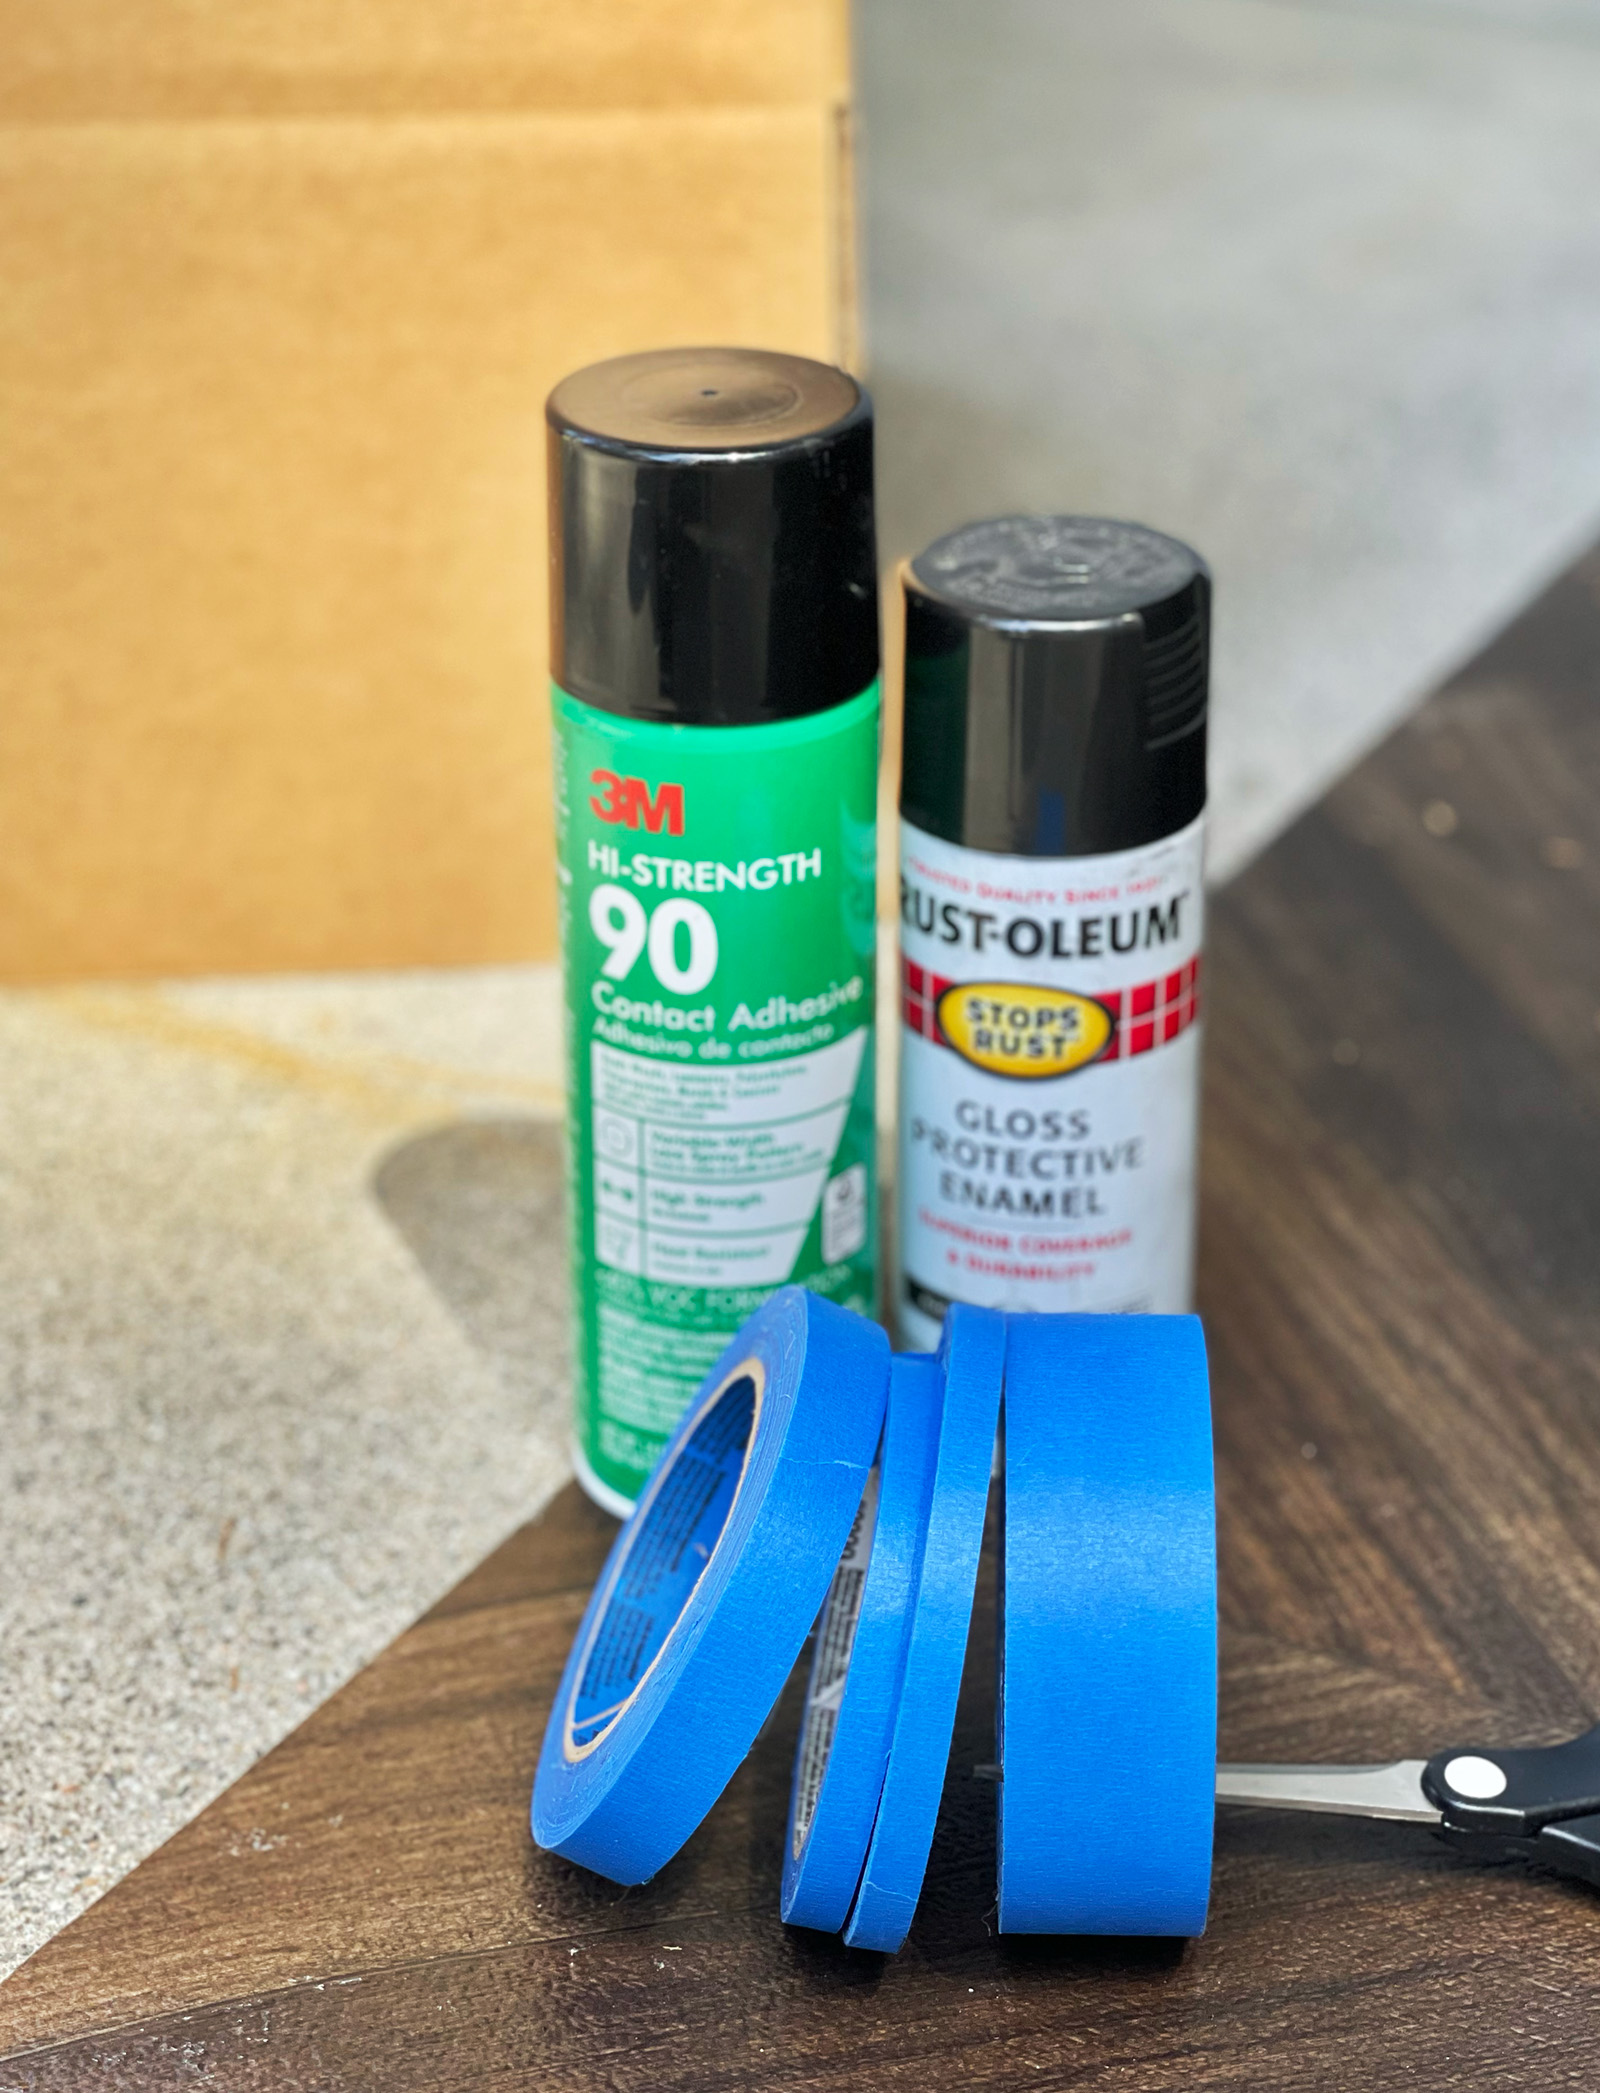
* Large, Square cardboard boxes. You can use any size, as long as they’re square
* Painters tape
* Spray paint: Black… and then you can choose your Rubik’s Cube colors. We used Green, Blue, Purple, Red, Orange, Yellow and hot Pink
* Spray adhesive (optional)
* Scissors and a blade or X-acto knife
* Drop cloth and ventilated area, for obvious reasons.
Steps…
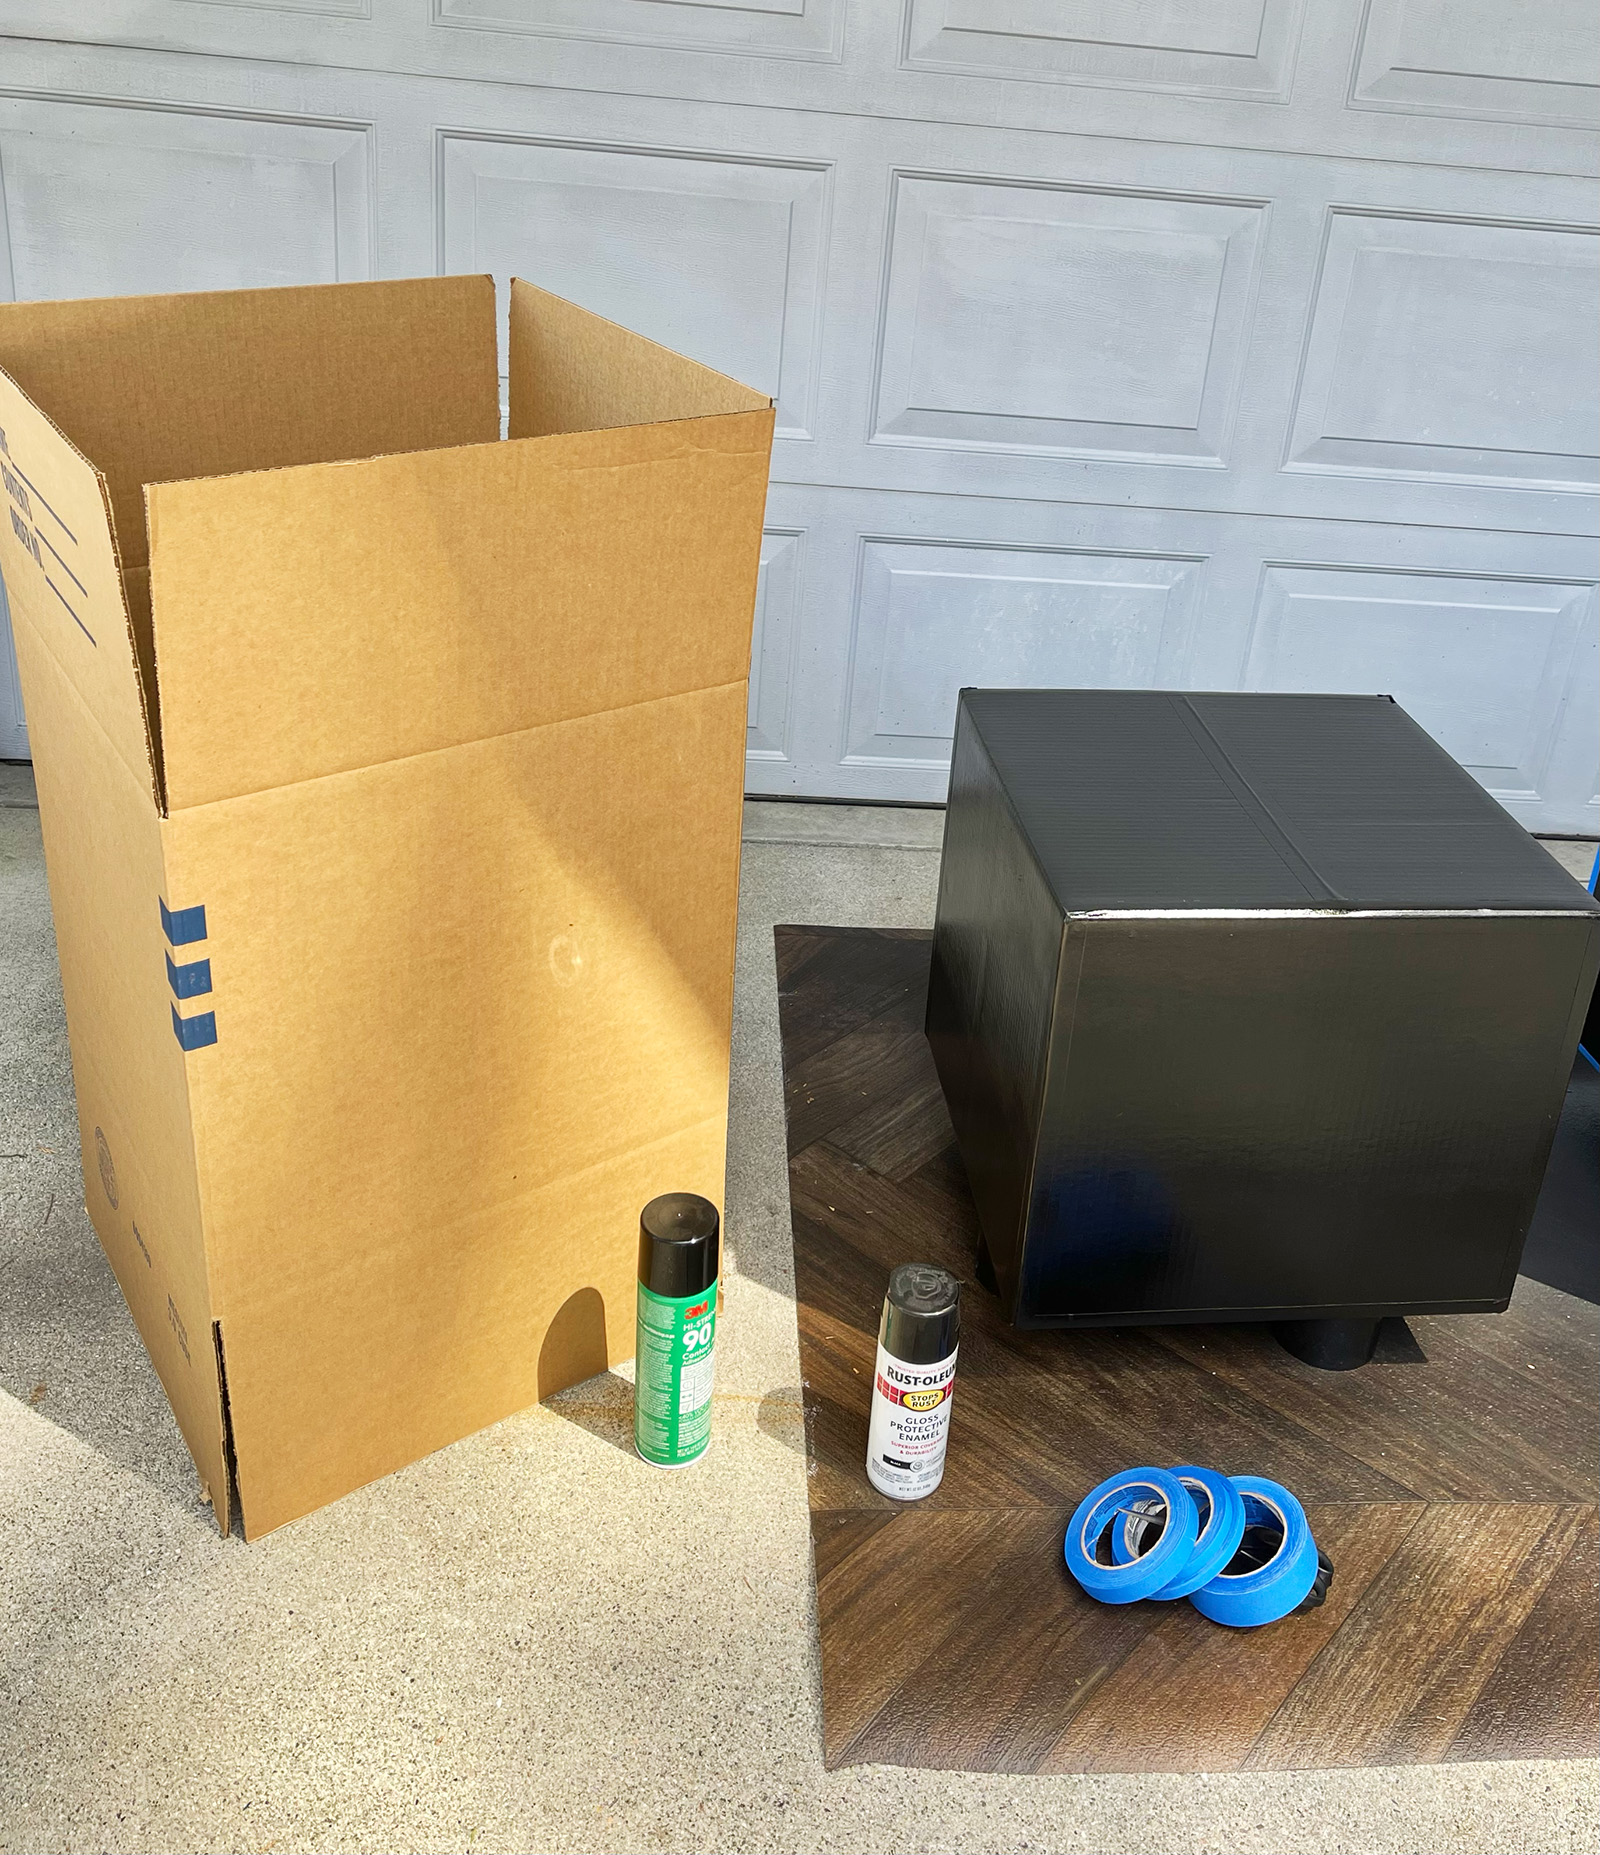
Build boxes… Chad originally used the spray adhesive to glue the bottoms together and avoid tape seams, but then went over them in the end anyway to hide the box seams.
Clear packing tape would show less BUT paint won’t stick to it, so he went with painters tape.

He then taped over all the corners and edges to get a smooth look… this is optional (he’s a perfectionist 😉
Unfortunately I didn’t get a shot before he painted it, but you can see it in the close-up above.
Spray paint the boxes black… over the tape and everything for a smooth finish… and let dry.
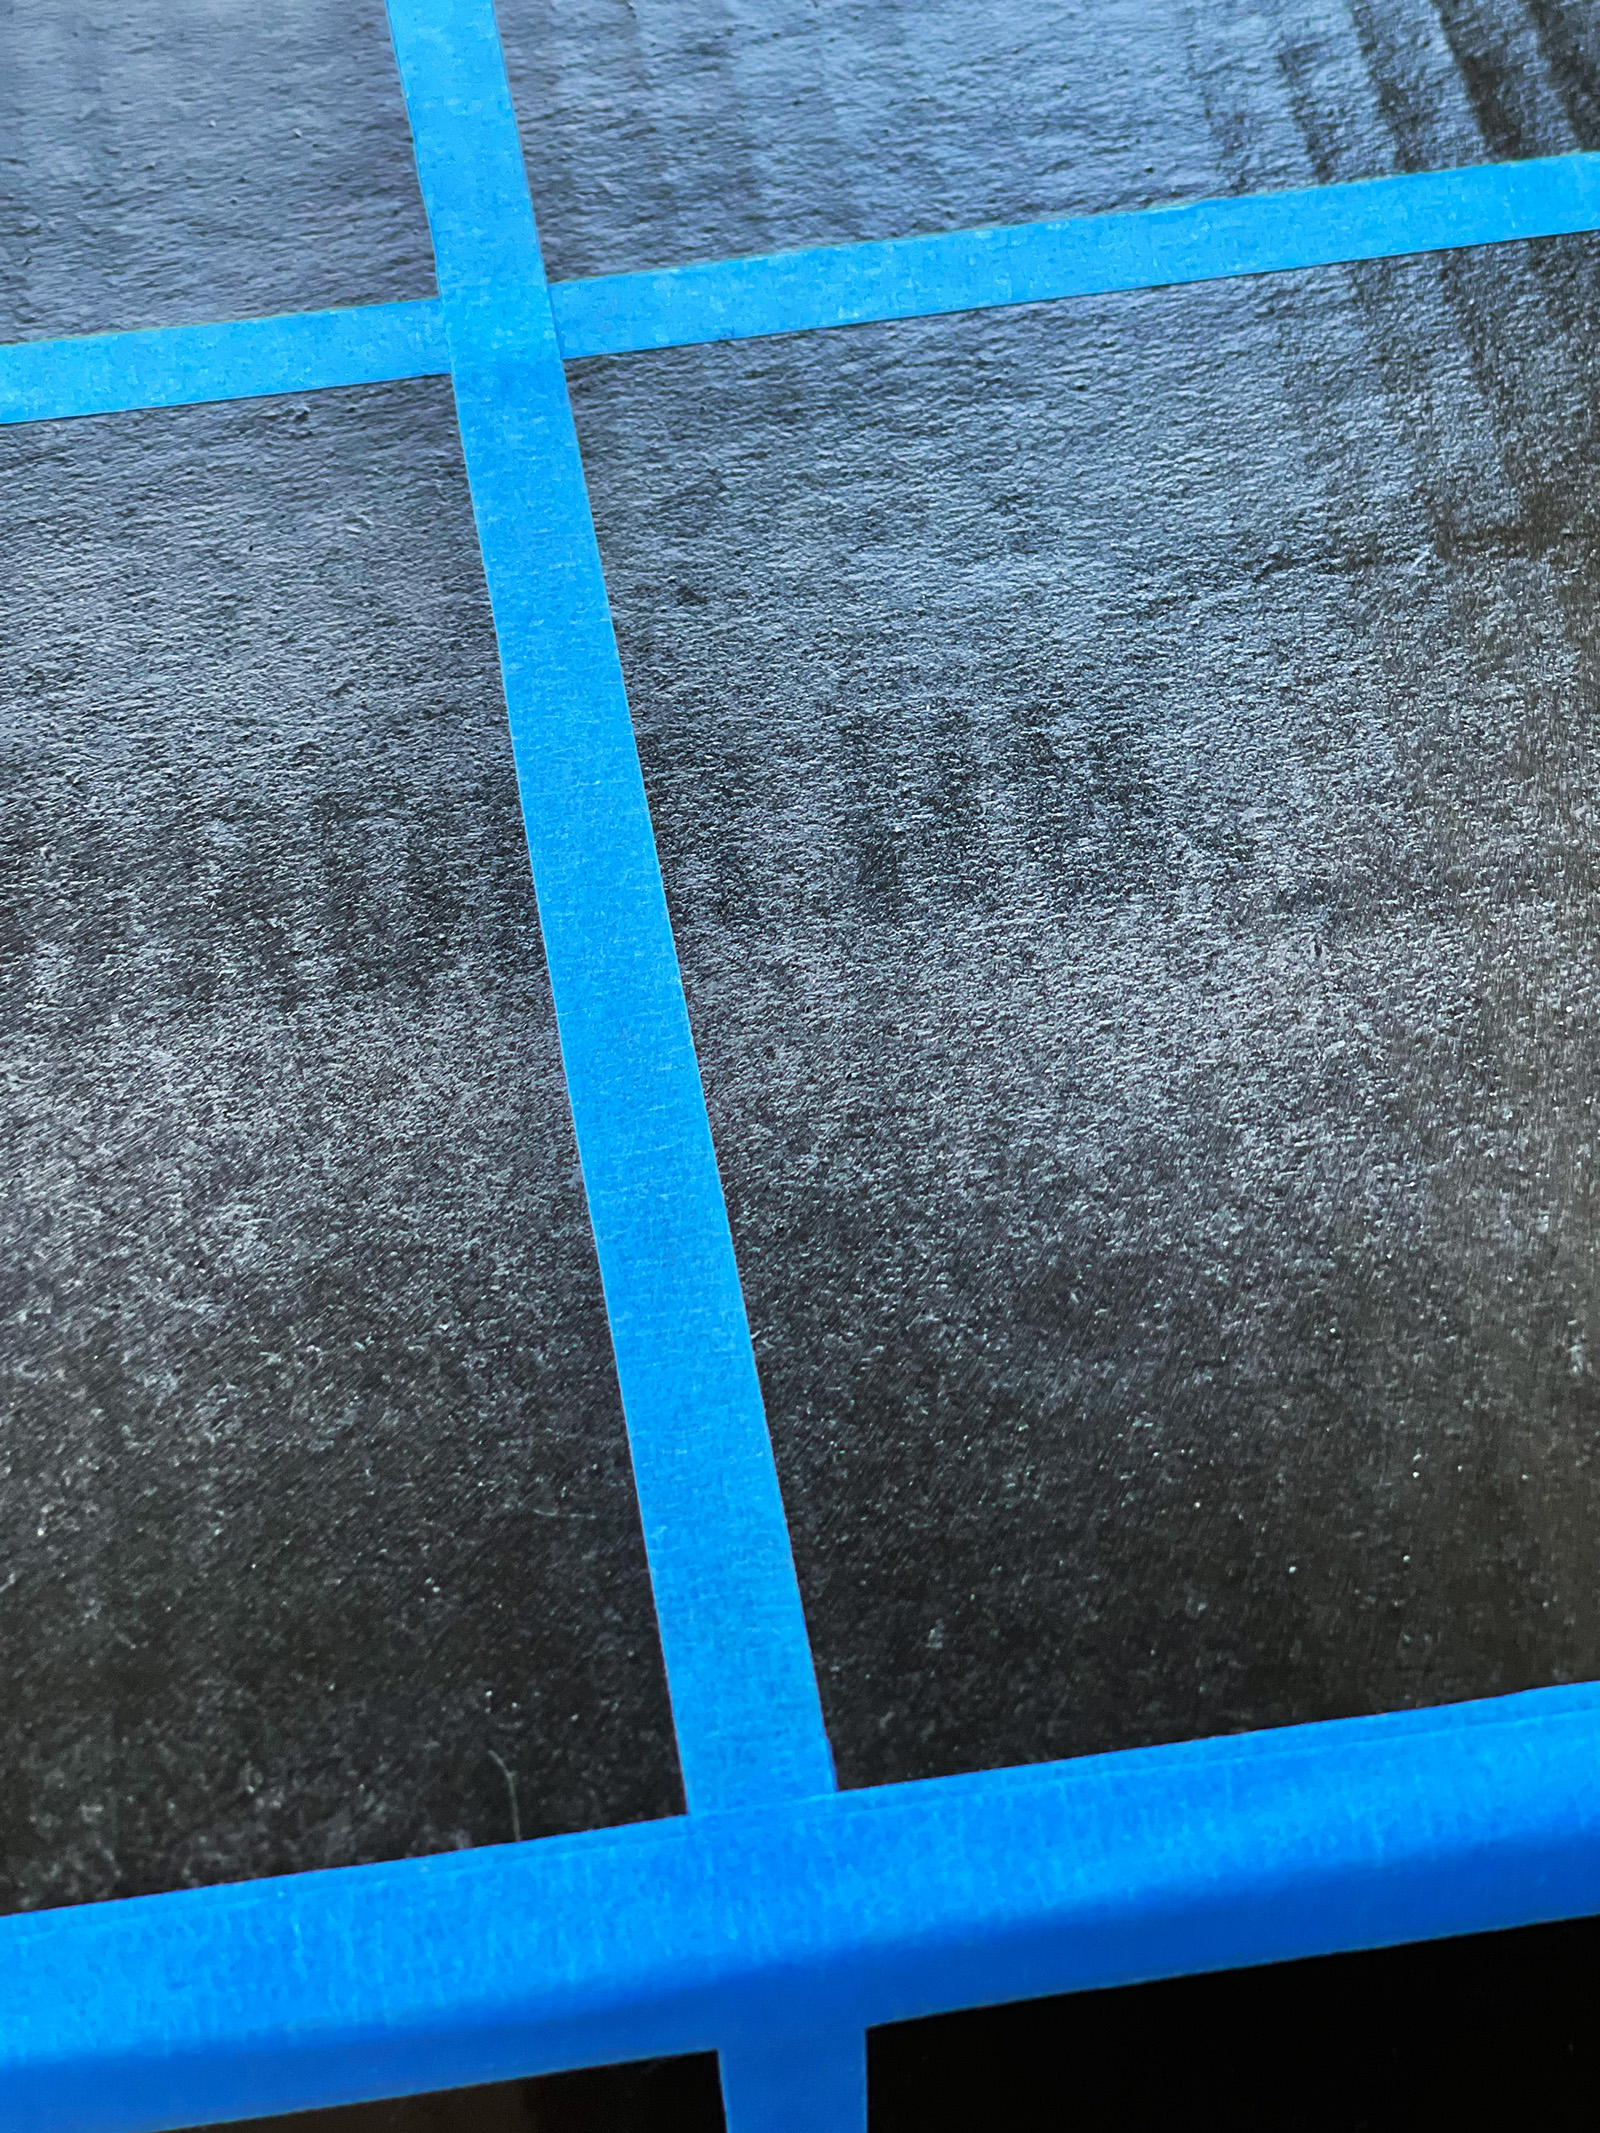
To create the GRID, he used an Xacto knife to cut the roll of tape in half… then evenly spaced out the grid to create 9 boxes on each side.
* NOTE the narrow strips
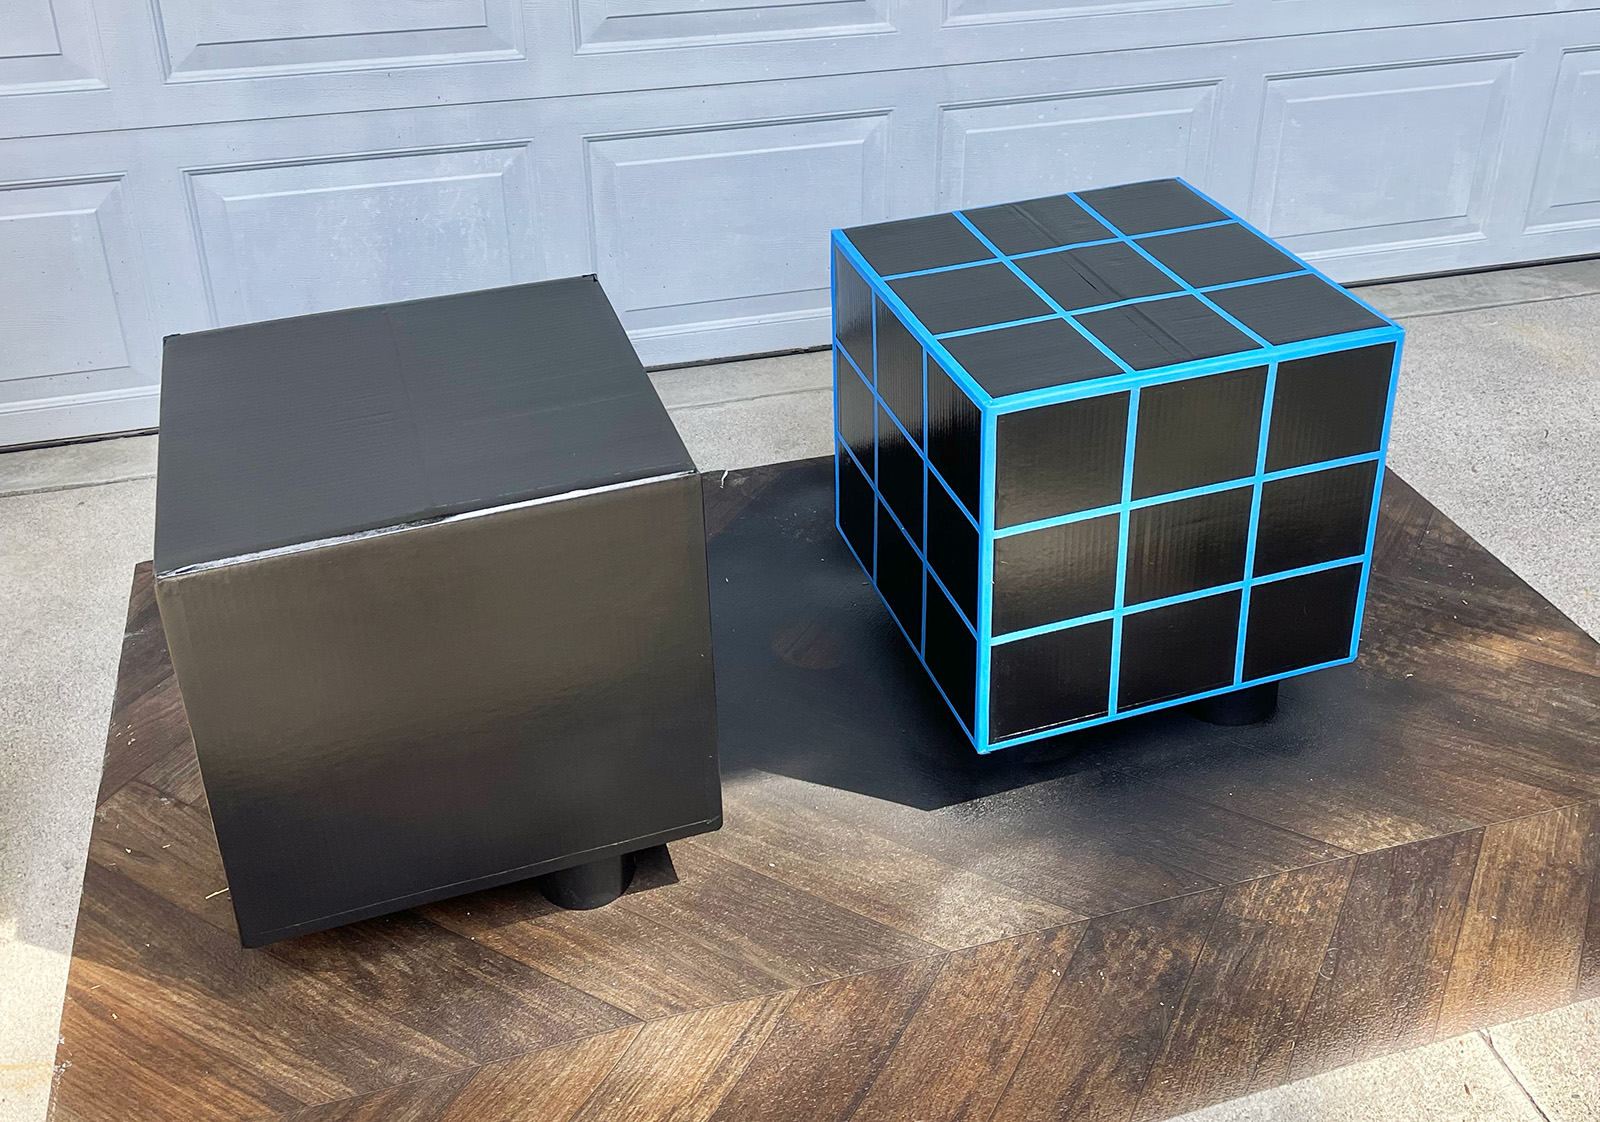
Create the same steps for all boxes… it’s easier to do each step at the same time.
We made 3.
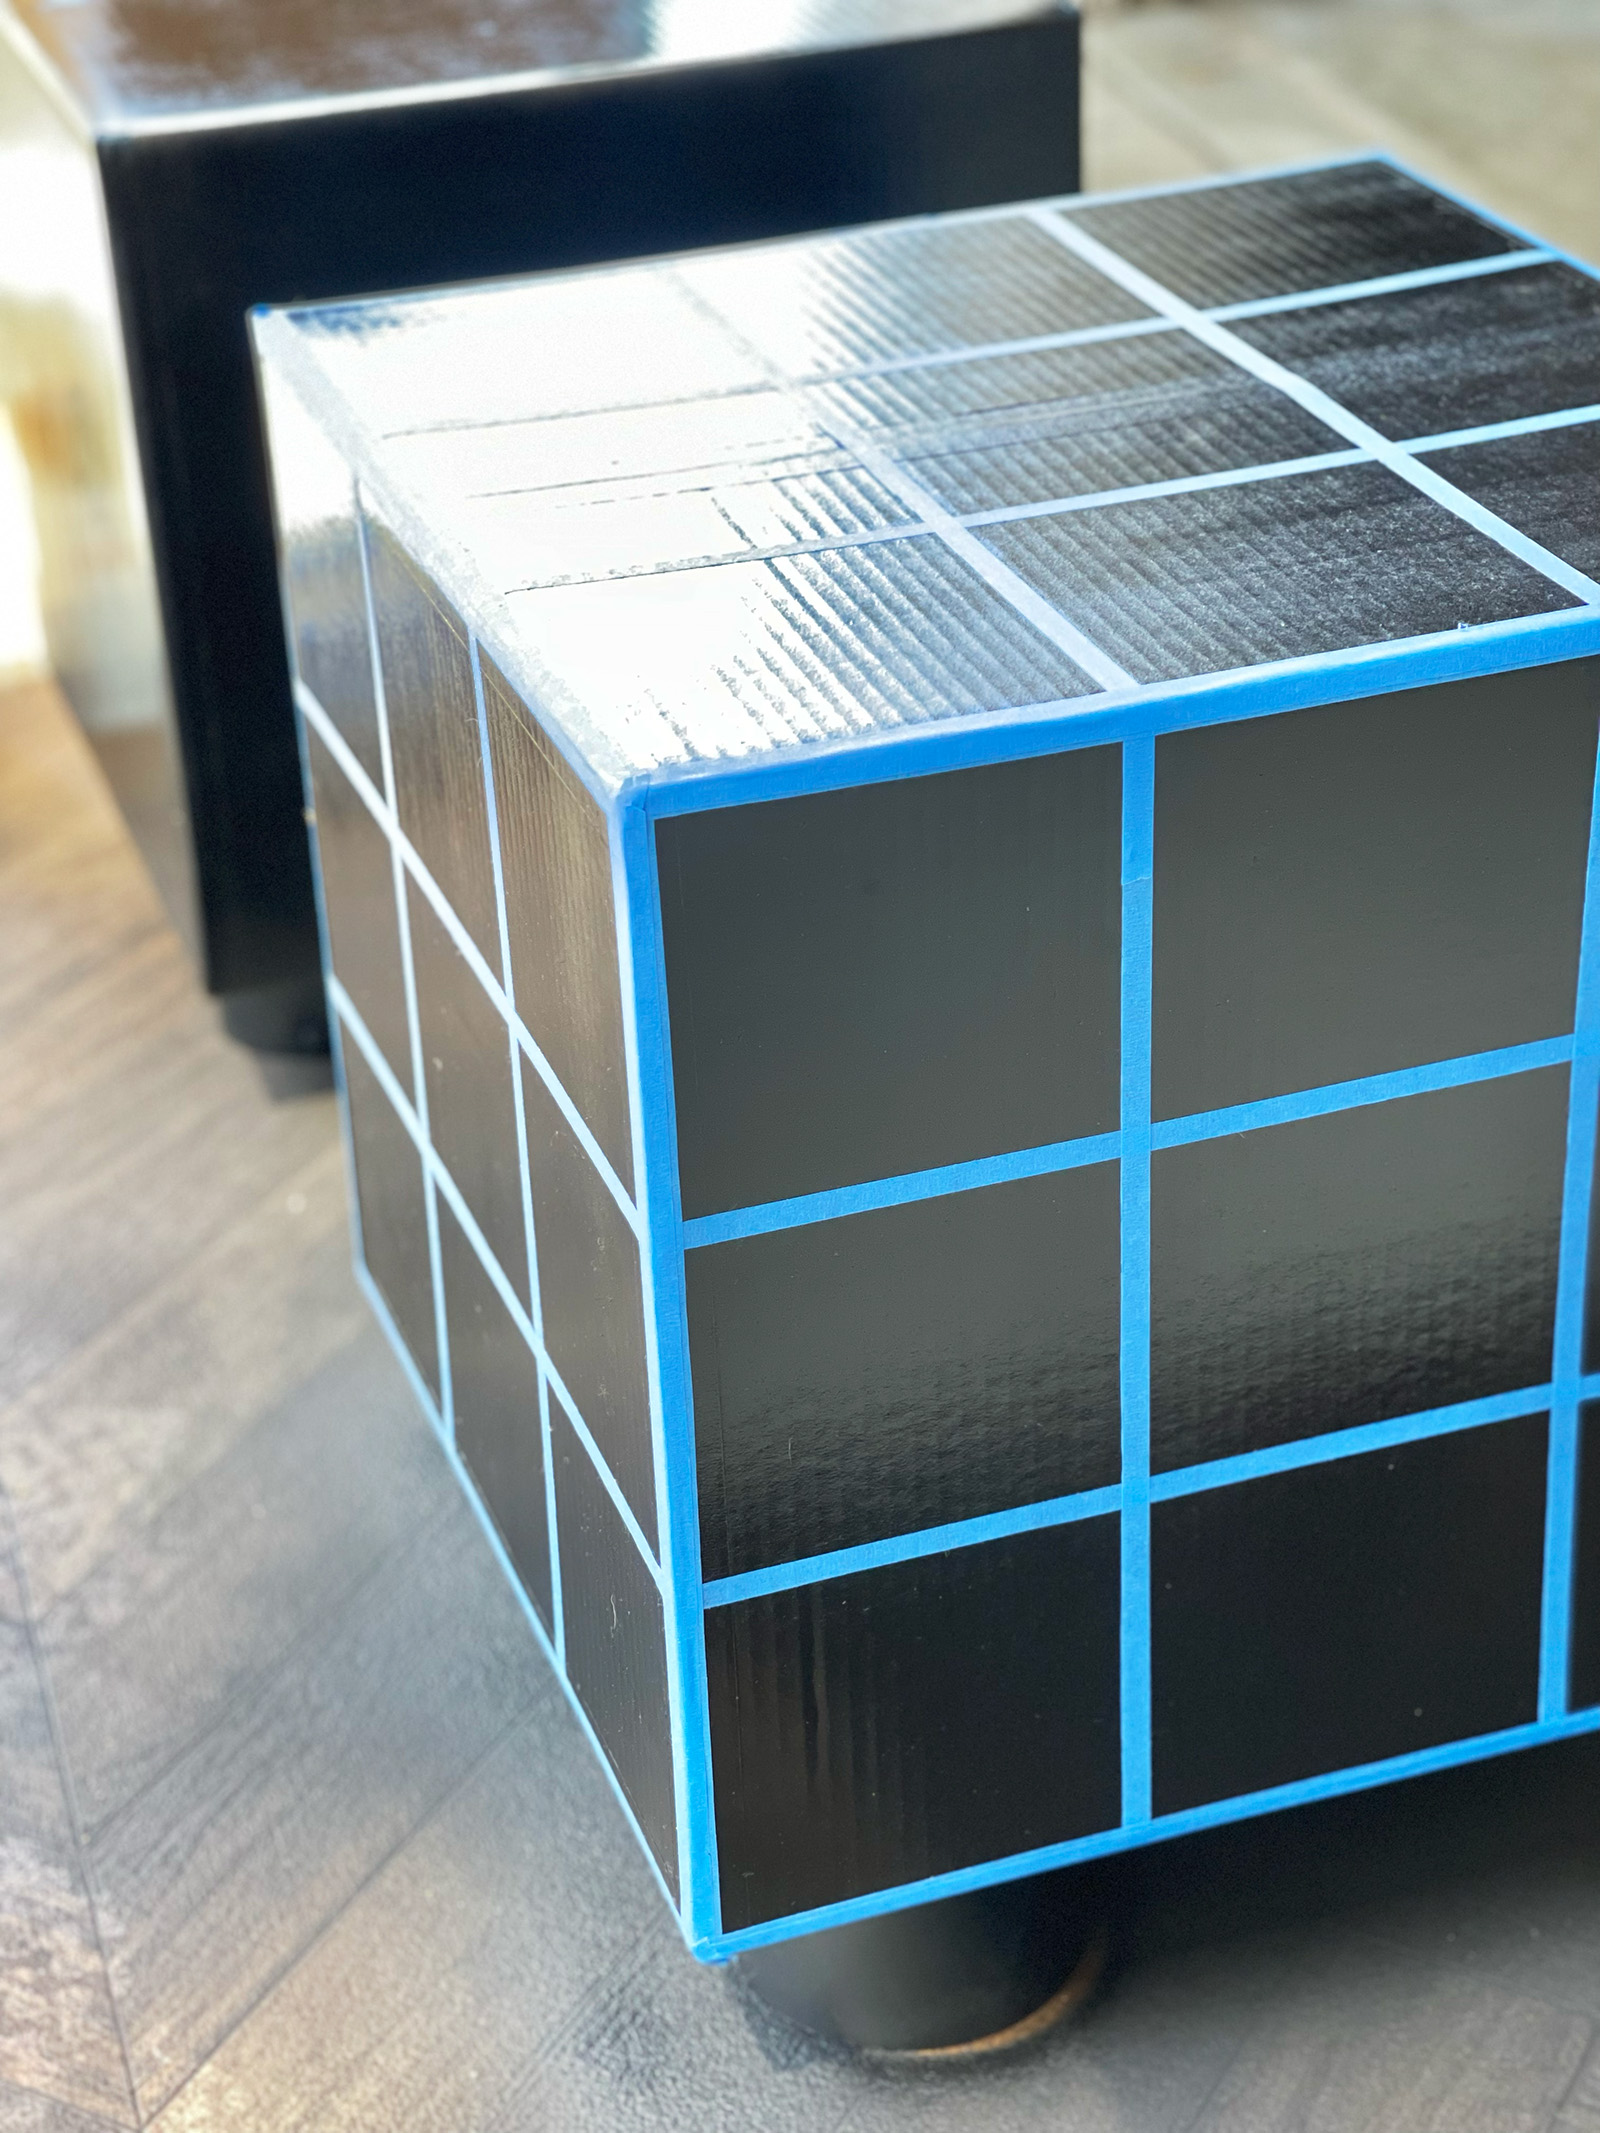
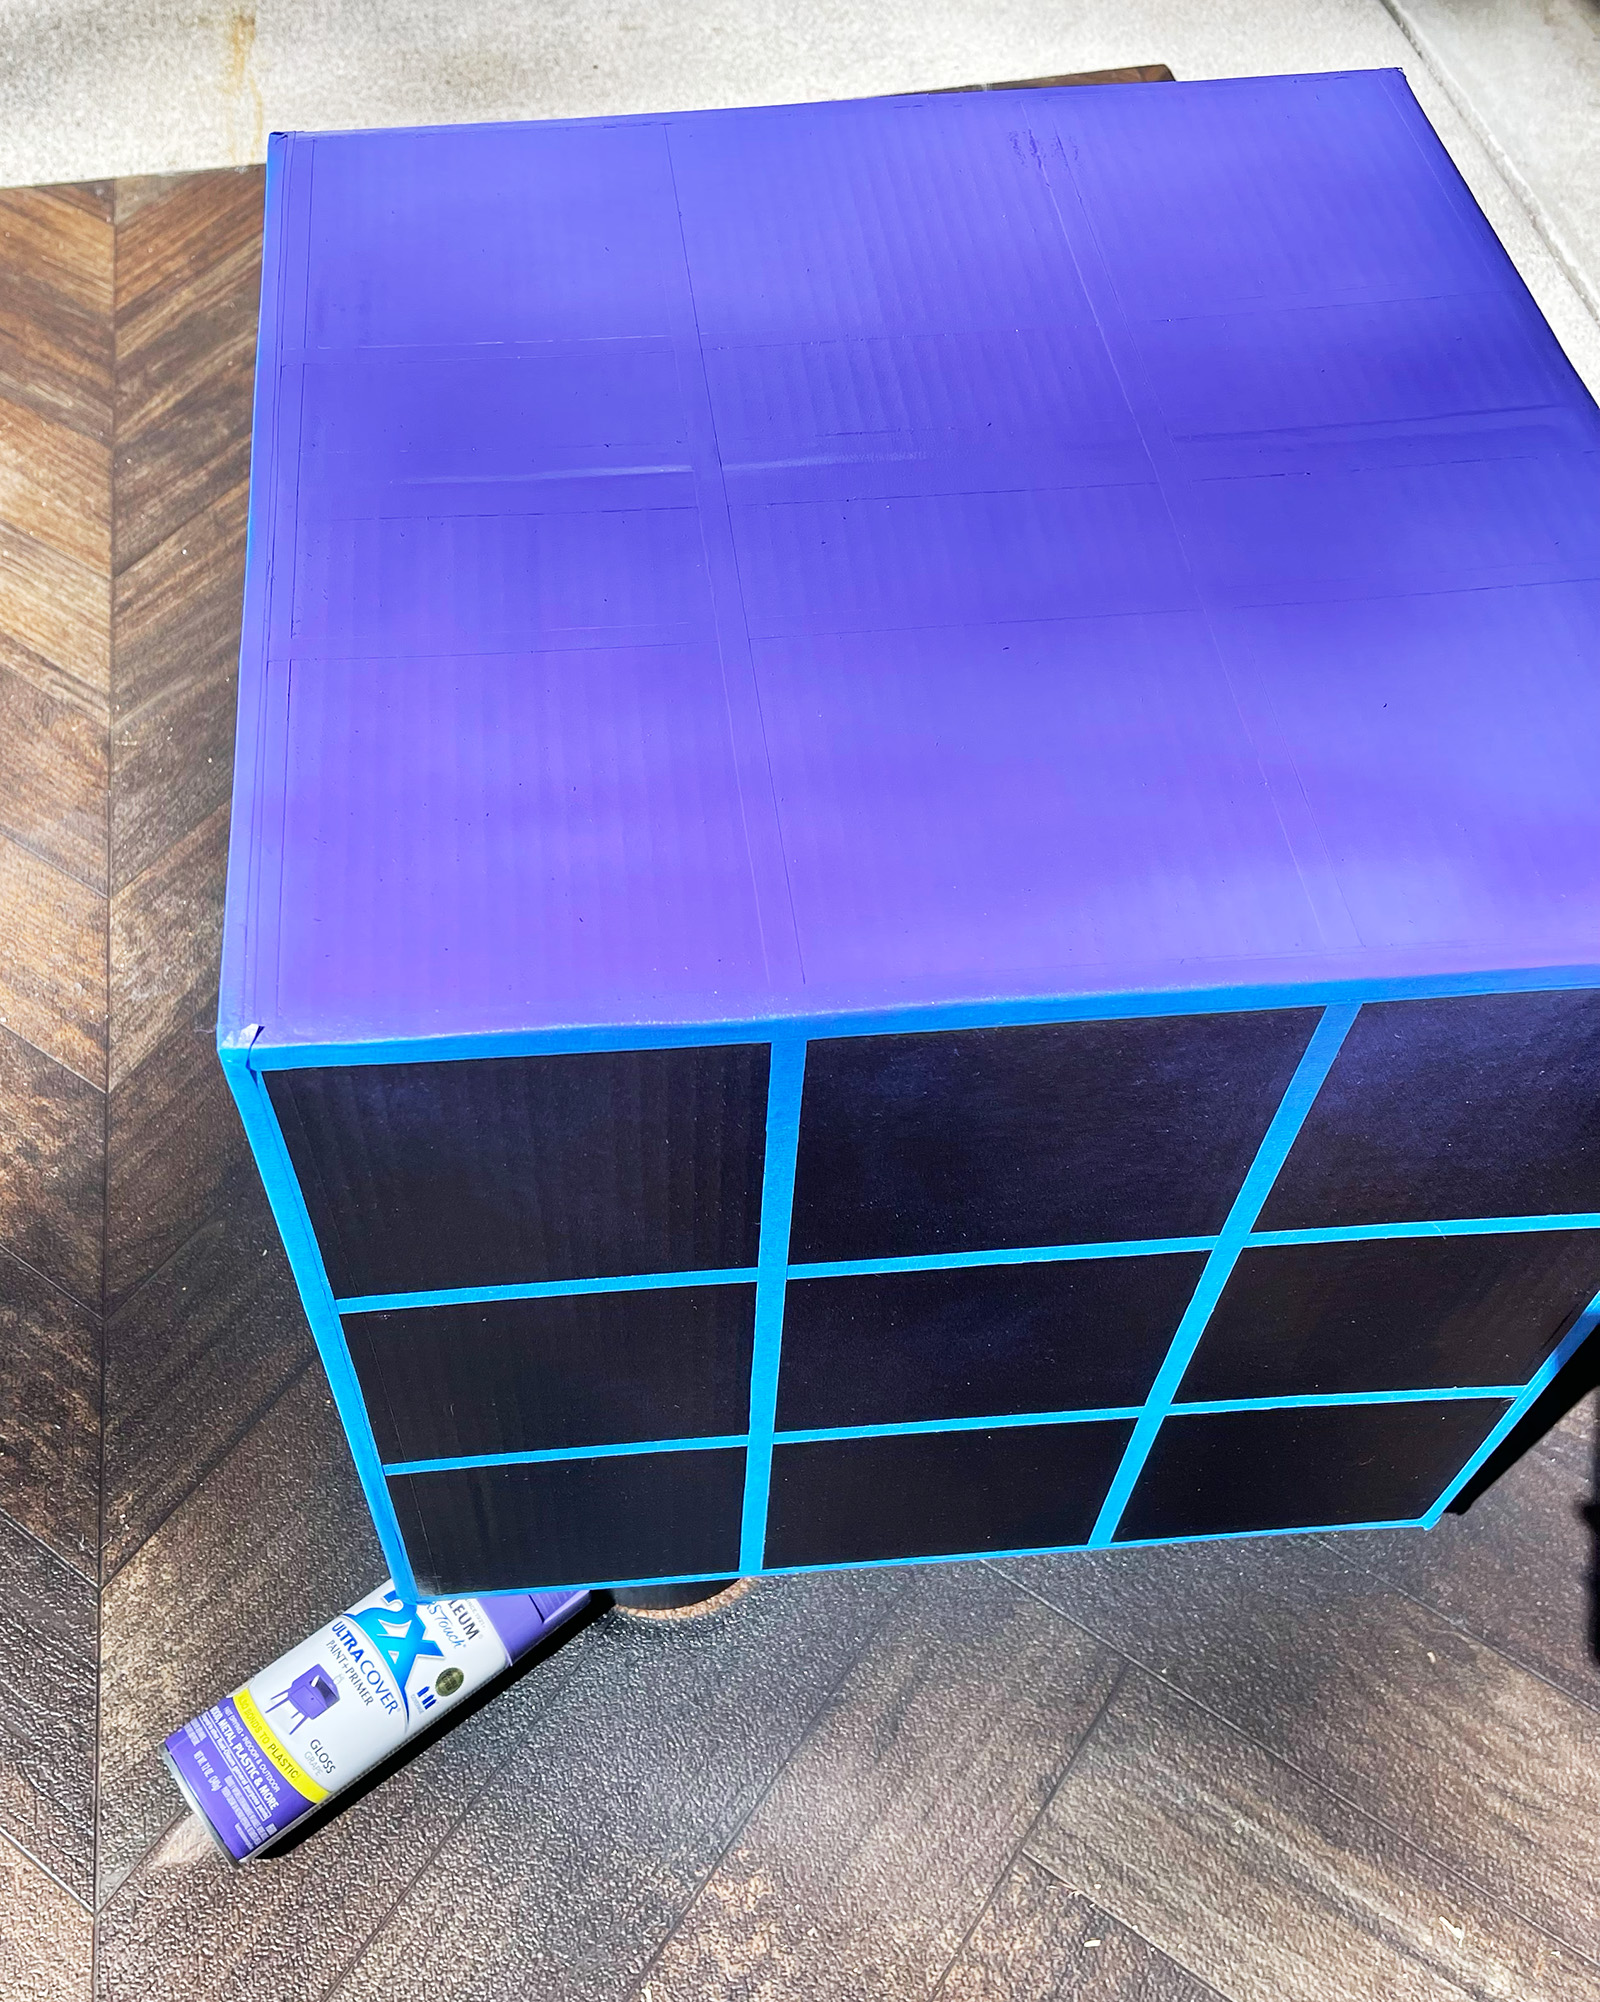
Begin with any color you choose and paint! Overspray doesn’t matter just yet…
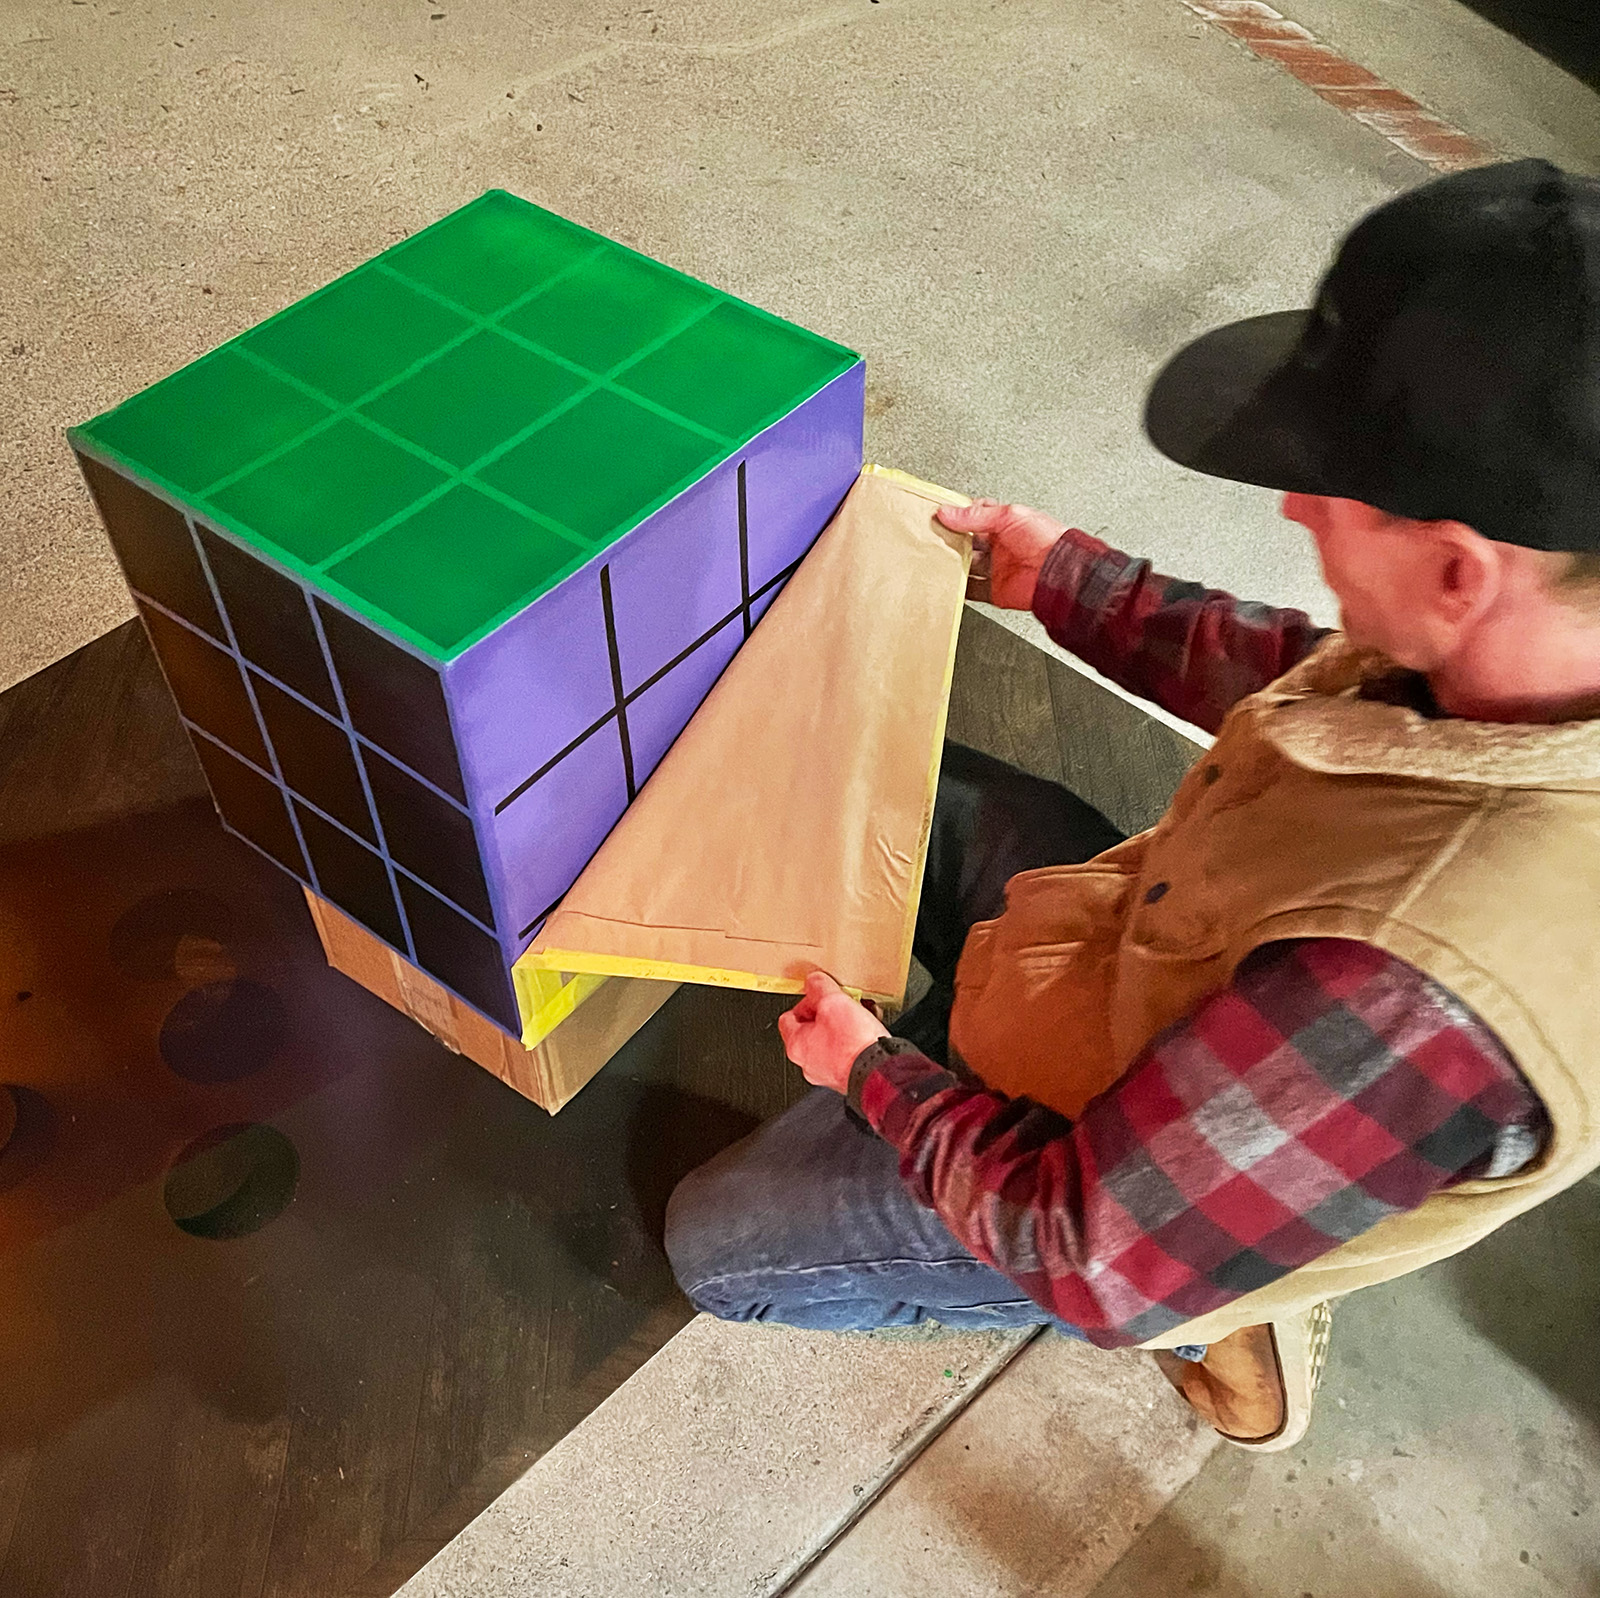
But as you paint each side, it’s best to cover the painted sides to protect from overspray.
Spray at least two coats or until you get a rich and even hue… Allow each color to dry completely before covering and spraying the next side.
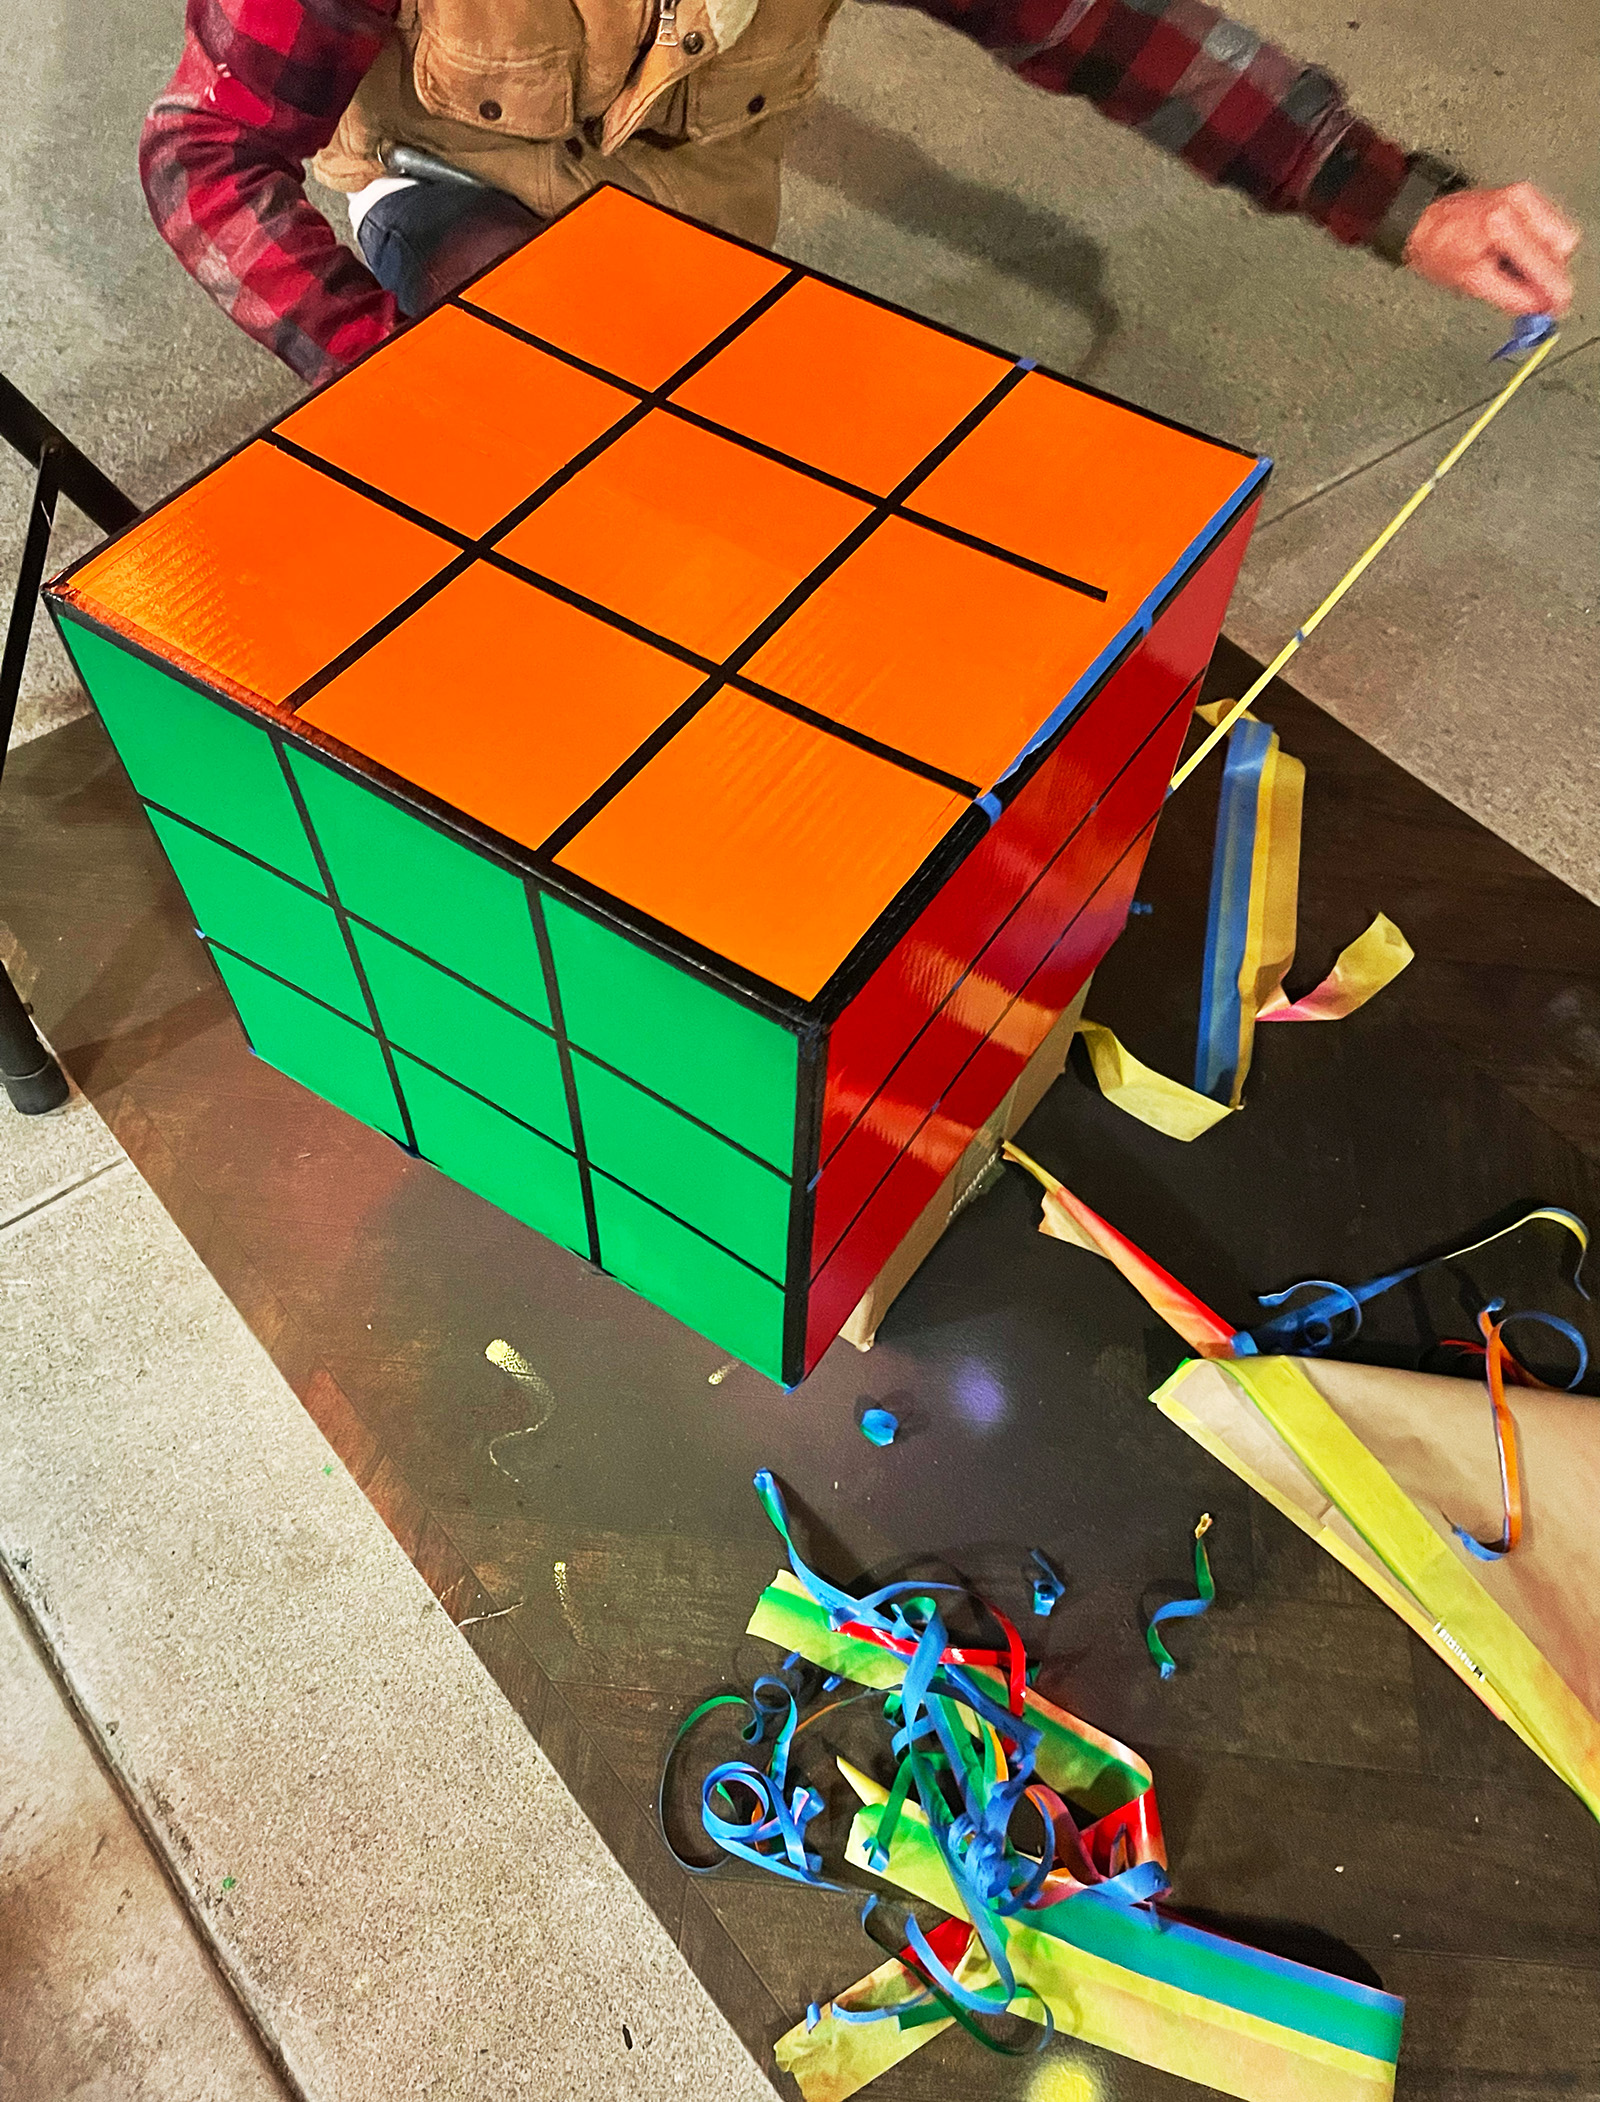
Then carefully remove the paper sides, the top layer of tape over the edges and the narrow grid strips to reveal your Rubik’s Cube!
And… Voila!
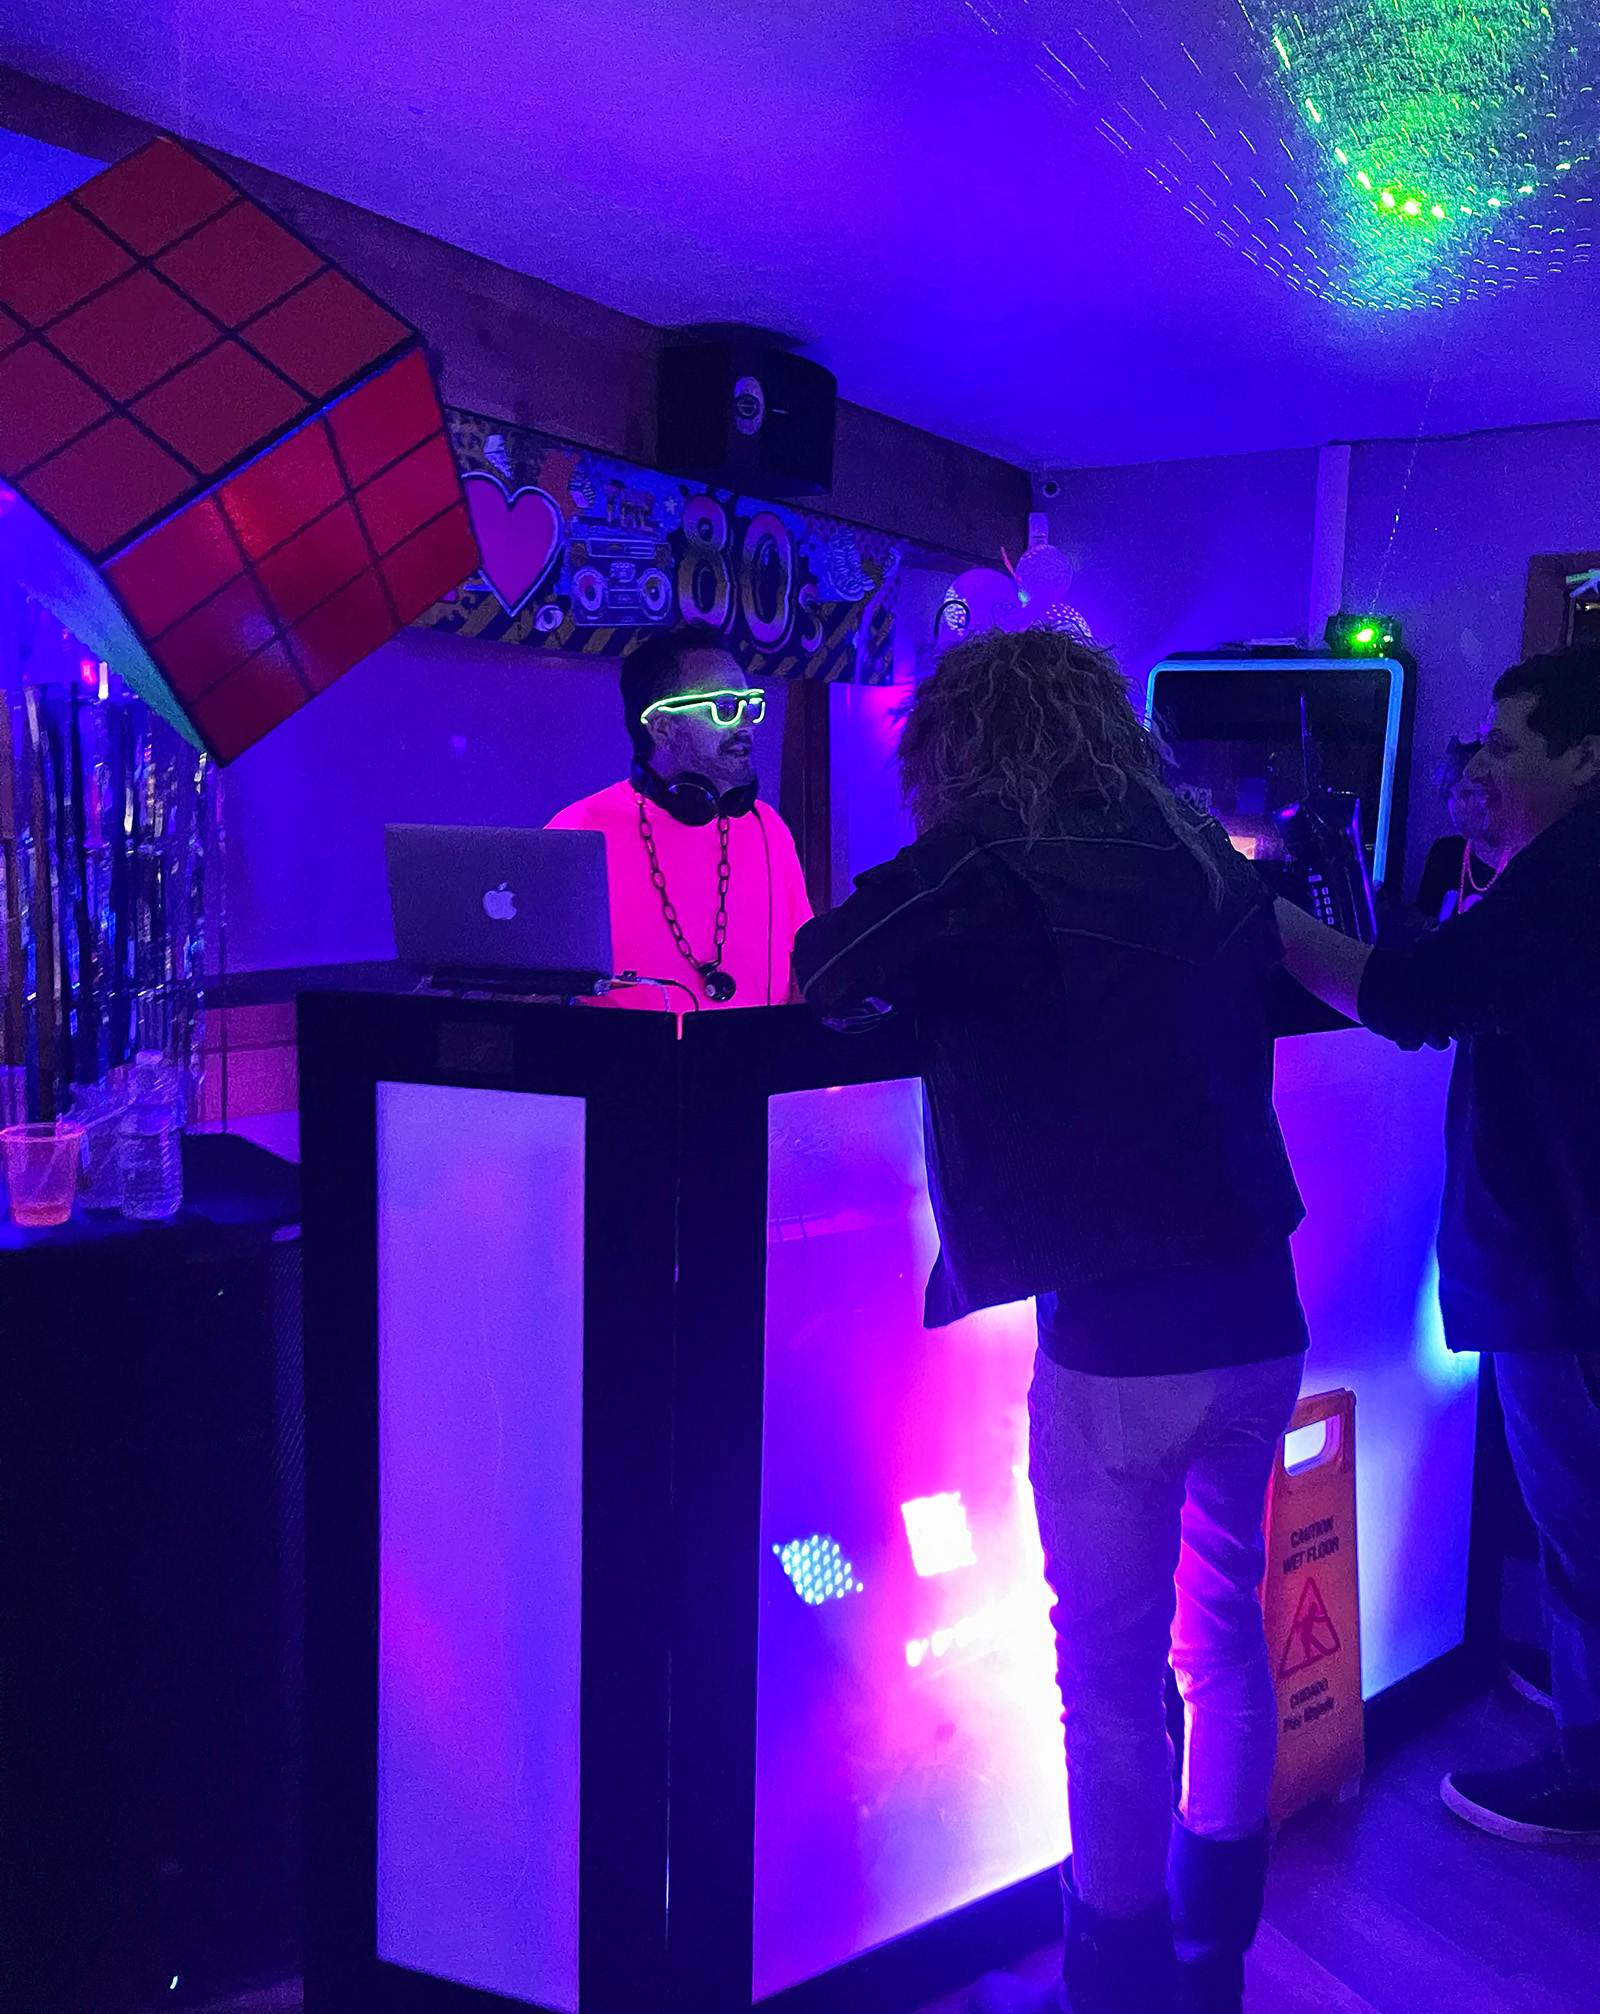
As you can see, we hung them from the ceiling in three different spots for the party… although it was difficult to get photos of them at night (some shots below are from videos). I think this year we’re going to try to light them a bit better so they stand out more.
Chad hung them easily them by poking a hole through one corner with a nail, then fished string through it and hung it on a screw in the ceiling.

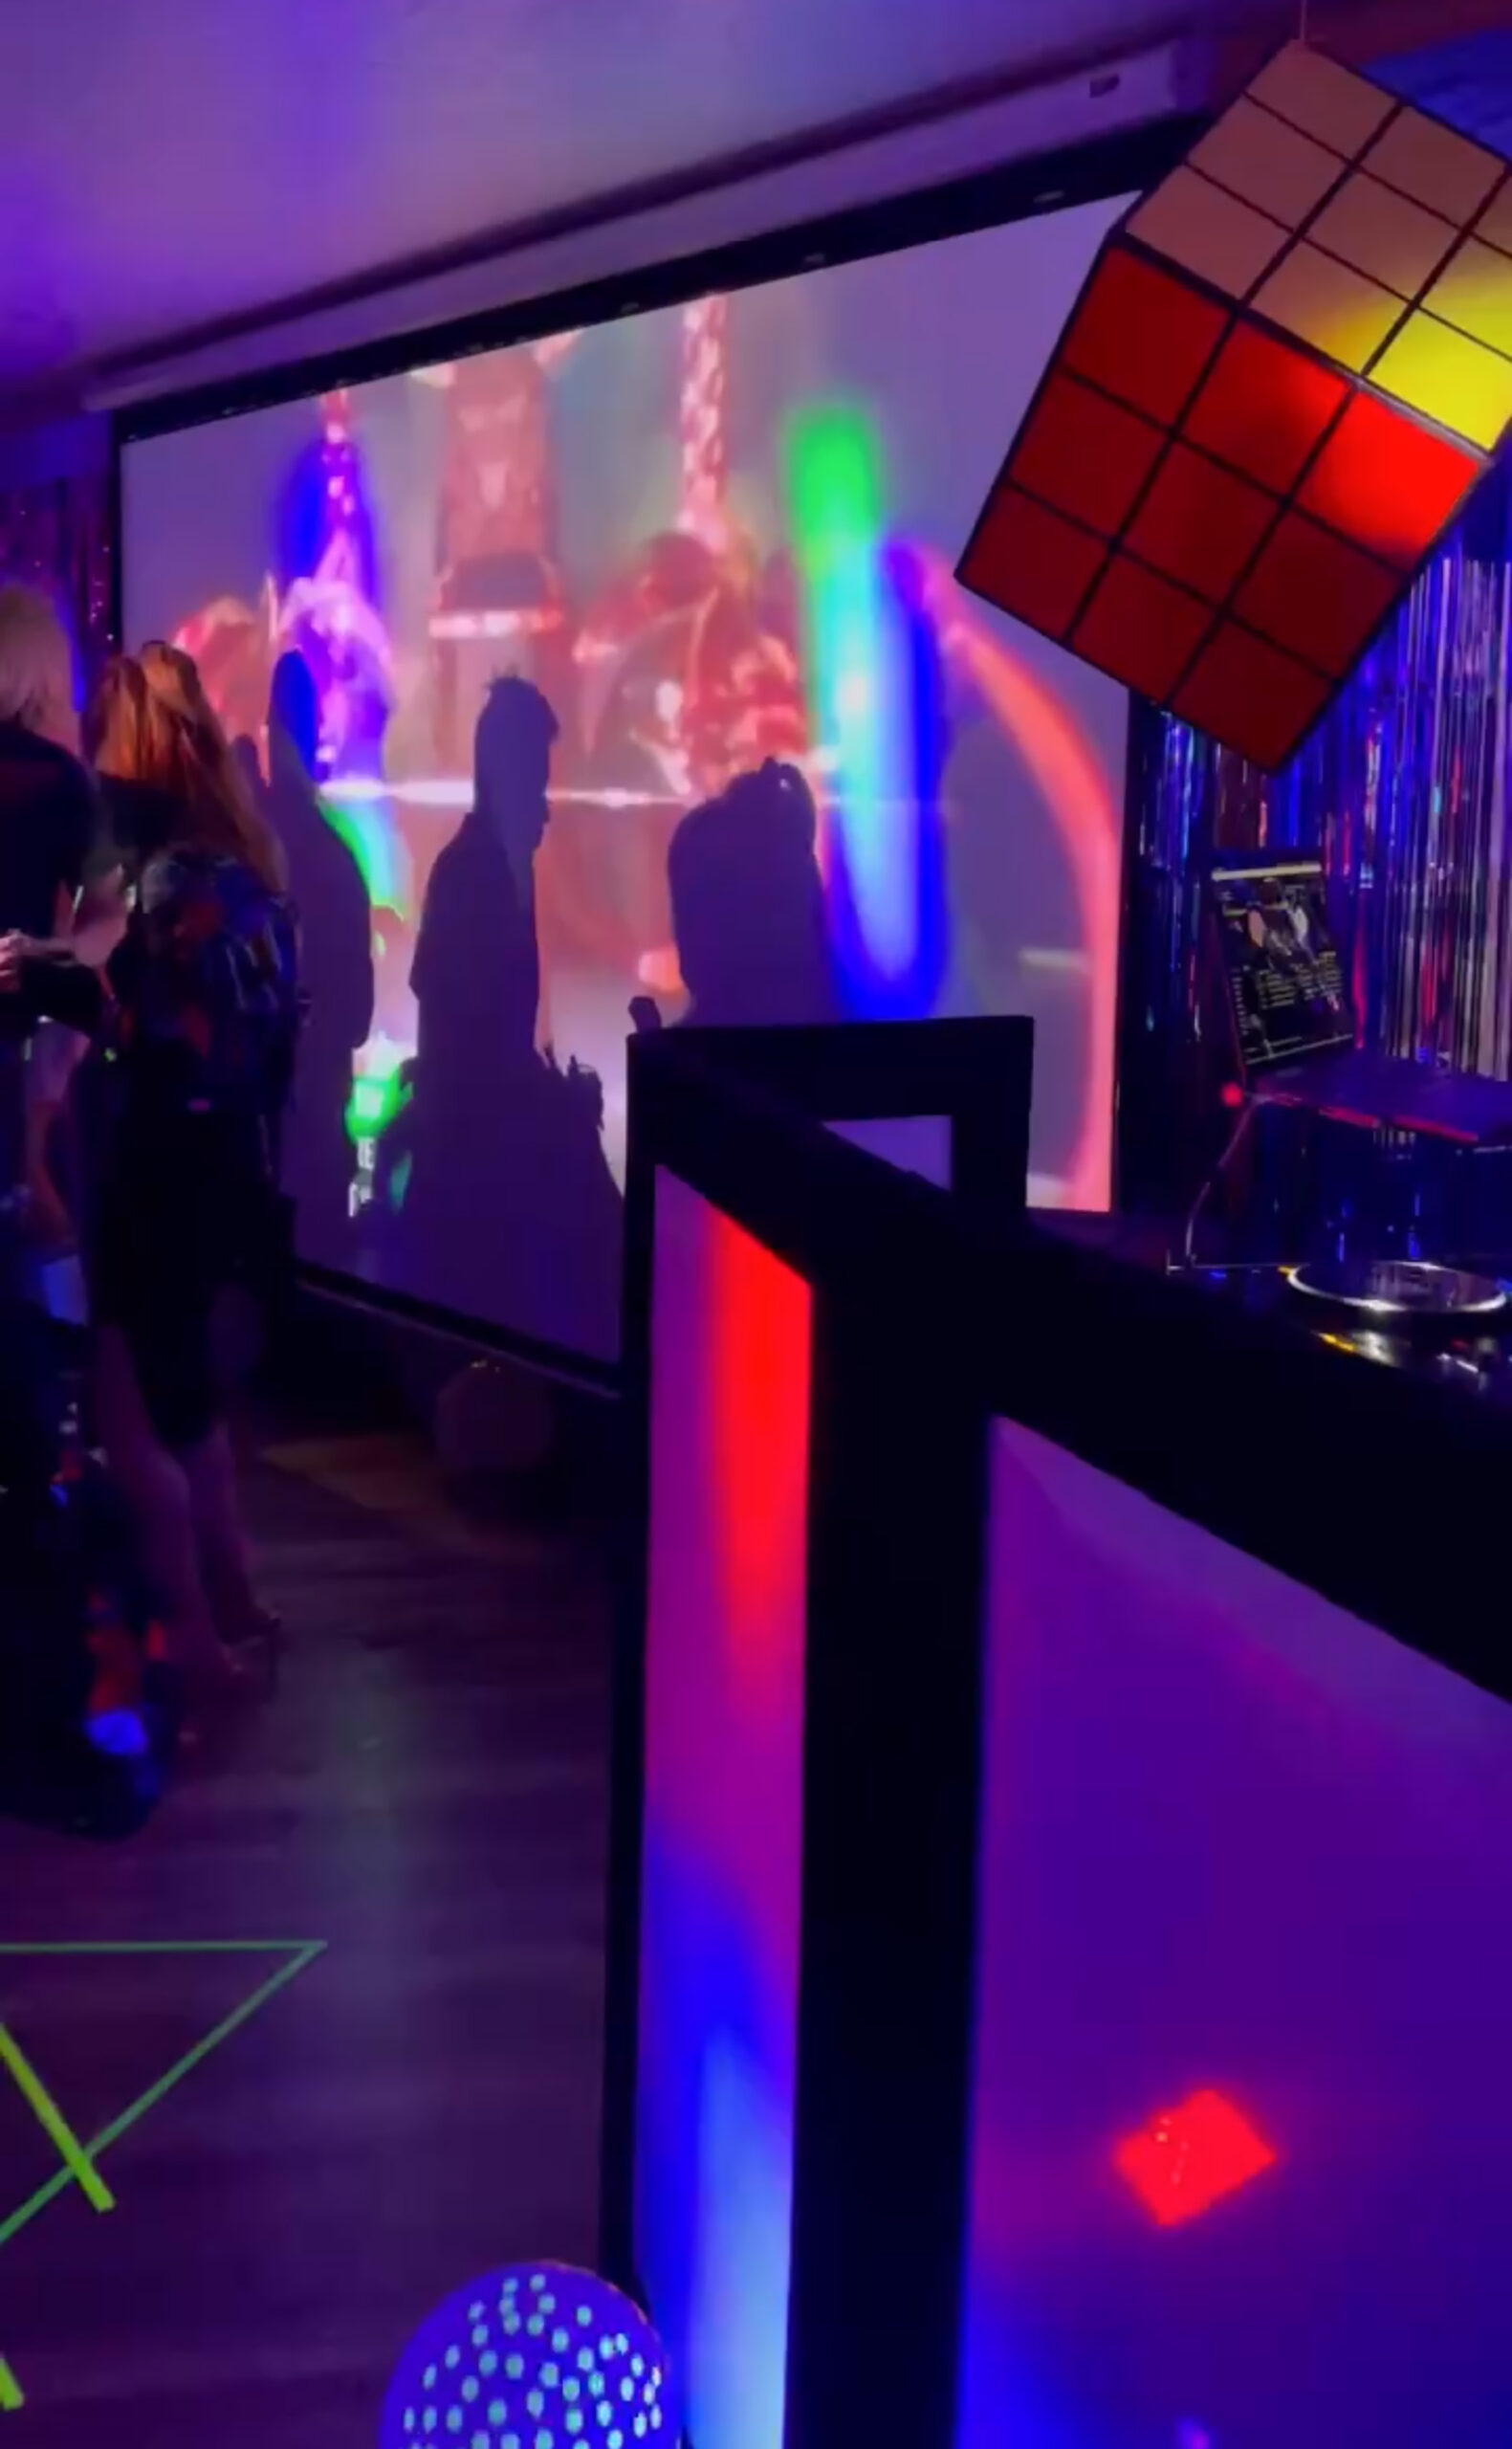
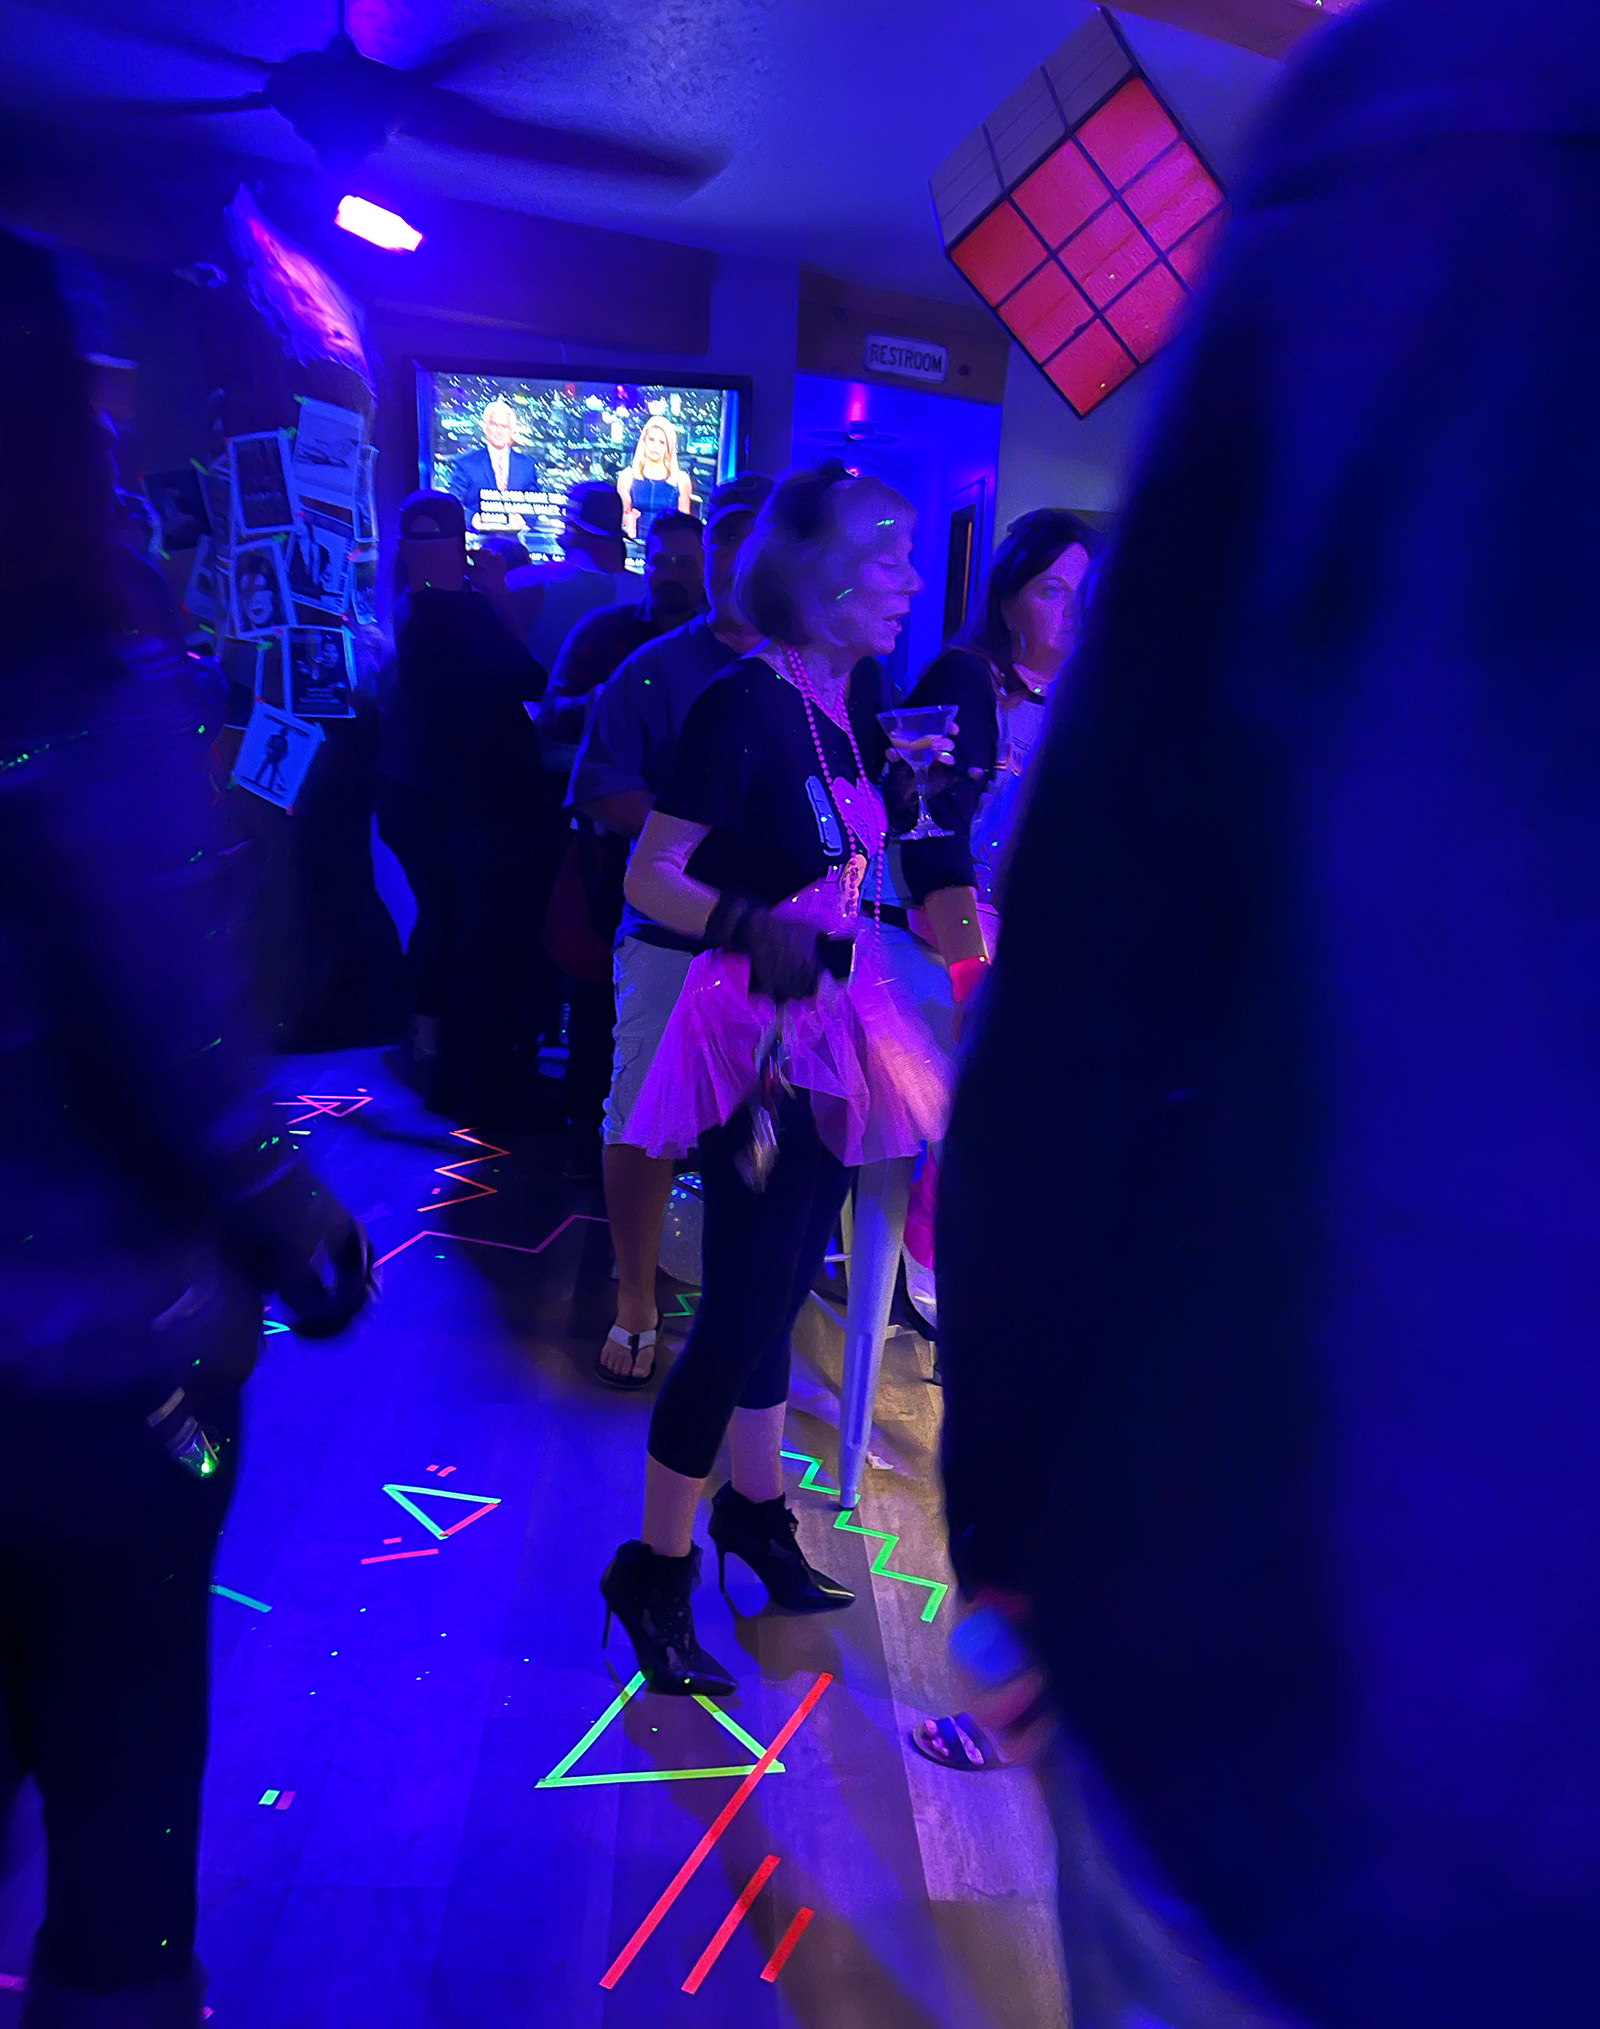
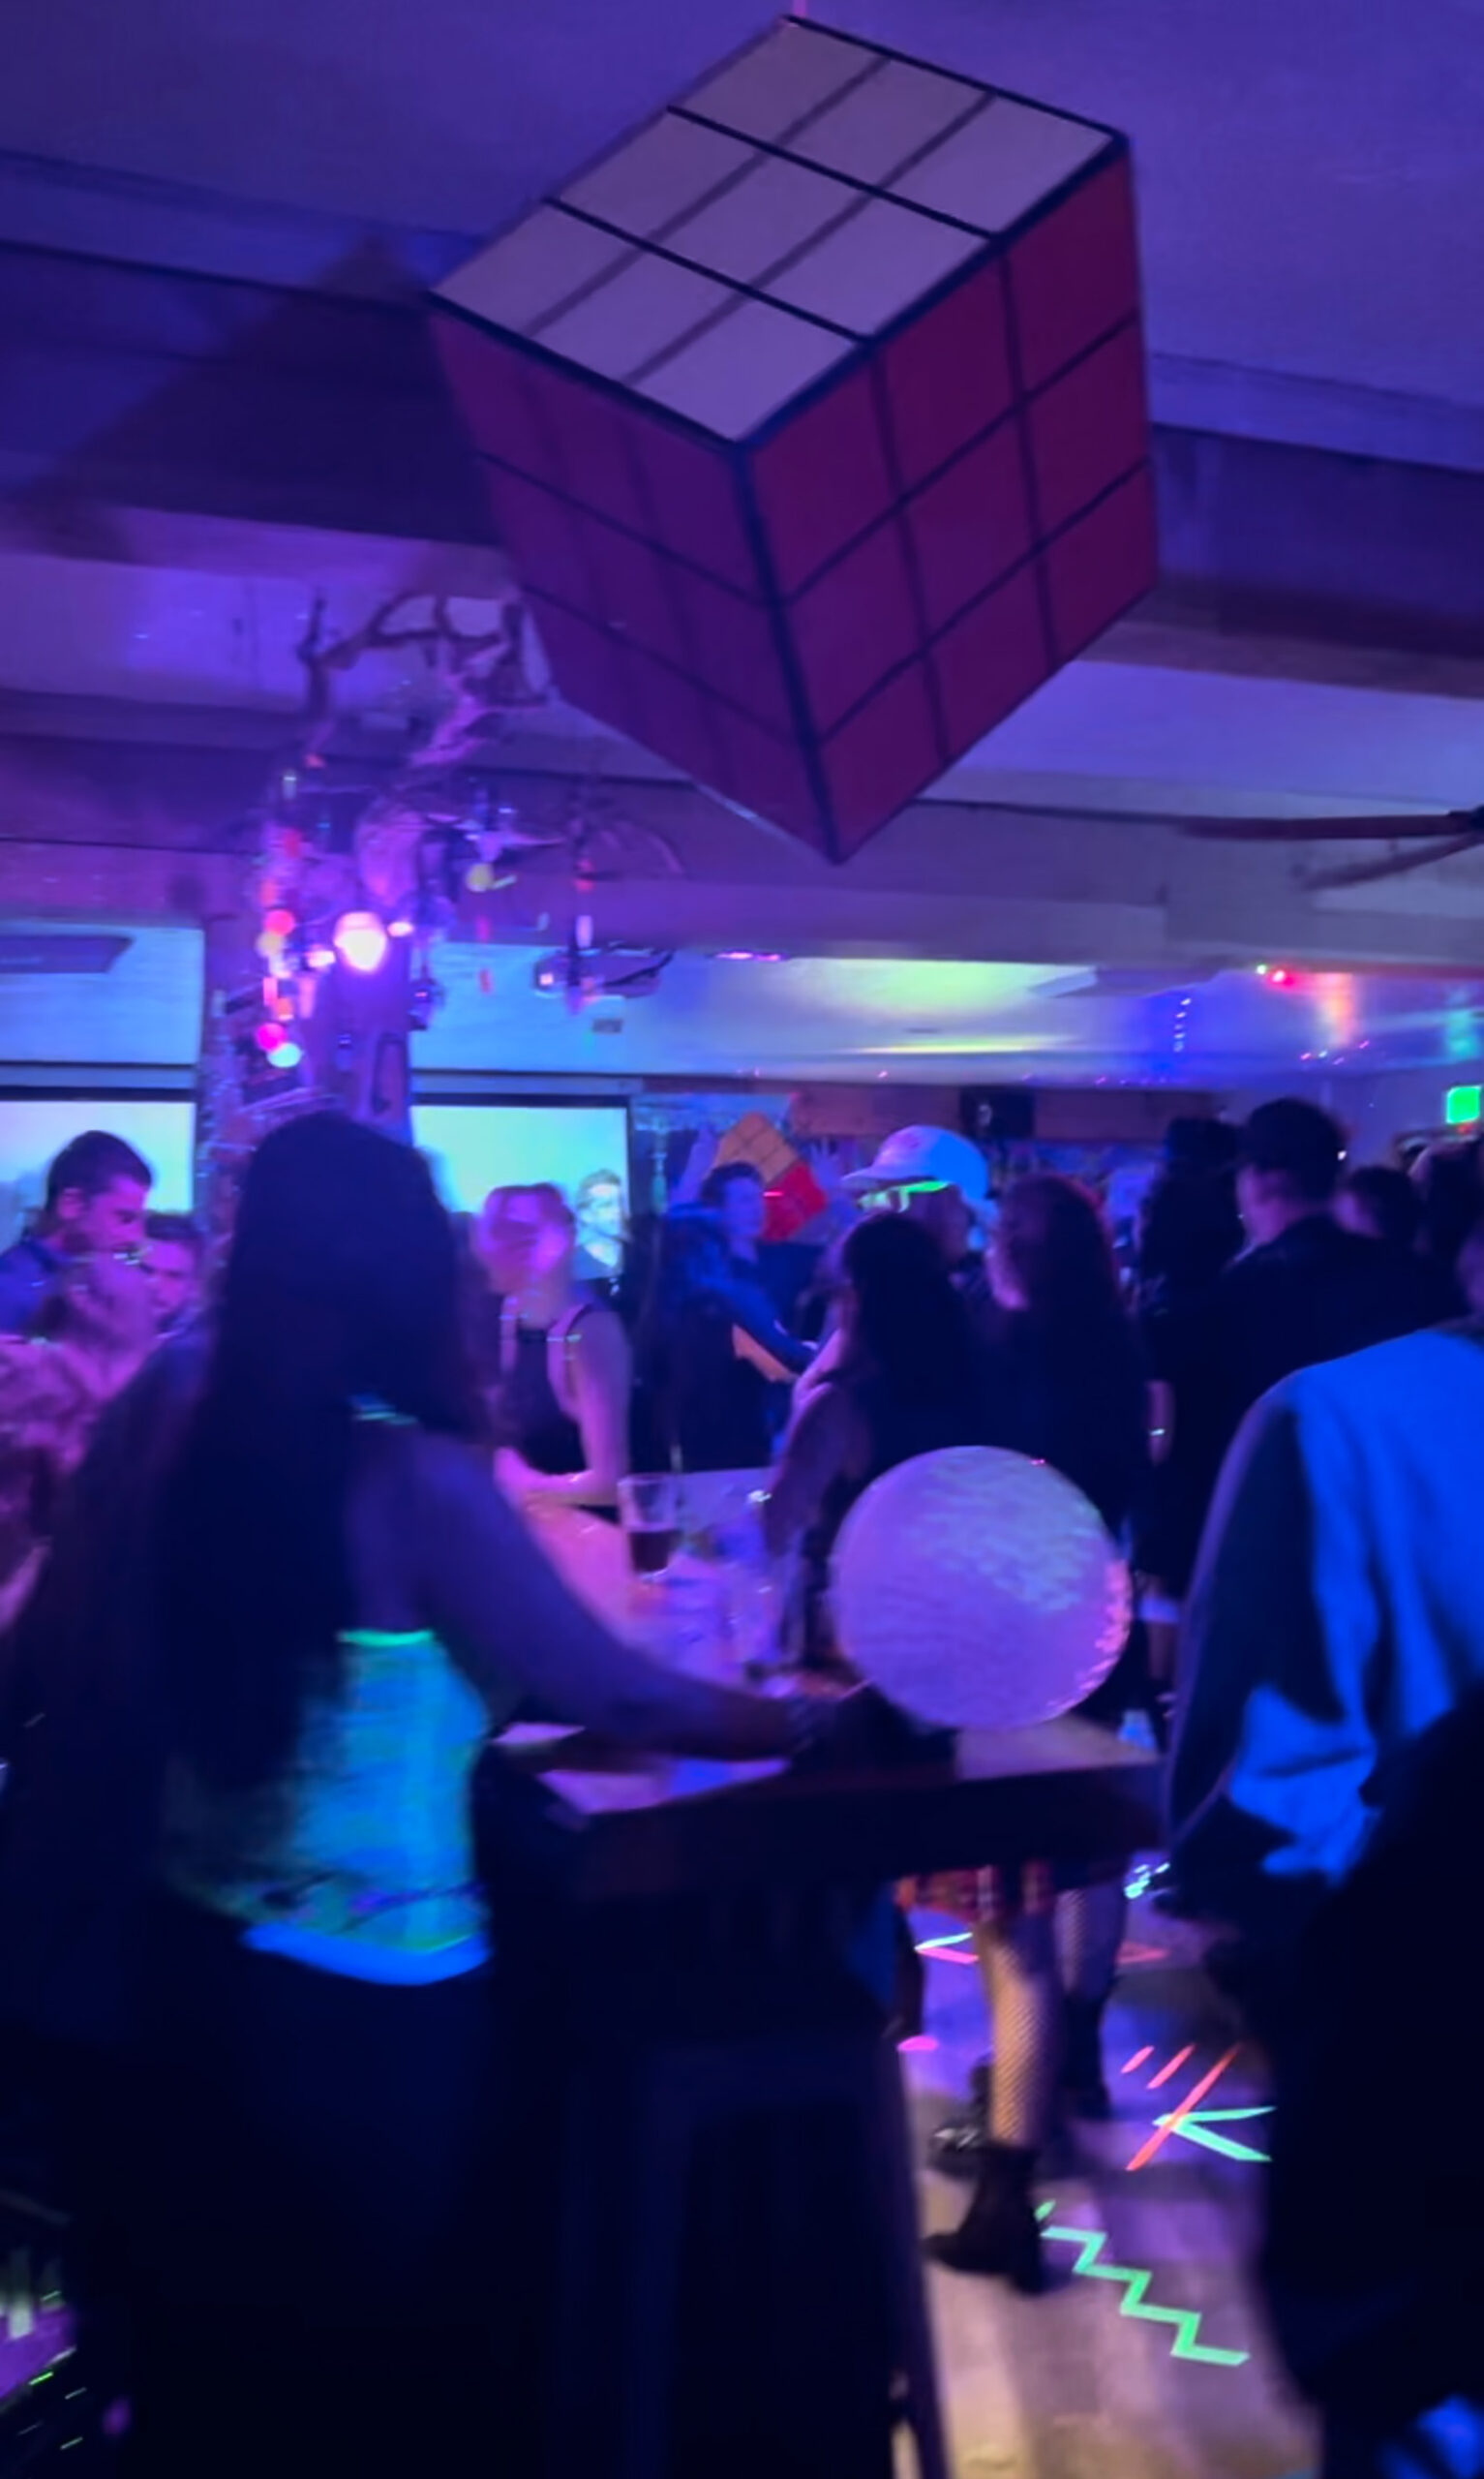
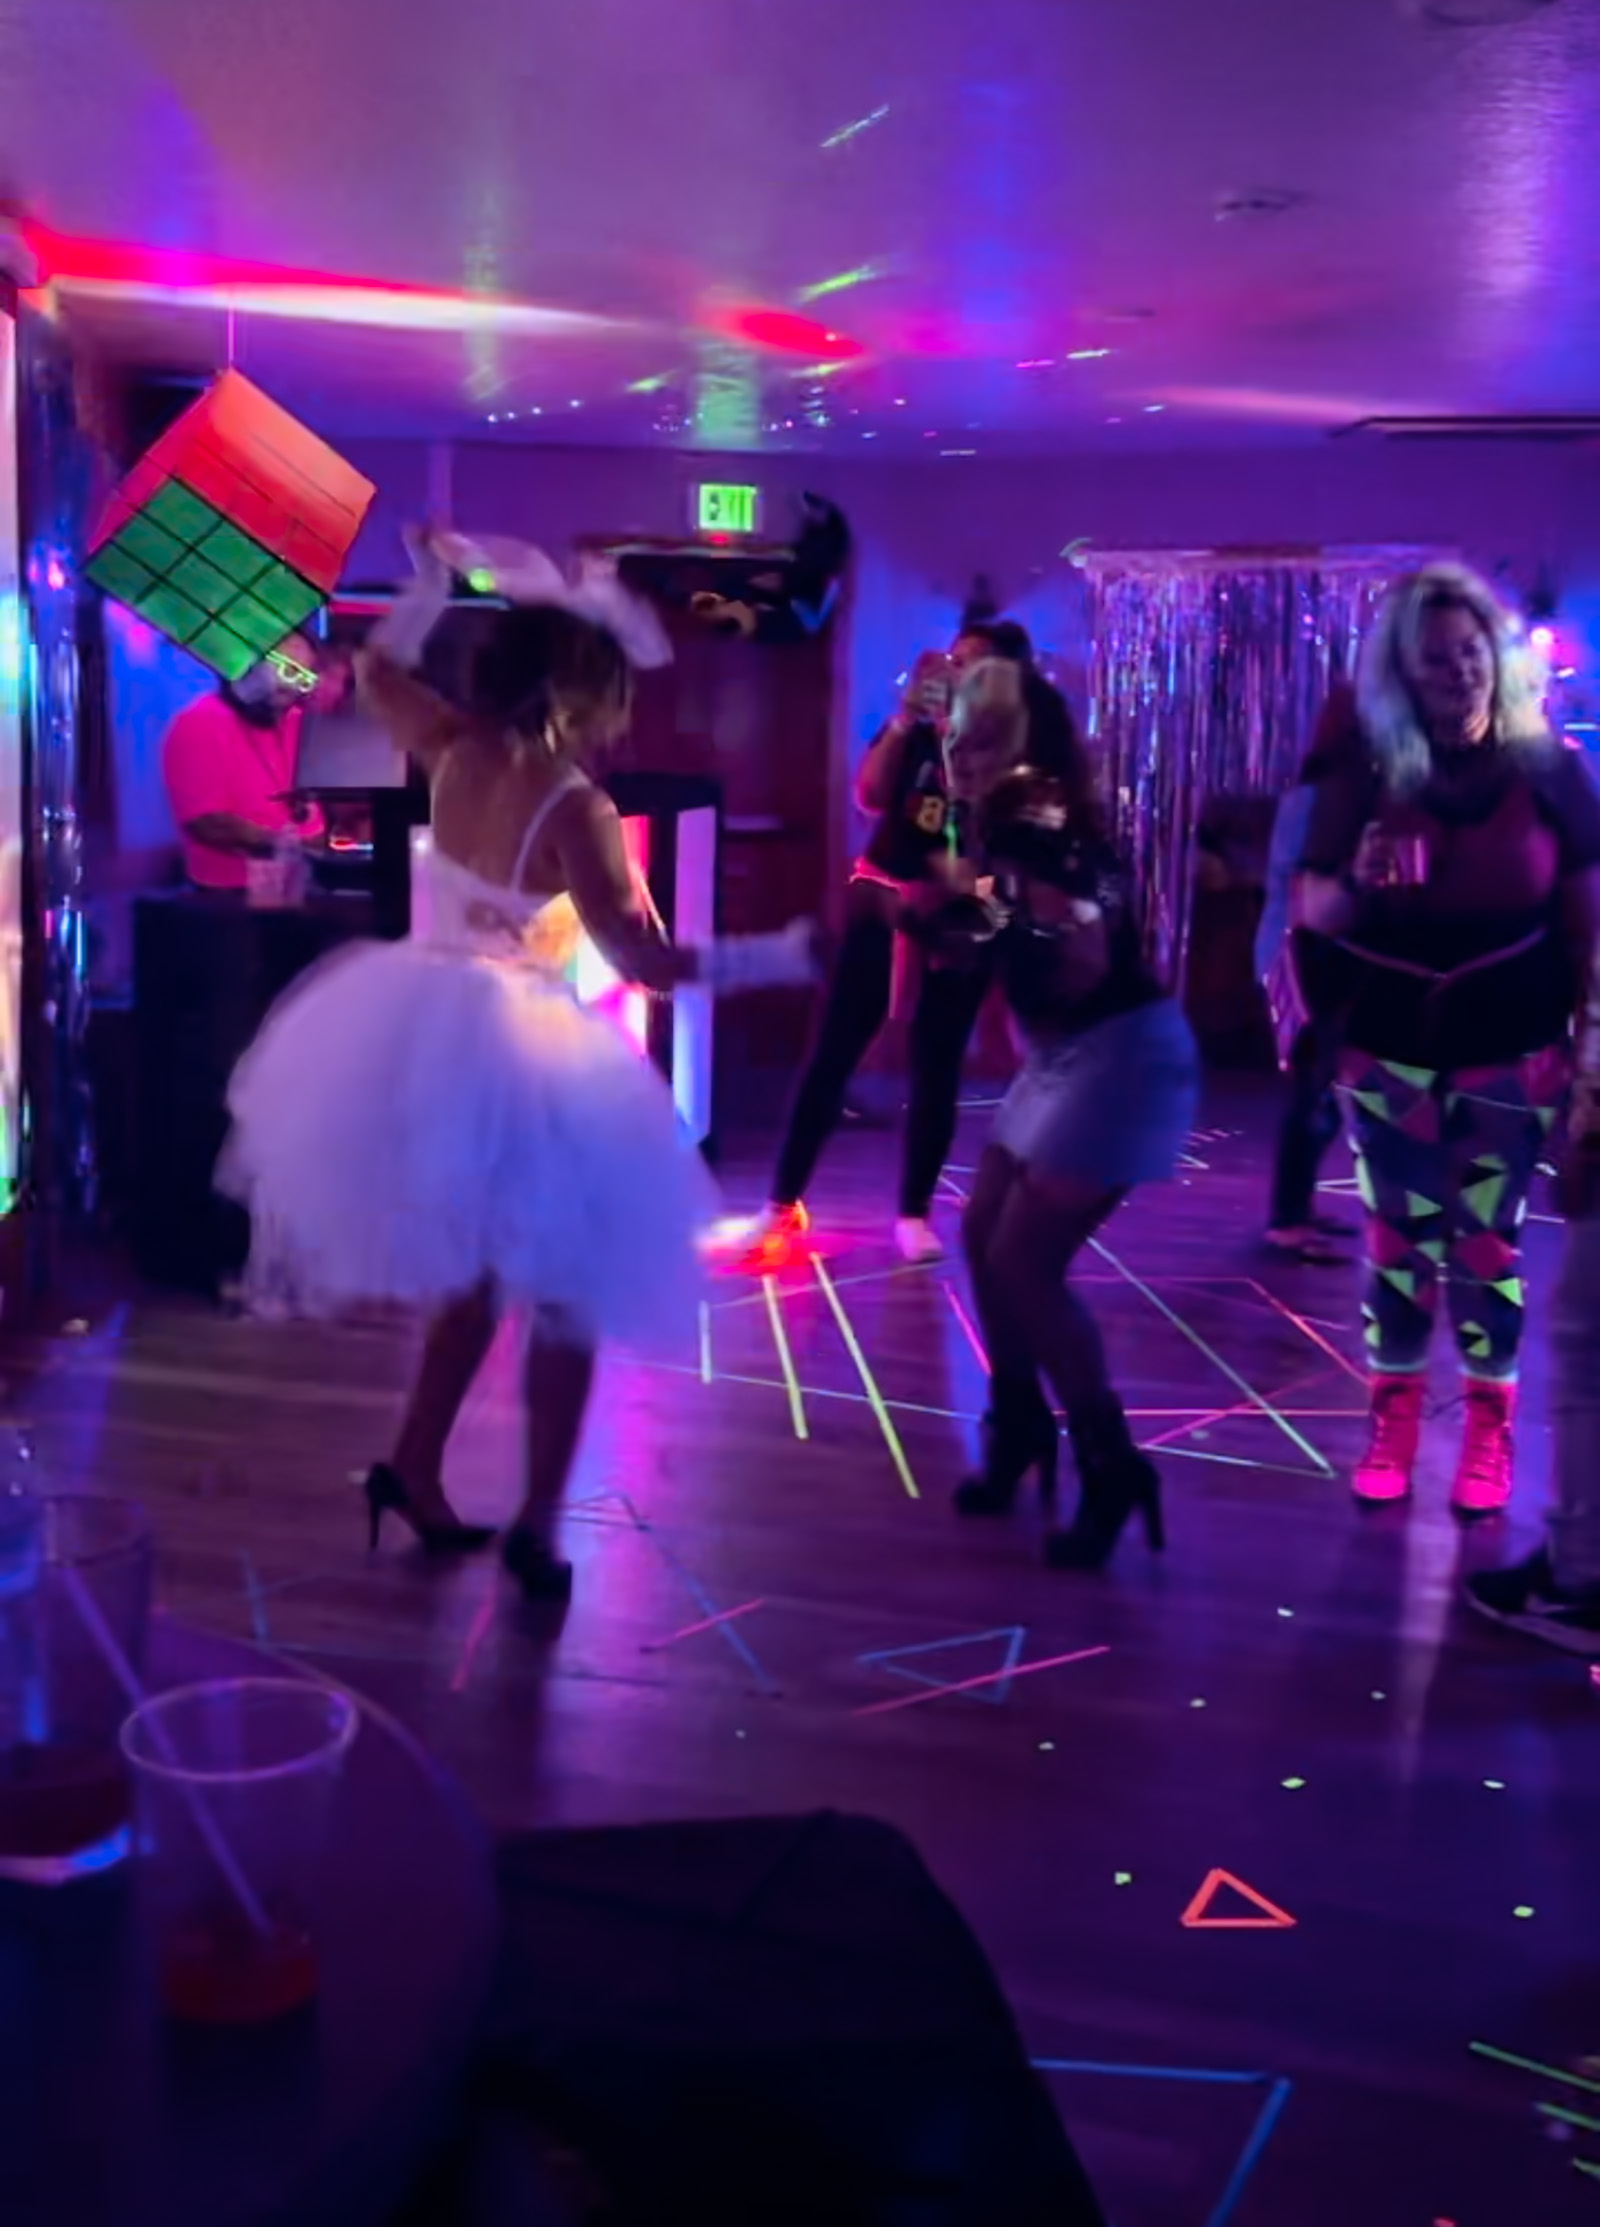
Check out THIS REEL from last year’s party… and THIS REEL promoting this year’s. Each year gets better and better… except the year I stayed home and had my own 80s party when we wallpapered the powder room… although almost as fun 🙂
Happy 80’s Party! Have Fun!
* Find all my DIYS here
* Find all my Party Decor ideas here

