I doubt this post is going to be that exciting BUT I feel like it’s pretty informative IF you’re interested in shortening a rug so it fits your space better… so if you’re into that kinda thing, then keep reading 🙂
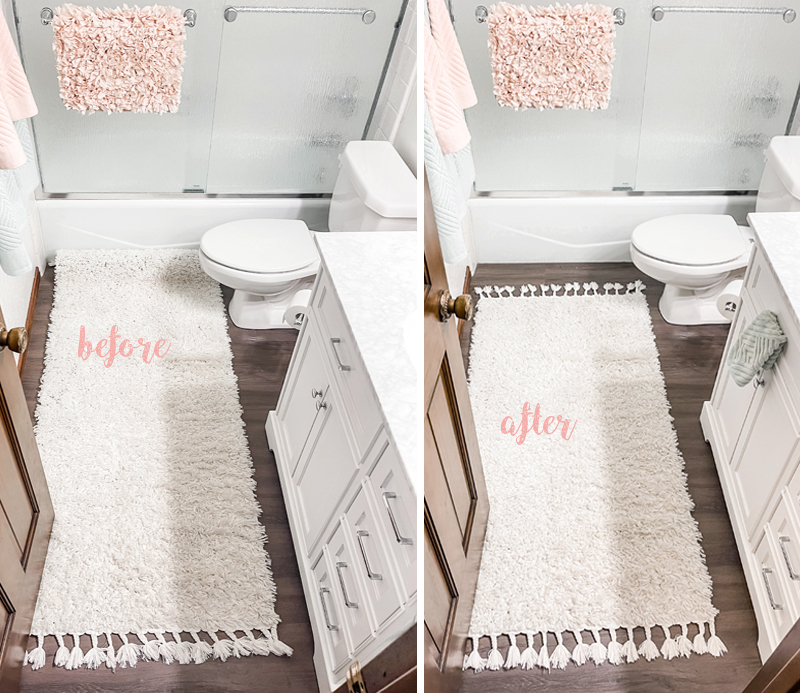
Rather than two small rugs, I wanted a long runner for my little bathroom that was approximately 2 x 5… but the closest I could find was a 2 x 6 runner with tassels, which made it even longer. Since the price was so good ($32) and I liked the shaggy texture and the color (white), I ordered it anyway just hoping it would look okay at the 6ft length.
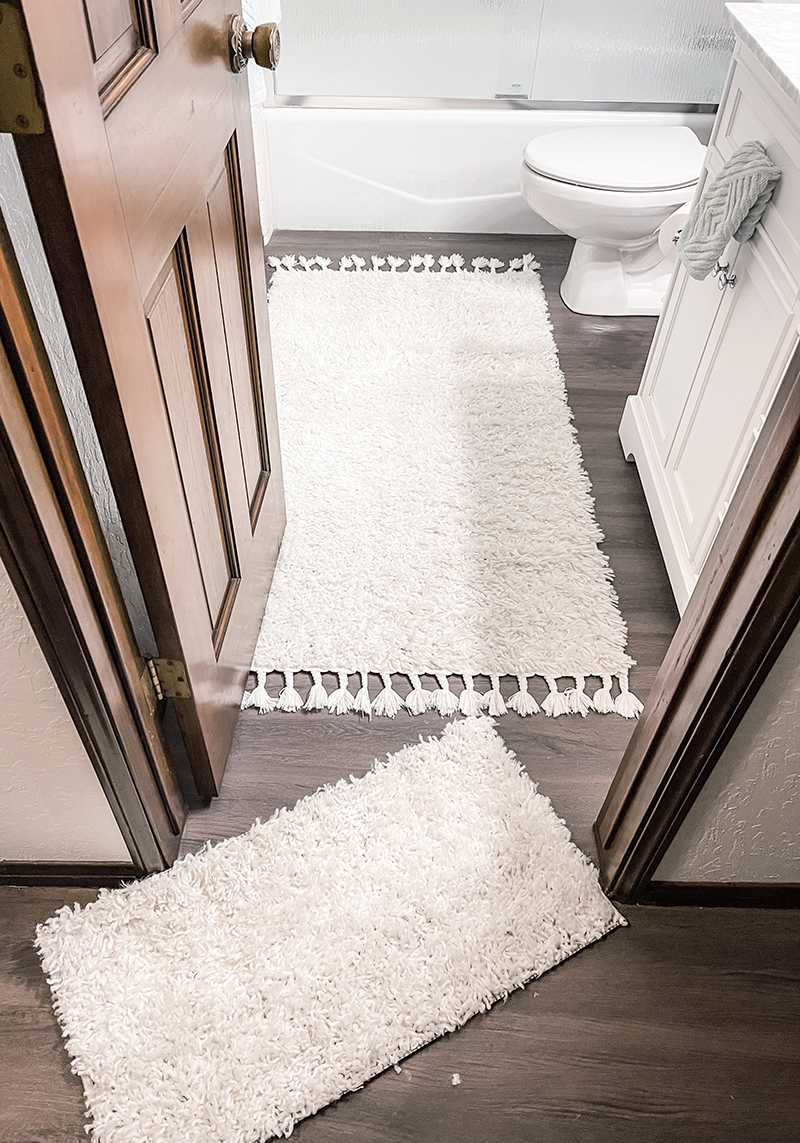
When it arrived and I rolled it out, it was definitely too long and started curling up by the bathtub/shower (which you can see in the photo above) so I decided why not try to shorten it and if id din’t work out, I’d use it down in my office as an entryway mat. The price was low for a rug but it’s more about waste. I really try to reuse and work with what I have for the most part… I REALLY do not like waste. Anyway, I’ll get to it.
Here’s What You’ll Need…
* Rug or runner (obviously) and preferably with tassels. This is the nuLOOM Neva Plush Shag Runner Rug, 2′ 6′ Ivory ($32) and I actually bought the same one in pink for my upstairs bathroom by my closet and it’s only $21 right now!
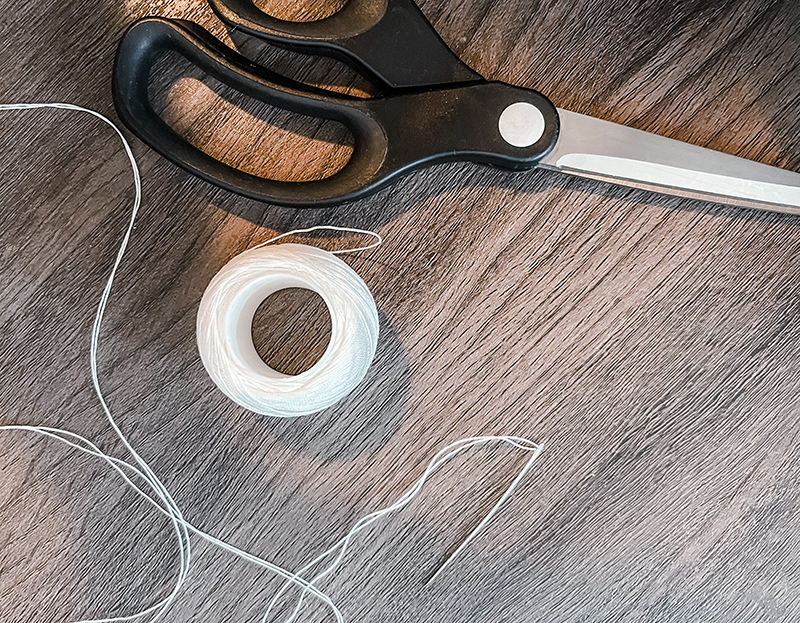
* Heavy duty (or just really good) scissors
* Large heavy duty sewing needle
* Matching thick (upholstery or crochet) thread (but not embroidery thread-that’s too thick)
* Jewelry pliers: optional, but make it easier.
TIP: If you’re not sure how to hand-stitch, check out this quick hand-stitching tutorial
Here’s How I Did it…
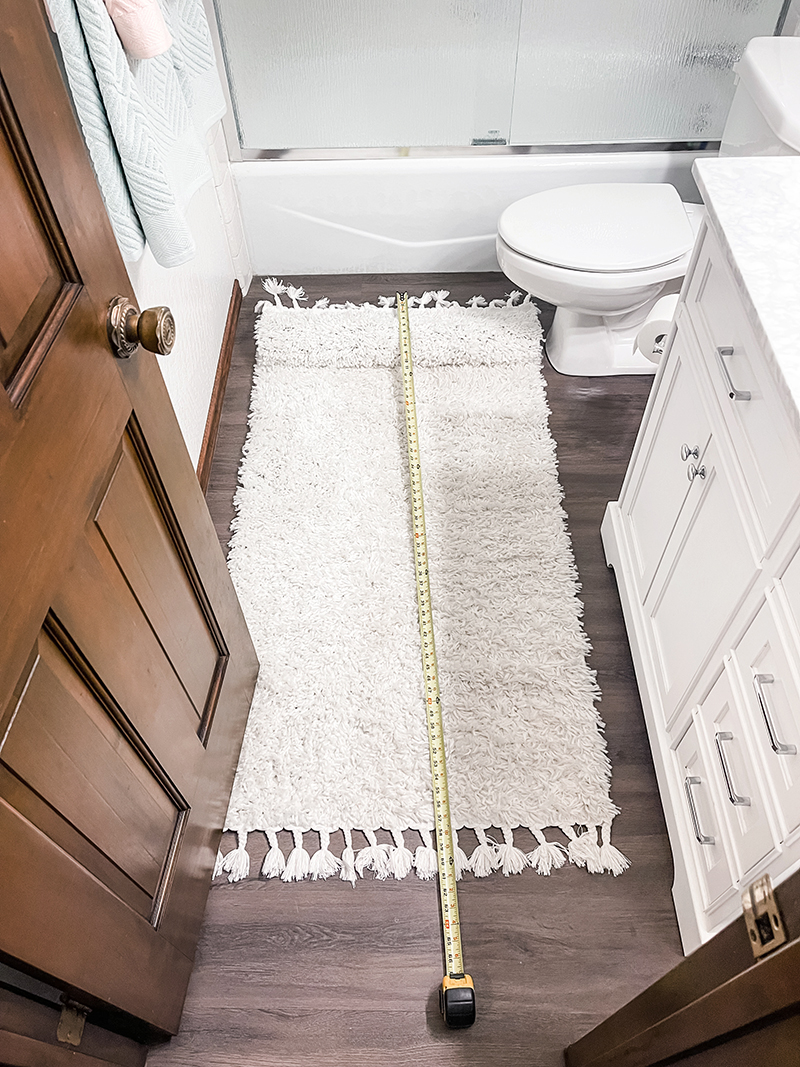
Decide how long you want your final rug, including tassels, and measure it (in the space you want to use it in) just to be safe. Fold it under to get a visual idea.
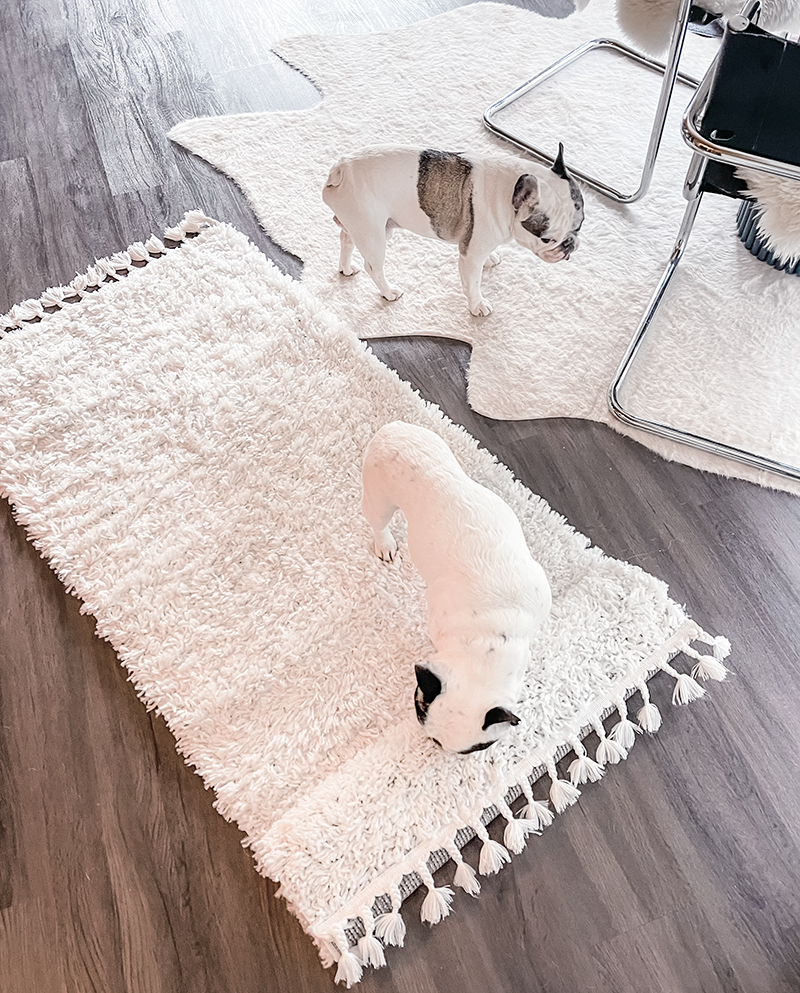
I brought it into my living room for more space to work, and for help from my assistants, of course.
Fold it to your desired measurement.
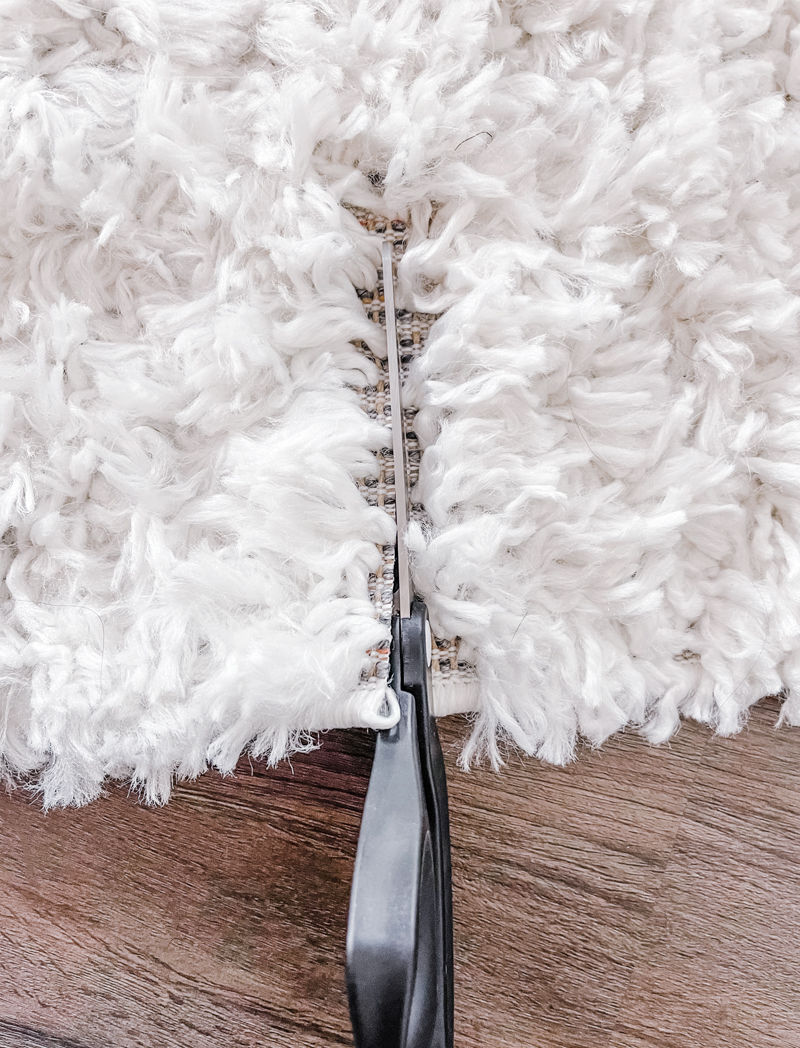
Carefully cut off the excess section of the rug. If you have a shag like this, push down and to the side the carpet fibers and try to avoid cutting them.
This rug is a little sparse (and in fact, I wish it was a little thicker and more plush, but it is what it is, and that made it really easy to cut).
Luckily the threads on the backing of the rug helped me cut a straight line. If you don’t have this option, you might want to mark a line with a ruler and pencil ahead of time.
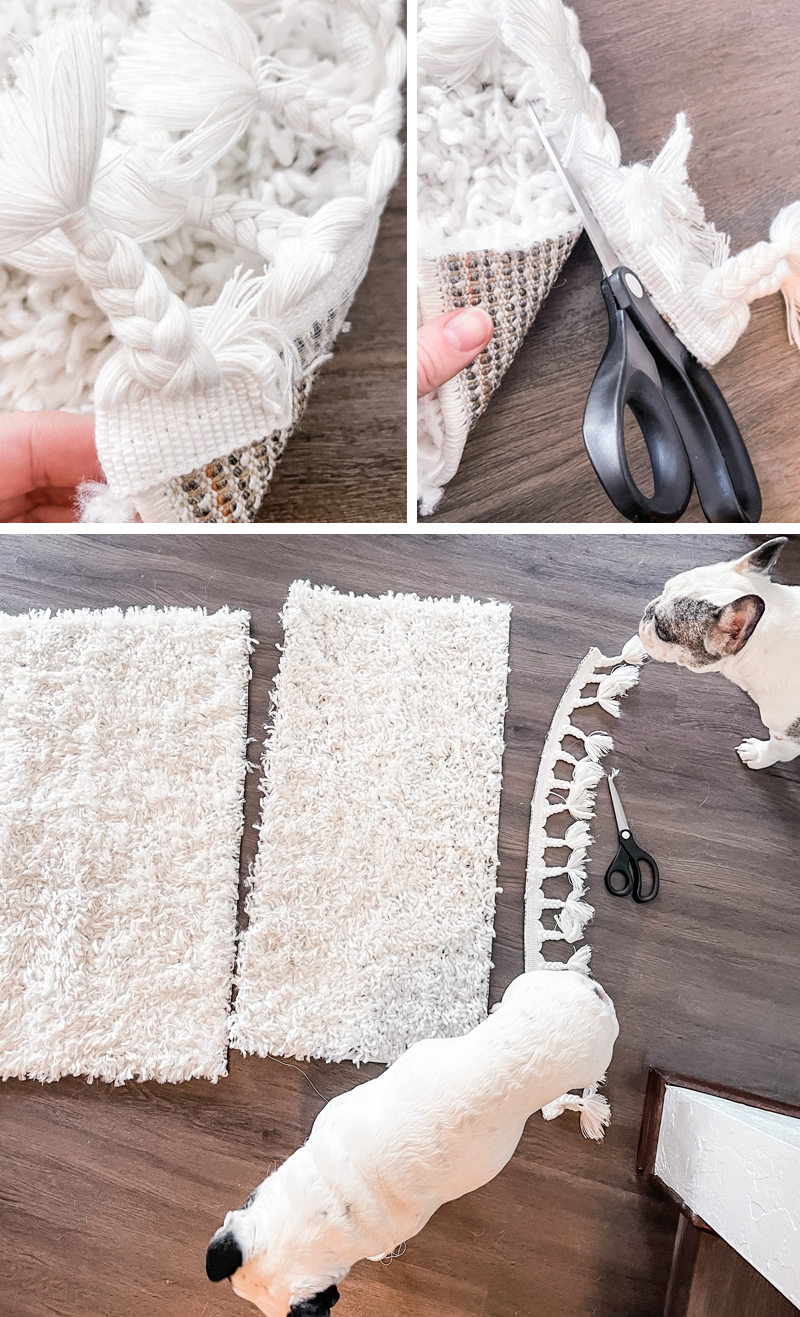
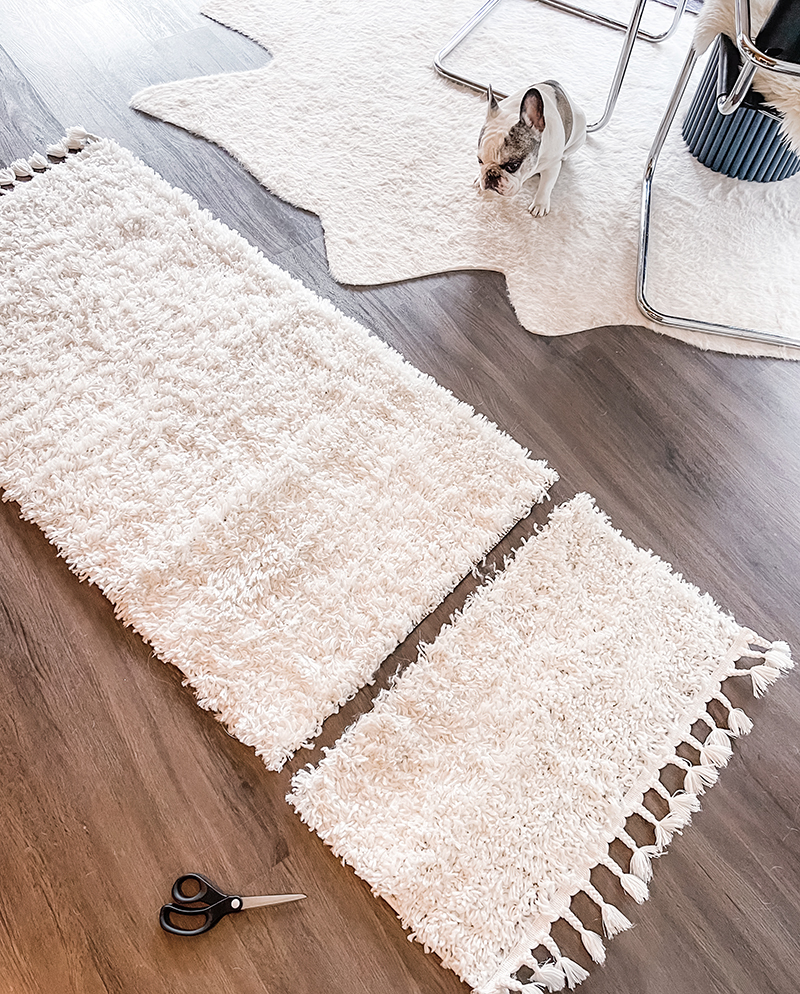
Next, cut off your tassel section, as close to the tassel trim as possible.
NOTE: On this rug, the tassels are glued on pretty heavily. IF I would have been able to remove the tassel from the backing, I could have glued them back on the new, shortened end. But this wasn’t the case.
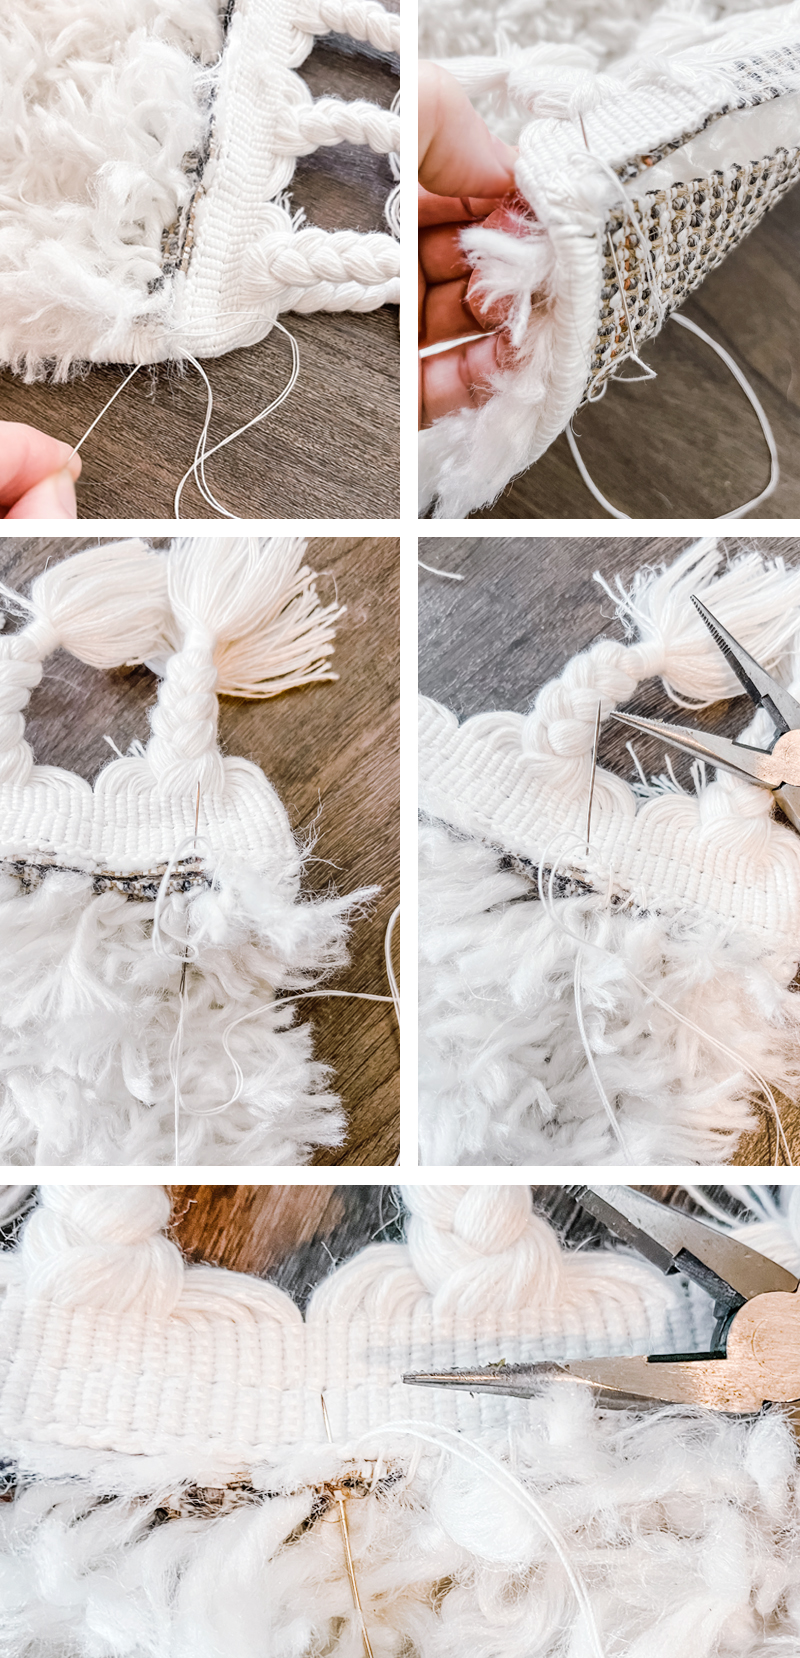
Hand stitch your tassels onto your new, shortened rug with a simple whip-stitch.
Line up your tassel edge and start by knotting your thread and looping it through and around the edge a few times. If your thread matches your rug, the stitches will be completely hidden, even if you don’t do the most aesthetically pleasing job. In addition, the longer carpet fibers will also disguise it.
It’s always a little messy at the beginning and end, but pretty consistent in the middle section.
The pliers help pull the needle through the thicker sections.
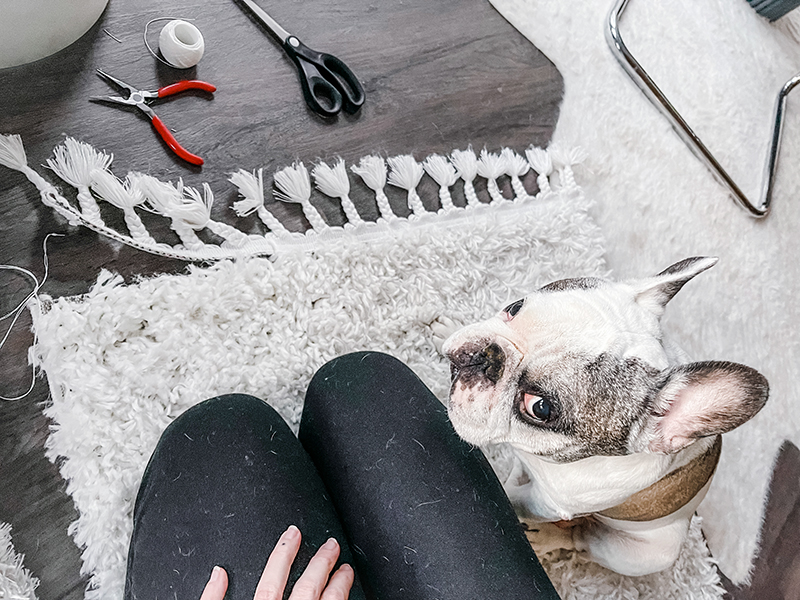
I just sat on the rug, on the floor and stitched it, which Randy, my little helper and all the dog hair in the land.
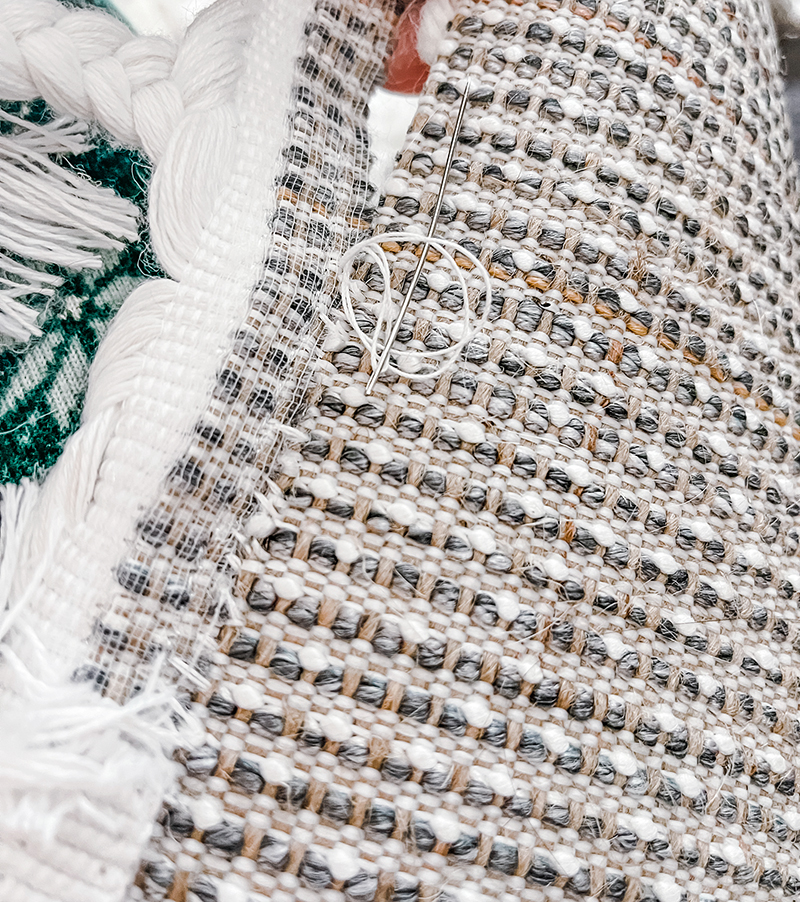
The back will look a little like this (above). Make sure you’re pulling the edges tightly so there’s no space or gap in between.
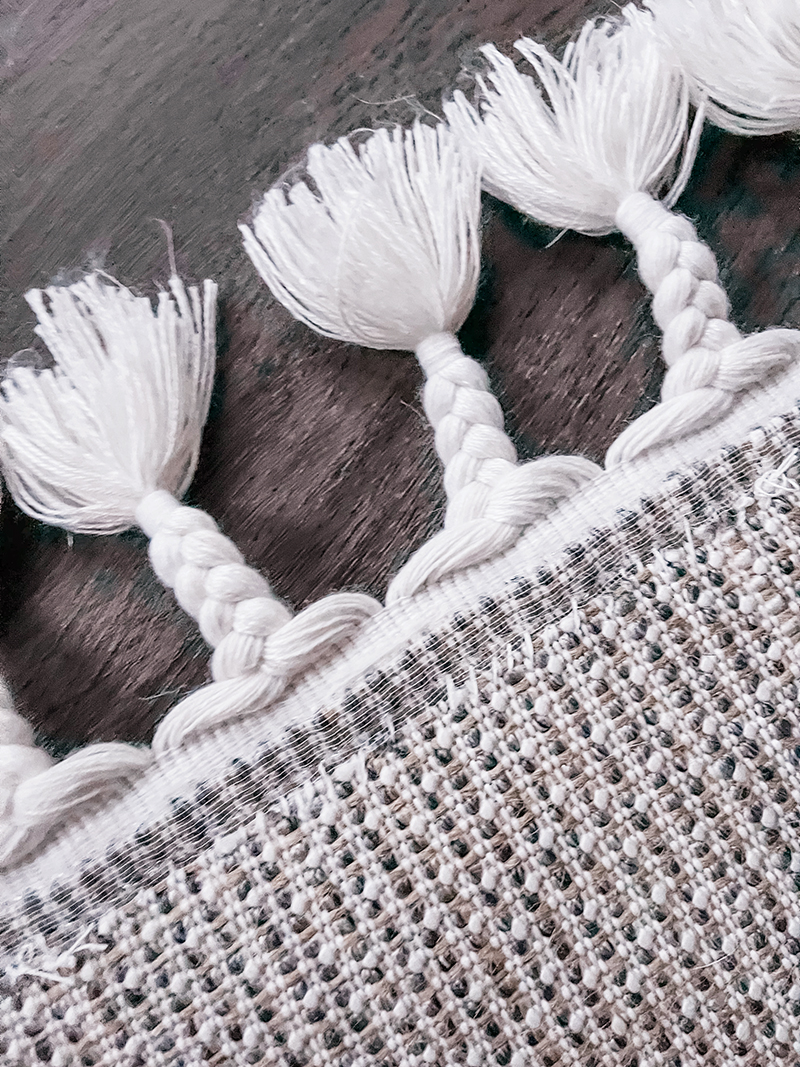
And then it will look something like this when you’re done.
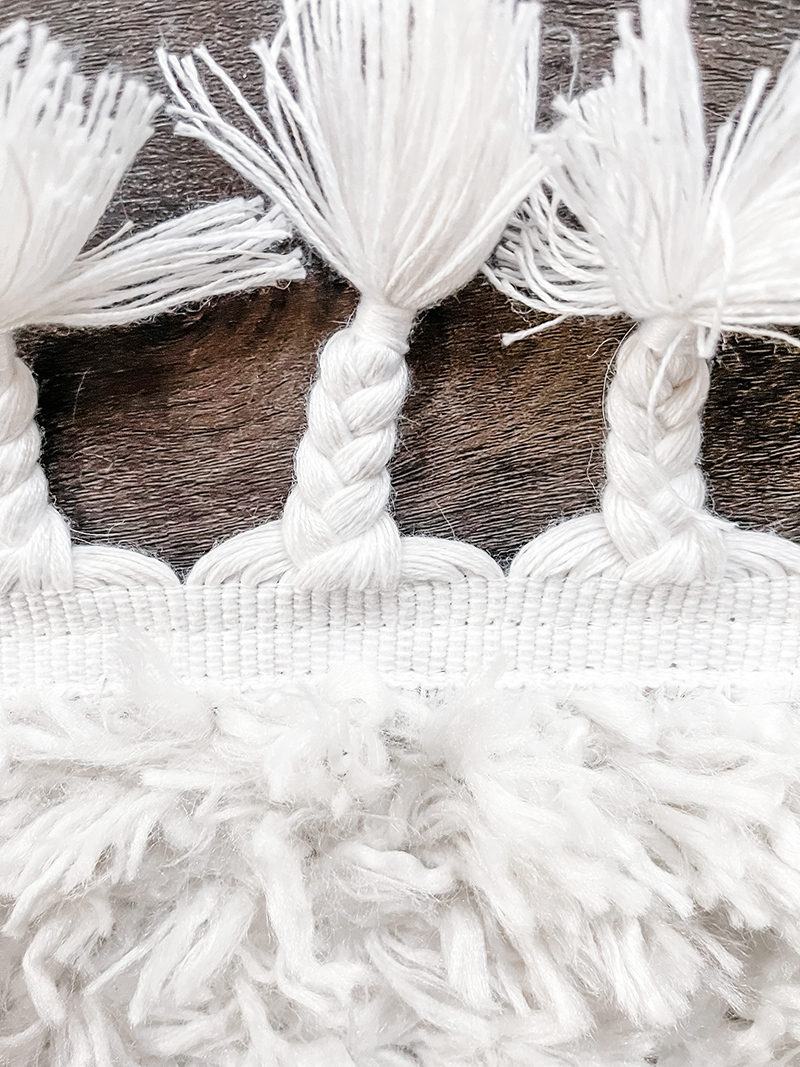
Once you’re finished stitching, fluff up the carpet sections near the edge to cover your work entirely.
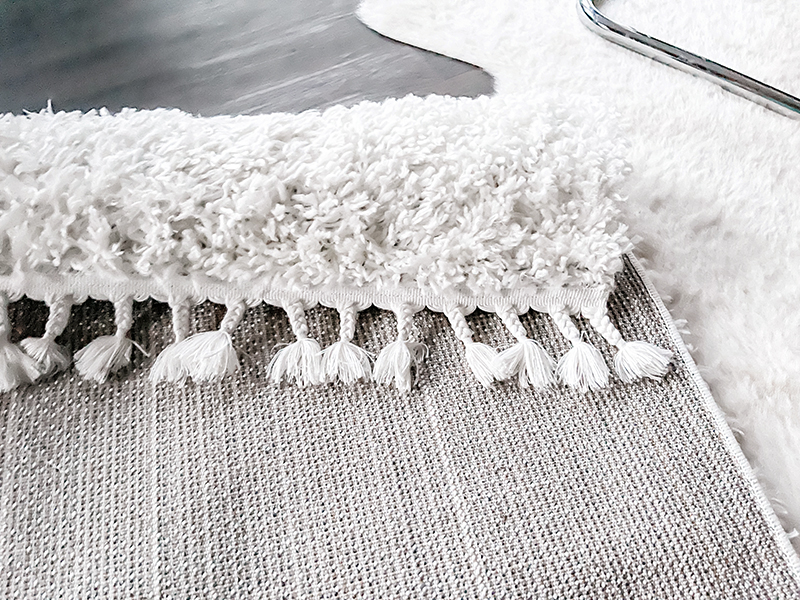
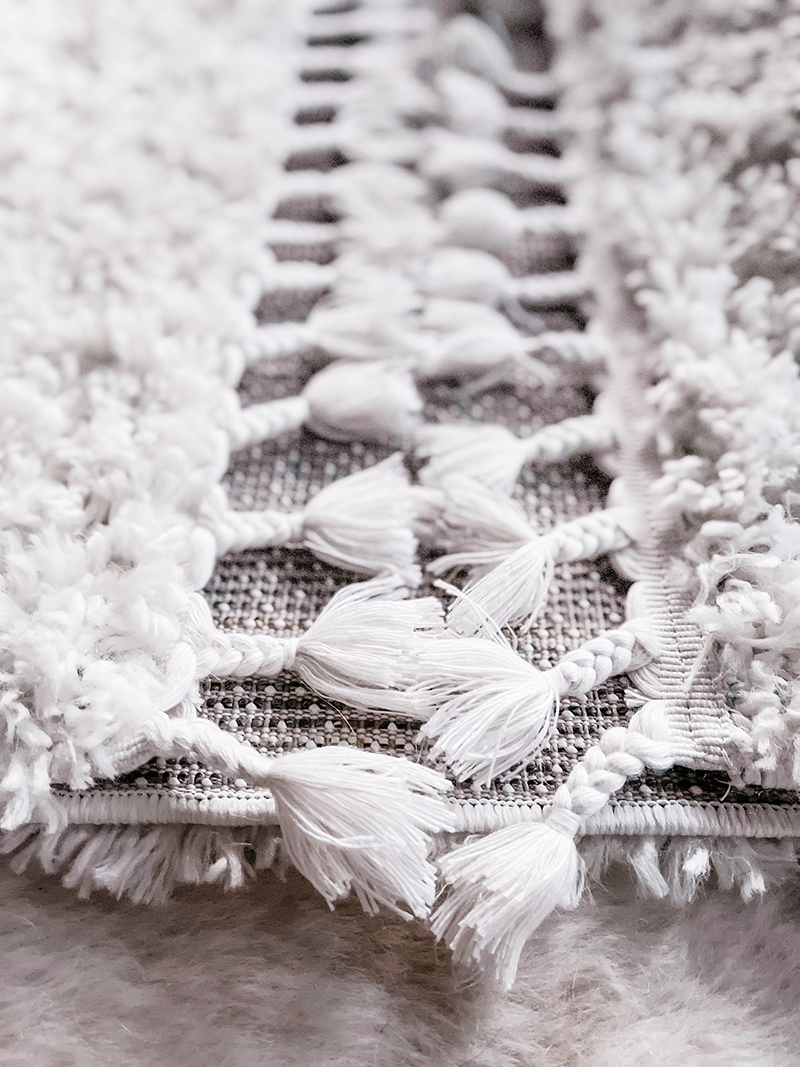
If you look above, the one on the left is the original, and the one on the right is my new side. You can see the original edge of the trim is really hidden under the carpet but mine is added to the end. Once it’s on the floor though, you don’t even notice it.
And…. Voila!
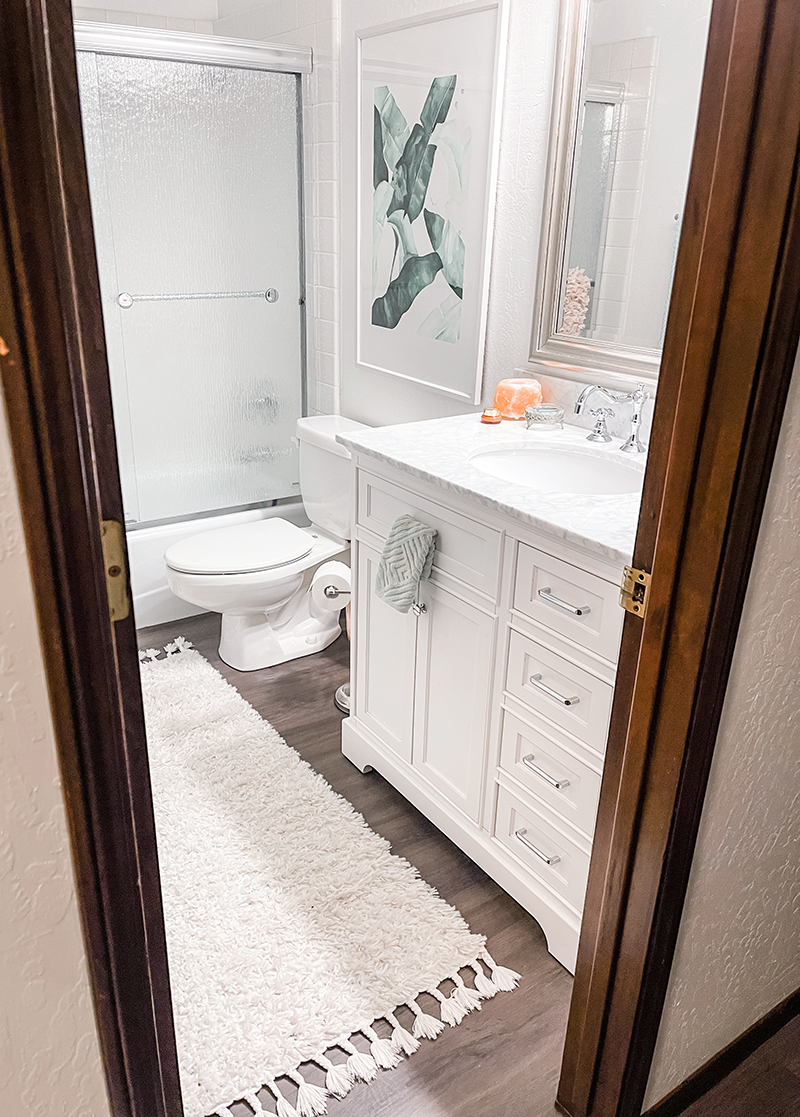
Also seen // my Beverly II Print by AESTATE which I’ve had for years now in my office, for a while in the girl’s room, and now I’m loving it in this little bathroom.
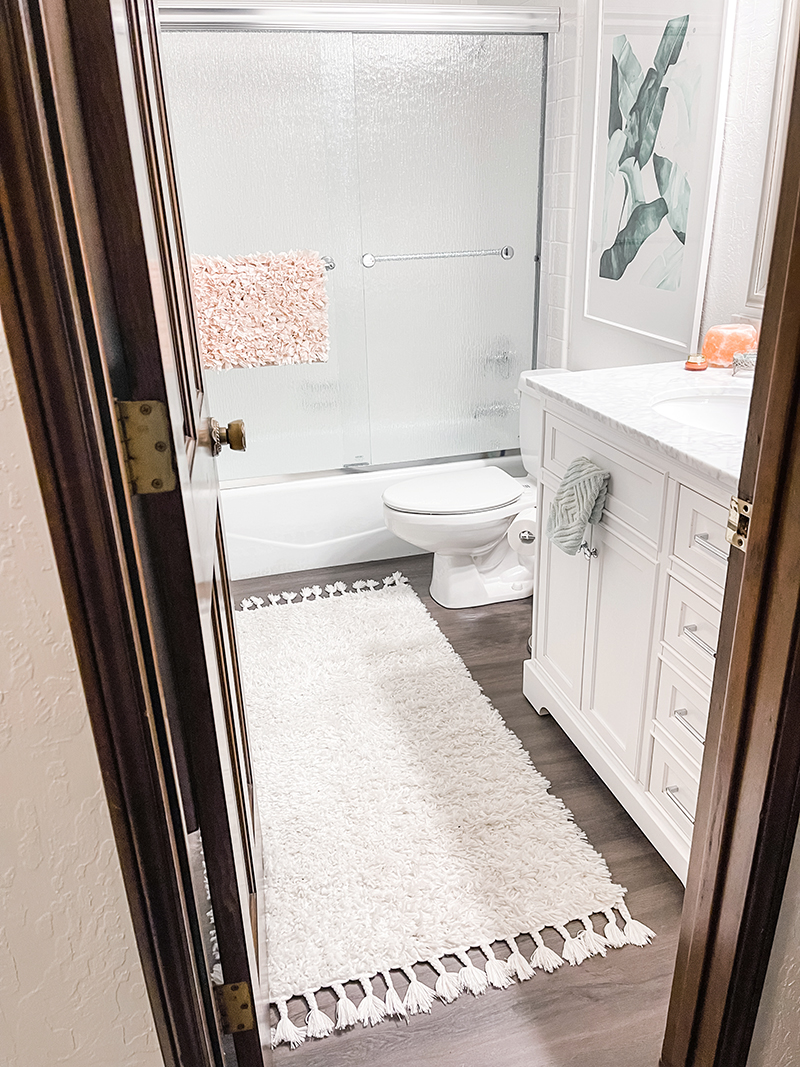
Happy DIYing Lovecats!
* Find all my DIYs here

