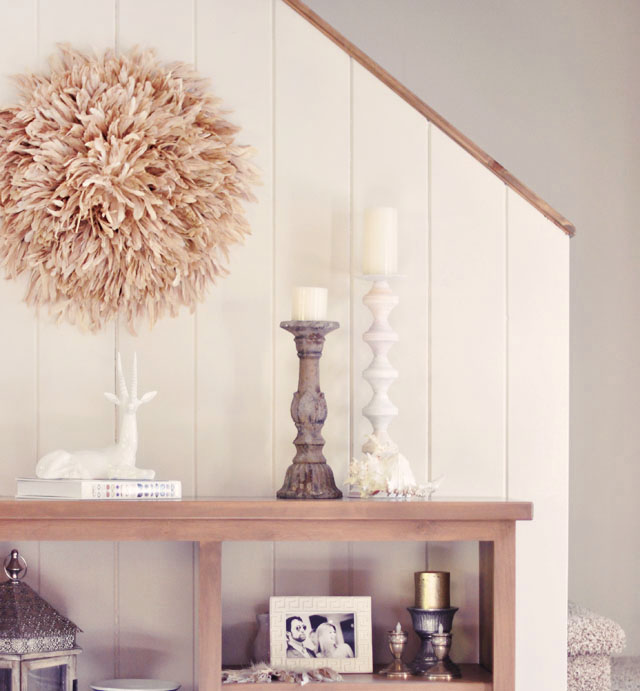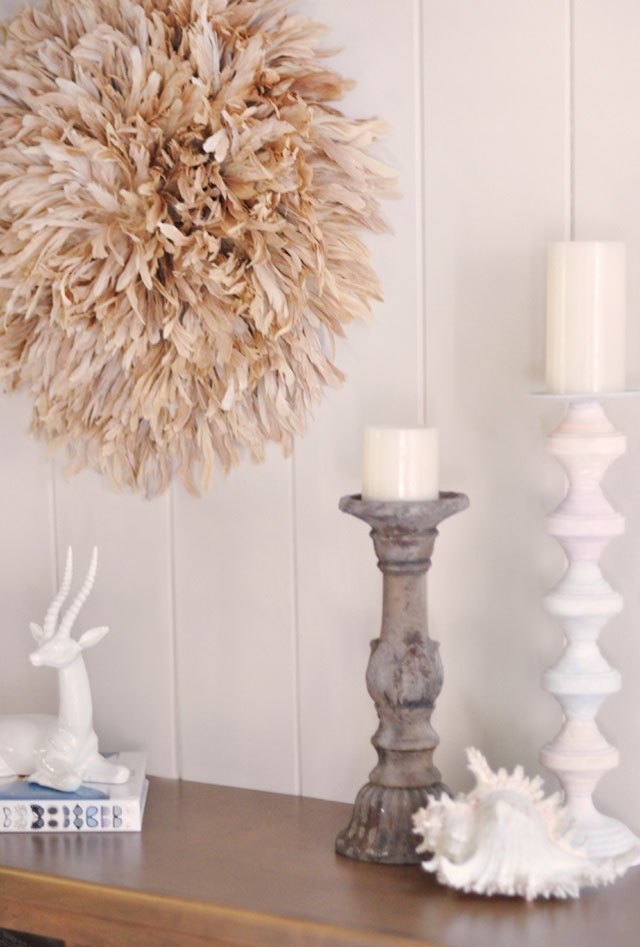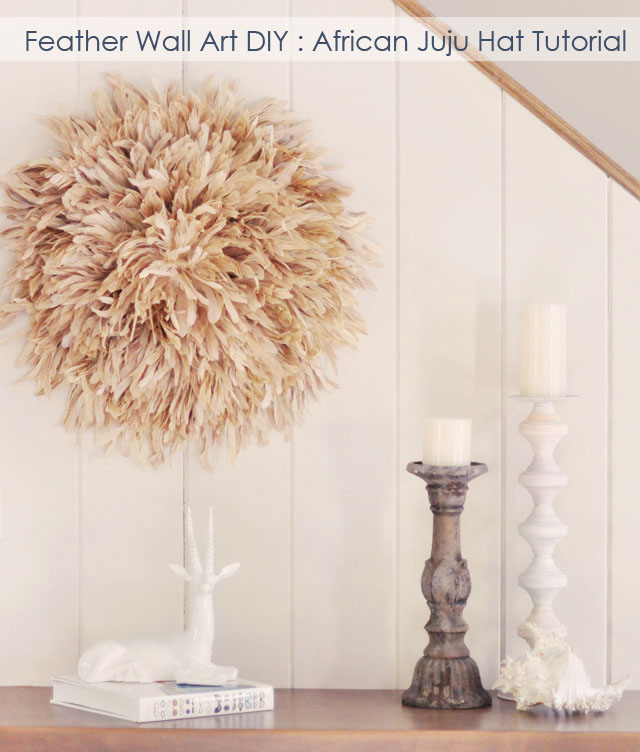
A few weeks ago, after what seemed like a never-ending decor battle with my console table design layout {I know, so dramatic}, I decided that the wall above it, which is part of it, needed something that was pretty enough to draw attention but not so much as to distract the eye. It seemed like every mirror or work of art I hung or placed there became the focal point of the room, creating too much fuss, and it just wasn’t working for me. It was then that I decided I needed something similar in color to the wall rather than contrasting it… and then as if from the heavens above, it finally hit me. A Juju hat was the obvious answer.
Since around 2006 or so, I’ve been spotting these amazingly gorgeous, colorful and textured circular feather wall art pieces in decor magazines and then of course, on the internet. It wasn’t until recently, though that I learned that they are actually African headdresses, traditionally worn by Village Chiefs in the Cameroon region of central Africa. The feathers are supposed to be symbolic of prosperity, and represent the wealth of positive qualities associated with birds. Also known as a Juju Hat, it is only recently that they have been used as wall art in high-end homes, and cost anywhere from $300-$1300 dollars each.
You can find more information at AfricanArt.com, where they sell a few different varieties in the $315 range. There is also an Etsy shop called Maman Afrique Boutique which has a few vintage Juju hats ranging from $500-$600 in a variety of bright colors. I found a gorgeous Vivid Blue African Headdress in Lucite Box by William-Christopher Design via One Kings Lane a few weeks ago. And Table Tonic has a nice variety of bold colors and various feathers {choices} from $239-$650 each.
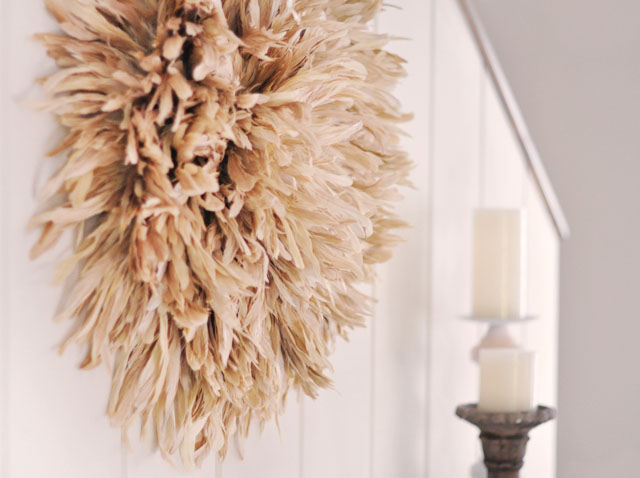
So my next thought was of course to make one of my own…
I did a search for Juju hat DIYs and found only two.
1. DIY African Juju feather hat tutorial by Vintage Farm Furniture, which is pretty great and how I located the feathers I’ve used here. I’ve only changed my version slightly, so check hers out for an alternate take on it.
2. A juju hat made from thick wool yarn from Flutter Flutter if you’re against using feathers.
I wanted to really try and recreate an authentic looking version, as they are woven together on a raffia base, then open up into a large circle, which sort of shoots out and away from the wall a bit once hung. So I purchaced grid rug netting, thin yarn and large needles hoping I could hand-stitch the feathers in a similar fashion and somehow weave them into place. But the feathers are so delicate, that I would have ruined the pre-strung quality, and killed the project. I decided to use the grid but with hot glue and added a foam backing that I smiply cut away, revealing the netted grid, making it unbelivably easy to hang with a simple nail in the wall.
Since I was looking for neutral colors to blend in with my wall rather than contrast with it, I used 3 strung Rooster Coque Tails in Natural/bleach {$45.50 per 1/4lb} and chose the shorter tails because they were less expensive. Even though authentic Juju Hats are approximately 30inches in diameter, I only had about 24″ of wall space to fill, making the shorter and less expensive feathers, the perfect choice for mine.
For more ideas on how to decorate using African Juju hats go to Funky Feathered African Jujus via Apartment Therapy
Here’s What You’ll Need…
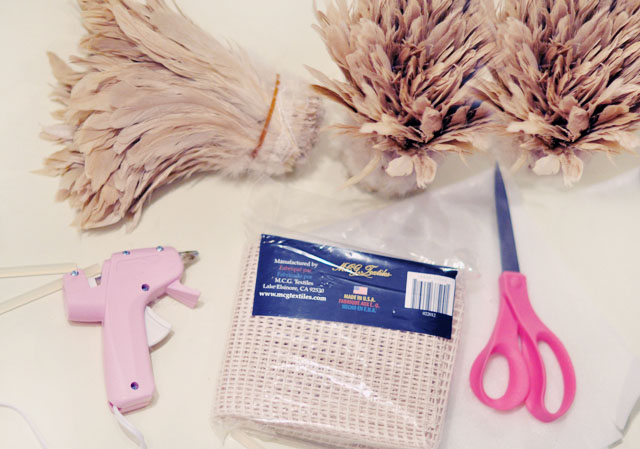
* Feathers, strung. I used 3 strung Rooster Coque Tails in Natural/bleach {$45.50 per 1/4lb ~ read above for more info} You can choose any feathers you like, I was looking for a neutral color and this was my favorite. If you want yours larger, choose larger feathers.
* Rug Canvas
* Soft pliably fabric or textile like felt. {I used a flexible foam sheet used to pack/ship an item that was sent to me.}
* Scissors
* Hot Glue gun + glue
Please note: this is not an inexpensive DIY unless you already have all the supplies. But it is a fraction of the cost of an original, authentic, or vintage African Juju hat.
My Total cost: about $150
Steps…

* Decide how large you want your total diameter to be, then find a large round object and trace your base.
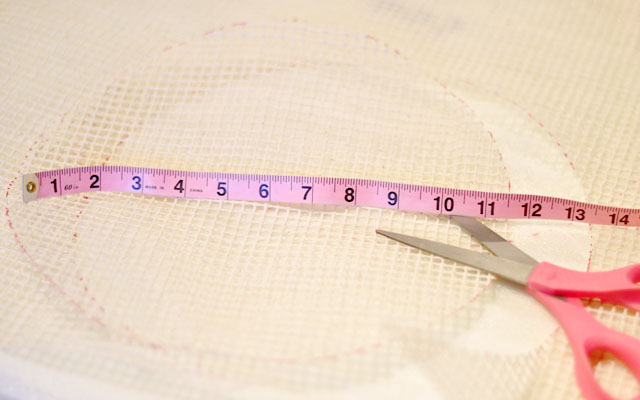
* Then cut it out with your scissors. I wanted my total diameter to be around 24″ round, so I cut my base at about 11-1/2″-12″. Adding my 6″ of feathers, created the exact size I needed.

* Carefully open up your strung feathers. Each of mine were different. One roll had 3 different sets and another had two. They are delicate, so handle them gently.
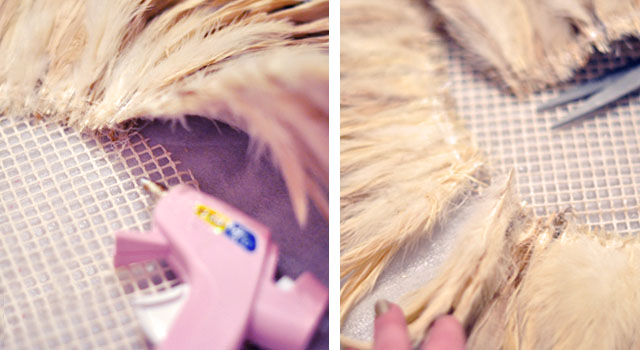
* With your pliable fabric placed down, center your rug grid circle cutout atop, then begin glueing your first strung set of feathers around the edge. Trim the excess off rather than overlapping.

* It should look something like this.
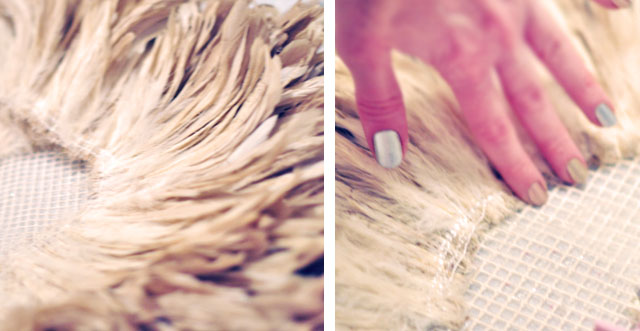
* To create extra fullness and texture, because I wasn’t going to get the authentic “splay” with my flat base, I began with my first row of feathers facing down {curved down}. Then next row I faced up {almost feels backwards}, then down then up and back and forth all the while pressing with my fingers not only down to set the glue but back and up a bit for more flared feathers.

* Keep adding rows of strung feathers, alternating facing down and facing up until you’ve hit the center. I was really trying to build mine up for dimension and texture. If you’re not as worried about that as I was, you could probably get away with using/buying 2 sets of 1/4lb strung feathers rather than 3… though I almost wish I had one more set.
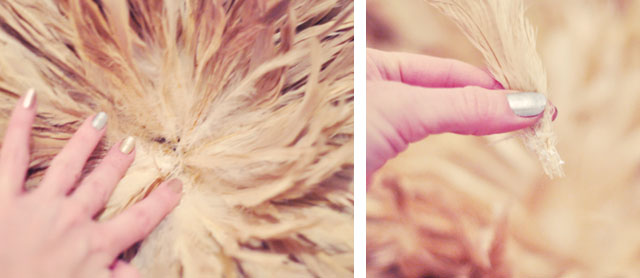
* At this point, you should have smaller sets of feathers from cutting excess off. Use these to create your finished center. Then with about 3-5 feathers in your hand, apply glue, then place into the center to hide any edges, seams, and to finish it off.
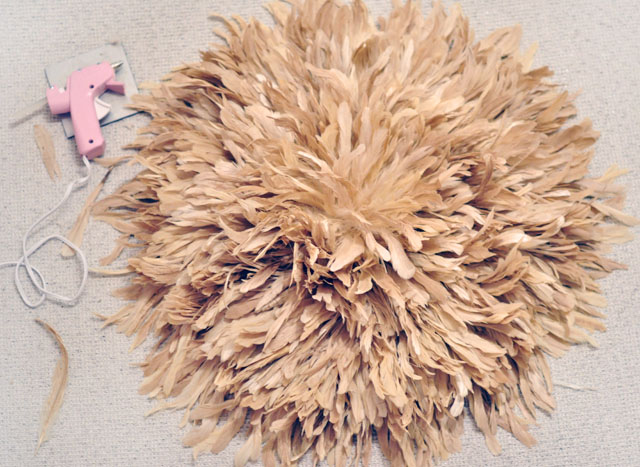
* It should look something like this.
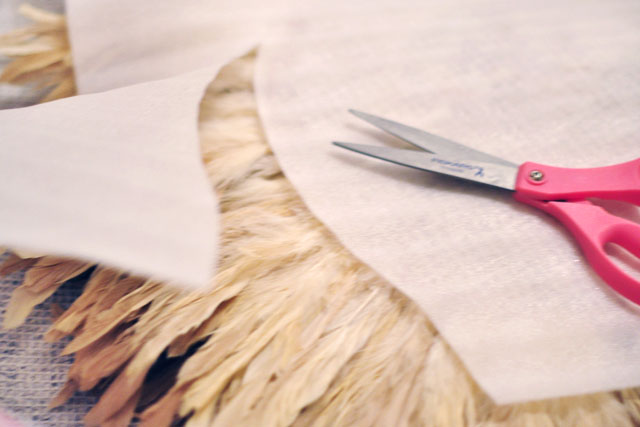
* Once your glue dries, flip it over and carefully trim away your soft fabric backing, leaving it attached to your rug grid. This stabelizes it while keeping it pliaple.
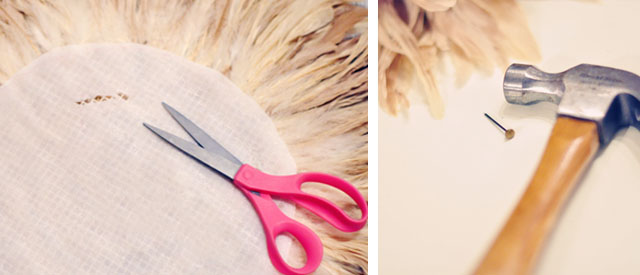
* Look at the front of your work and decide where you want the top to hang by determining which way your feathers look their most natural {and prettiest, of course} turn it back around and trim away a bit of your felt or foam, revealing your grid. Use a nail with a larger head and simply hook your grid over the nail to hang your new feathered friend.
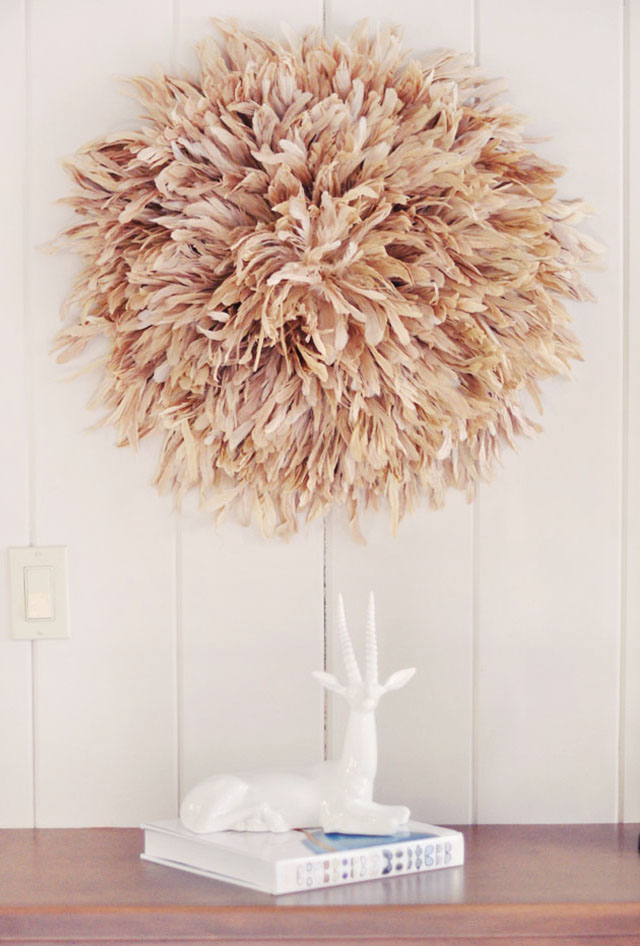
Voila… Voila!
Also Seen…
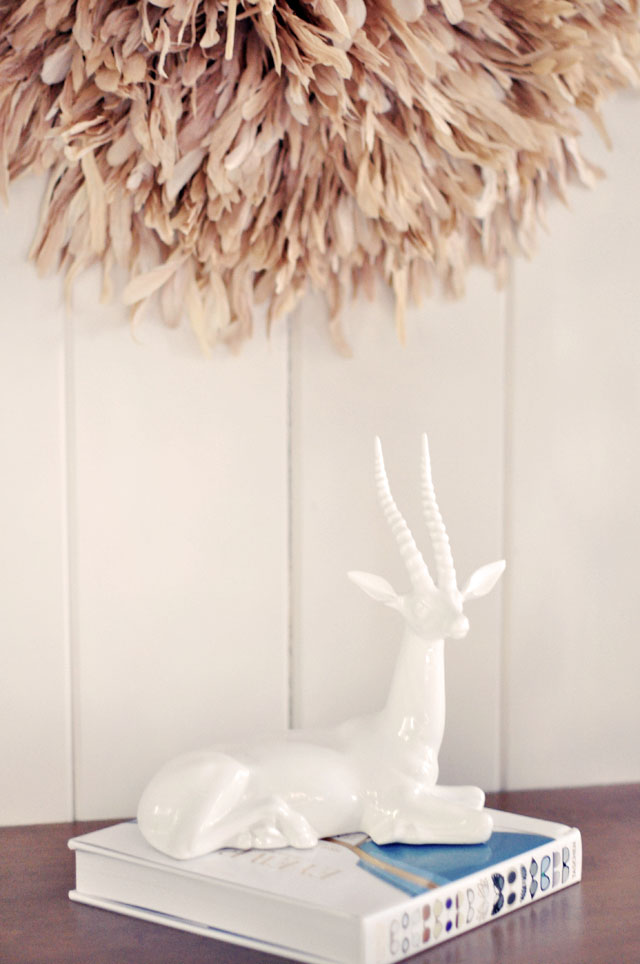
* Moss Lipow “Eyewear” book from drollgirl
* Sitting gazelle statue is from ebay {you can see LeRoy trying to play with it here}
* Large shell is vintage, was my mom’s from the late 70’s
* Large stone candlestick is from a shop here in Lake Arrowhead, the tall white candlestick I thrifted and painted white
* Battery operated candles
* See my Juju hat in in my office before it made its journey to the living room.
* Find my console table decor inspiration
* See my living room sans furniture for an idea of where this space is
Have Fun!
Find all my DIYs here
FInd all my Home DIYs here


