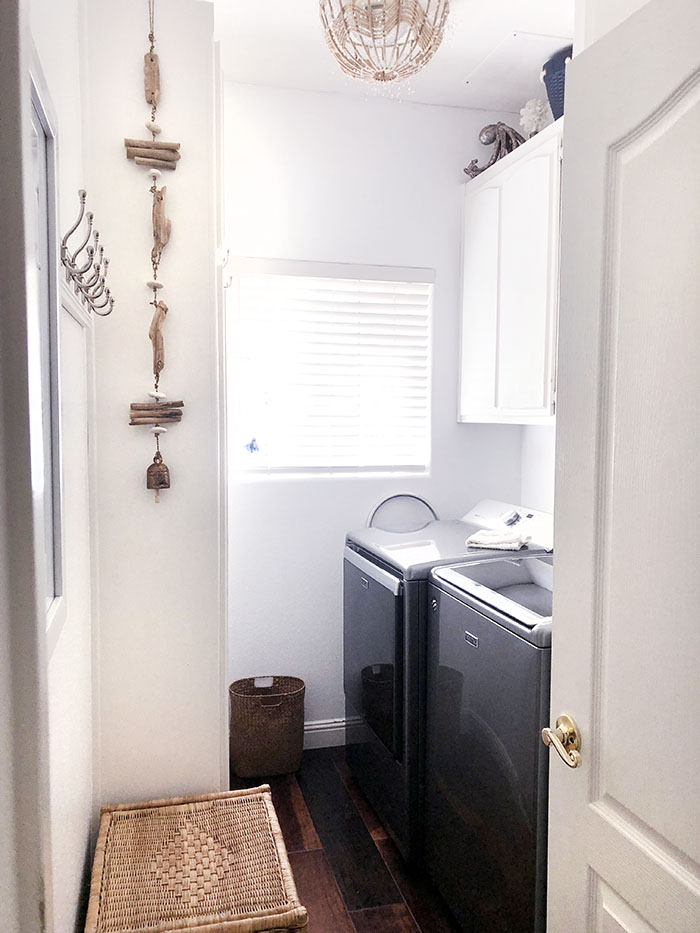
The laundry room was one of the first rooms we finished in the house (second to the girls’ room) and that’s mostly because it’s so small and it didn’t take much to finish. I’m not sure why it’s taken me so long to share but probably because it seemed too simple, but since it is a nice before/after makeover comparison I’m doing it anyway 🙂
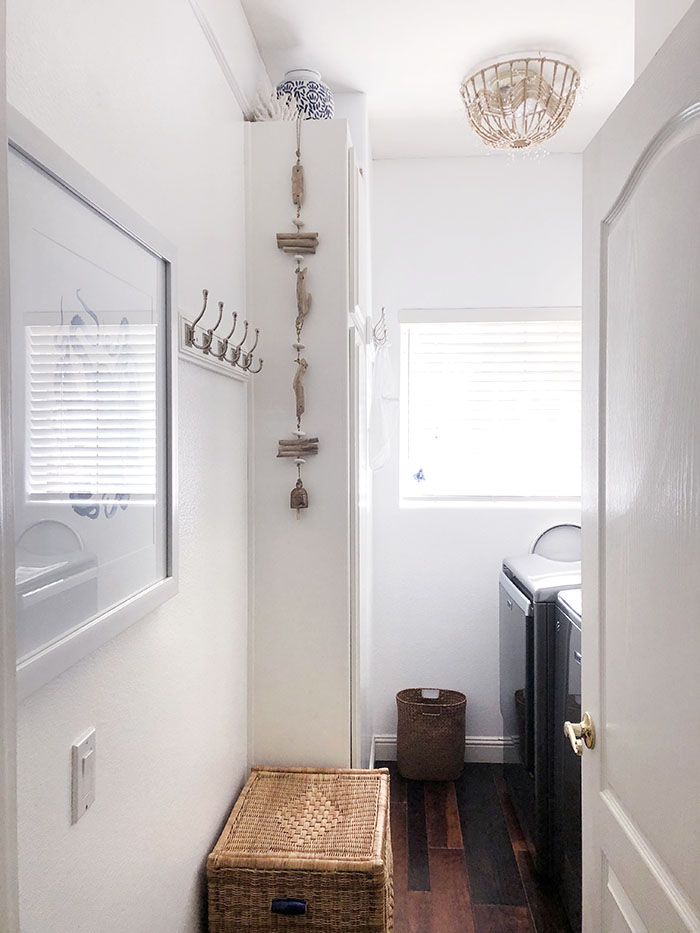
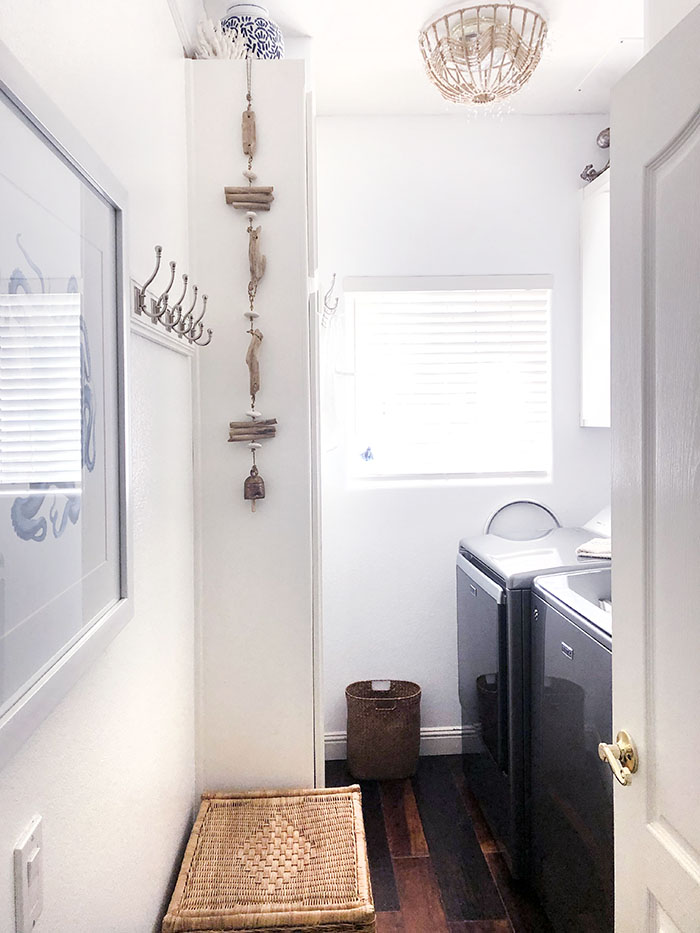
It’s a narrow space, but the storage is fantastic with cupboards above the washer and dryer and behind the door as well. The tall cupboard next to the laundry basket I could do without but it does hold the vacuum and brooms, so it comes in handy. I also LOVE that there’s a window in the space because it stays bright all day long.
Just to give you an idea of the size of the space, below is a shot of Trevor and Randy (I’m shooting from the window perspective) and as you can see, it’s tight, and even though I can’t open the dryer door all the way, it somehow still works. I even manage to fold the clothes right out of the dryer, which I prefer, because man, once they go into a laundry basket, they’re instantly wrinkled and then may never get folded, and then you can’t tell if they’re clean or dirty and end up washing them again. I just can’t with that.

When we moved in last summer we painted it white, along with the master bathroom, which were both this ugly dark peachy beige brown color you see in the before photos below and I was like THIS HAS TO GO! Just paint them white and be done with it, which I’m pretty sure were my exact words. I just wanted both rooms to be a clean slate and since this laundry room is so small, but actually very useful given its size, I knew that painting it white would make it feel a little larger and just give it a bright and airy feeling.
When I think of laundry rooms, I think of water and that always leans towards white and blue, so this space was super easy to decorate, and I honestly had everything already to decorate it with. The one thing we didn’t have was a washer and dryer since I sold my old set along with my house.
When we went shopping for new units, size was a big issue because obviously, they had to fit the space… and as you can see in the photos, the dryer sticks out a little bit more than the washer because of the way the gas hookup is behind them, which we didn’t really anticipate when purchasing. HOWEVER, I don’t really care because honestly, this washer and dryer are a DREAM.
I wish I could say this was a sponsored post and Maytag sent them to me, but alas, I am not that cool, and we purchased them at Best Buy last summer when we moved in. But again, I will stand by them and recommend them to anyone who wants to splurge a little on a washer/dryer because they’re amazing. We got the Maytag – 5.2 Cu. Ft. 11-Cycle Top-Loading Washer and the Maytag – 8.8 Cu. Ft. 10-Cycle Gas Dryer (which are both considerably less expensive now at Best Buy than what we paid last June, ugh) in a sort of charcoal silver/grey and the number one thing that makes them amazing is the SIZE.
I can EASILY fit up to 5 or 6 couch/throw blankets in ONE LOAD whereas I could only fit two in my previous washer. I can also fit not one, but TWO king size comforters in the wash, where I couldn’t even fit one in my last washer (had to go to the laundromat to wash them), so you get the point. The ONLY issue I have with the washer is that it’s SO DEEP that when I reach in (whilst standing on my tippy toes- and I’m 5’7″ mind you) I bang my damn elbow on the top edge like every single time I pull out the wet clothes. I think I have a permanent bruise on my inner arm because of it and so I’ve learned to bend my arm in a certain way as to avoid such pain, but still, it happens every now and again. Other than that, they are a dream… but if you are maybe under 5’6, you might need a step stool to reach everything and you definitely cannot place them on top of any step-up or riser, etc… and probably if you’re under 5’5″ they may not work for you unless they have an option I’m unaware of to make them shorter.
Anyway, now I can literally do laundry in half the loads and in half the time – which obviously is a WIN. So if you’re looking for a new set, definitely check these out.
So back to the simple makeover, here are the before images…
Before…
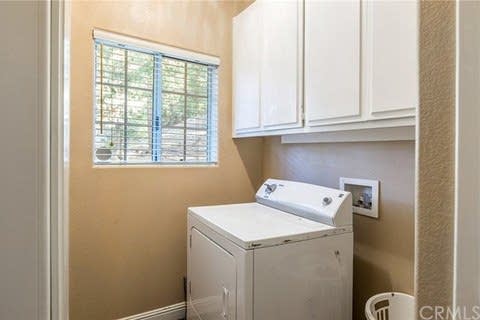
Photo above is from the house listing. The below shots are during painting.
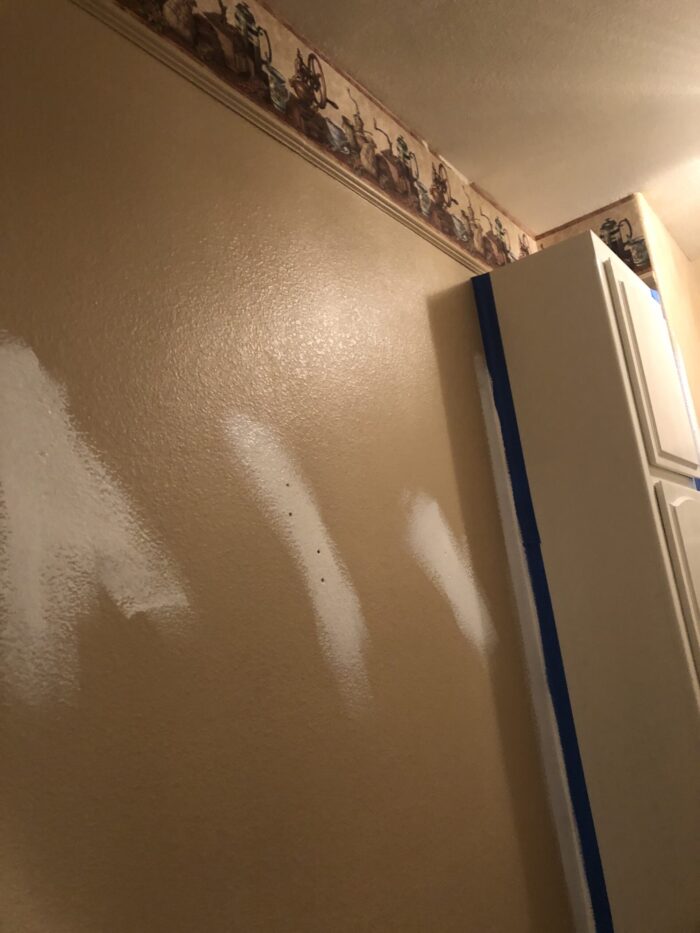
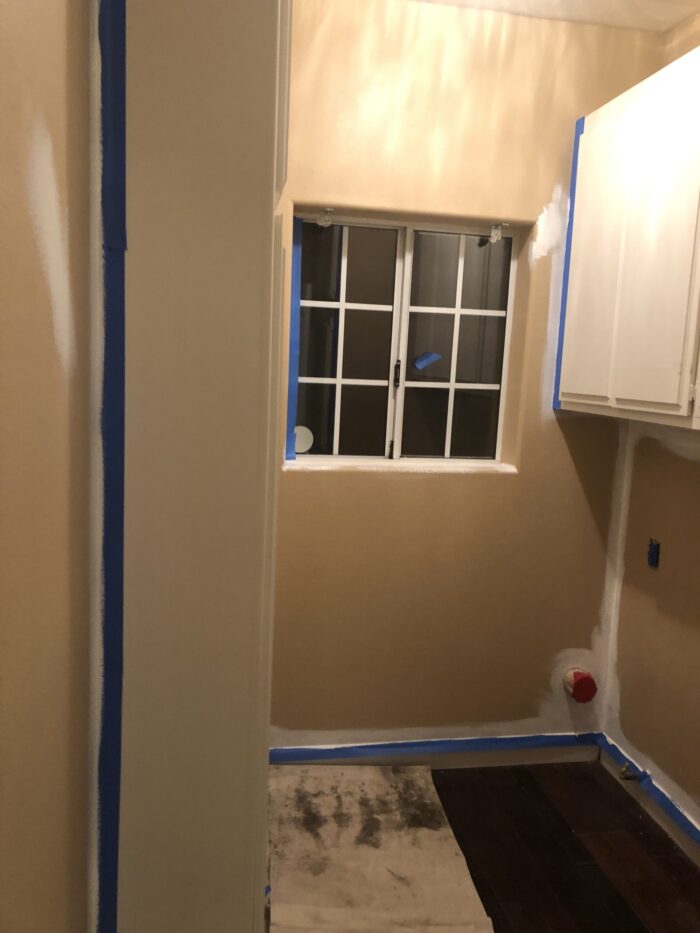
You can see the wallpaper border along the ceiling on the left wall and the rest of the room was painted in that kind of poopy brown I was talking about earlier, it’s the only way to describe it. Luckily the landlord was open to us painting the house.
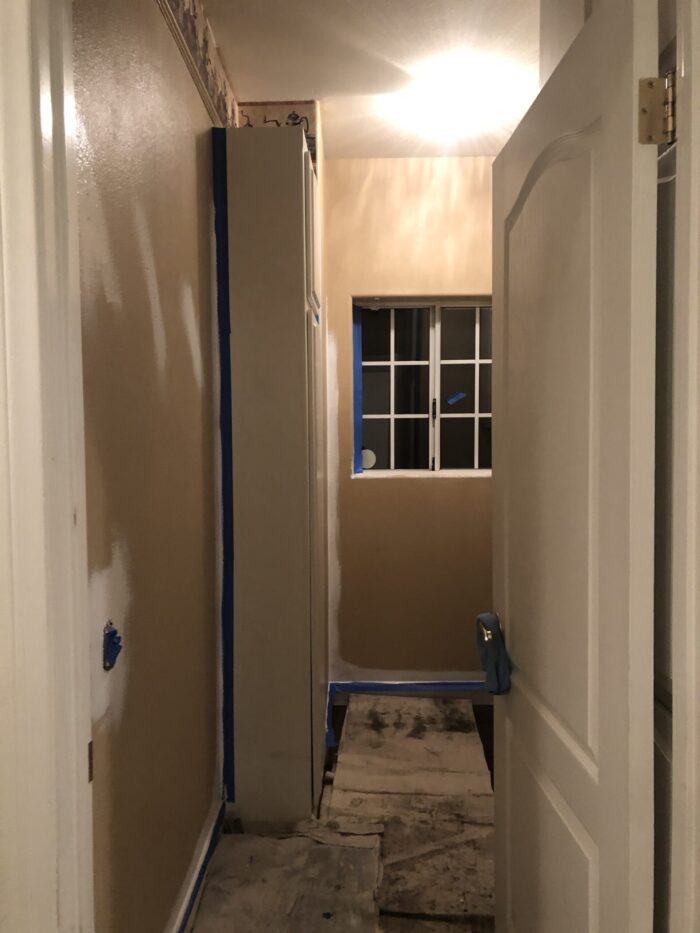
So all we really did was remove the wallpaper and paint the walls a crisp white (no idea what brand or what specific “white”), which makes it feel bright and airy and clean, and I love it.
I had a bunch of nautical decor from my old house that I’ve also used in the current guest bedroom upstairs, so the laundry room felt like the best place to continue this decor without it being over the top or buying anything new.
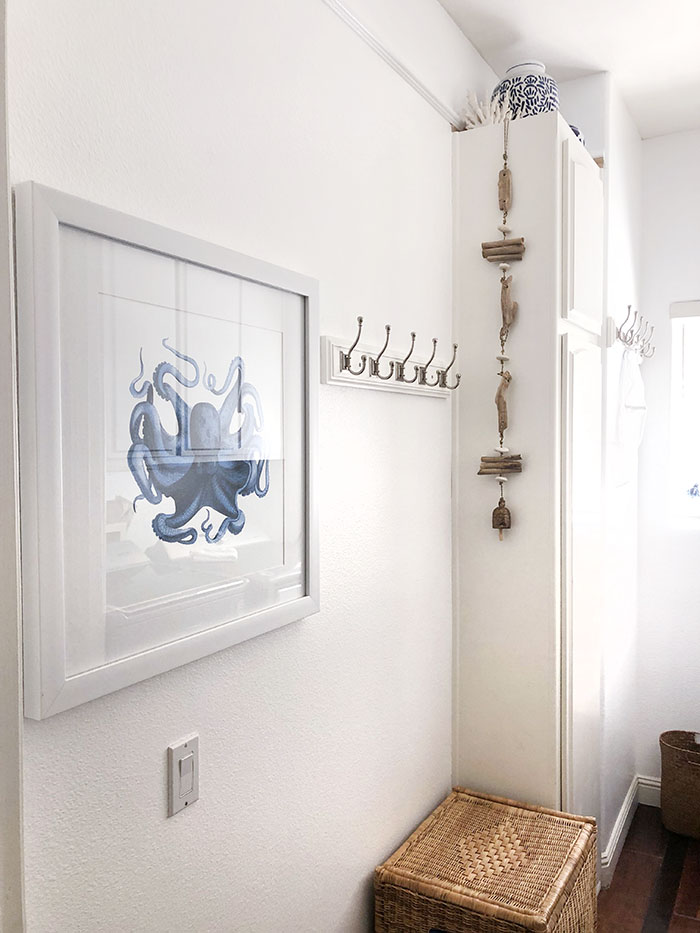
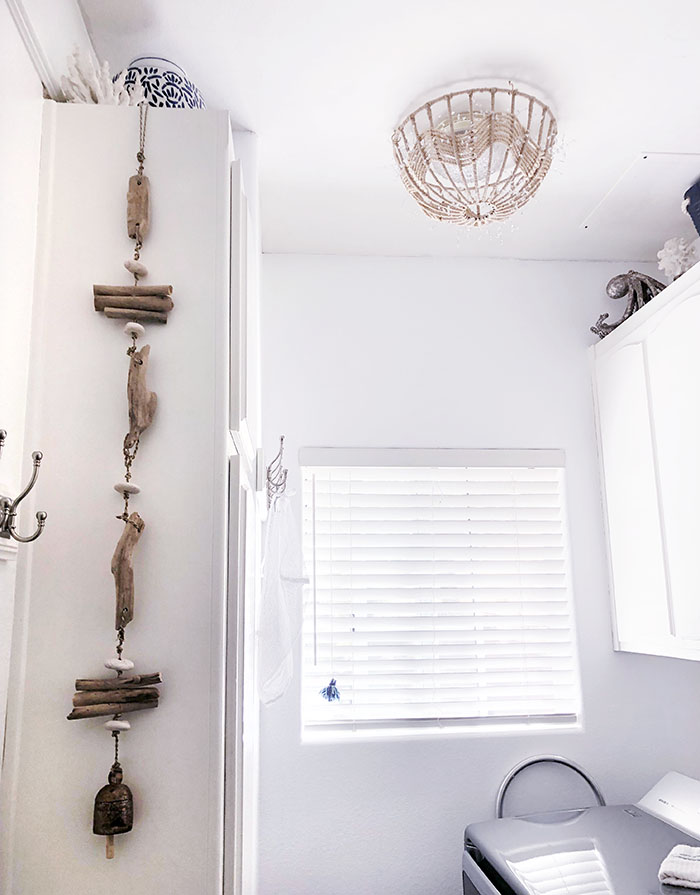
I hung the framed octopus print (which was in my old guest bedroom) and a few faux coral sculptures and blue and white vases to the tops of the shelves to give it a little something extra. I hung one of my DIY yarn tassels from the the old guest room onto the white wood blinds and also hung the beachwood bell garland on the side of the built-in cabinet which tied in the brown wicker trash bin and laundry basket. I hung two wall mount coat racks for air-drying items, which adds extra functionality in this small space.
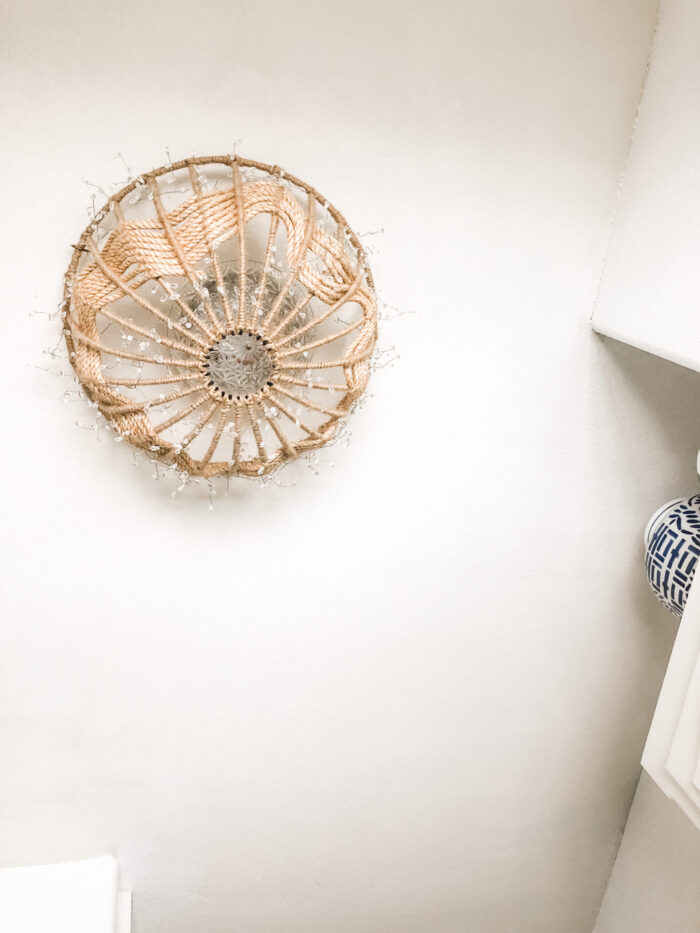
The light fixture is a vintage crystal ceiling mount, and so instead of rewiring and buying a new light fixture, I just installed the DIY Rope Pendant fixture that used to hang in my old guest room as well, which I really love. Since the glass bowl was so small, I just left it up instead of removing it like I did when I hung it before.
After…
Obviously, the room is so small it’s difficult to get any other angle than from standing in the doorway, but you get the idea.
Happy Tuesday Lovecats!
* Find all my New House Posts here
* Find all my Home Decor Posts here
DIY // How to Make Tassels & Upgrade Your Boho Bamboo Shades
DIY Rope Pendant Lamp / How-to Disguise Old {Ugly} Ceiling Fixtures


