Elsa Hair Tutorial: How to Create Elsa’s Big French Braid from Frozen Looking for an easy Elsa hair tutorial for Halloween, cosplay, or a Disney-inspired costume? Learn how to recreate Elsa’s iconic oversized French braid from Disney’s Frozen with this step-by-step Snow Queen hairstyle tutorial. This voluminous side braid features tips for adding hair extensions, creating extra volume, and making DIY snowflake hair accessories to complete the magical look. Whether you’re dressing up as Elsa for Halloween, a princess party, Disneybounding, or a Frozen-themed event, this Elsa braid tutorial will help you achieve the perfect fairytale hairstyle.
Originally published October 30, 2014 // Updated 2026

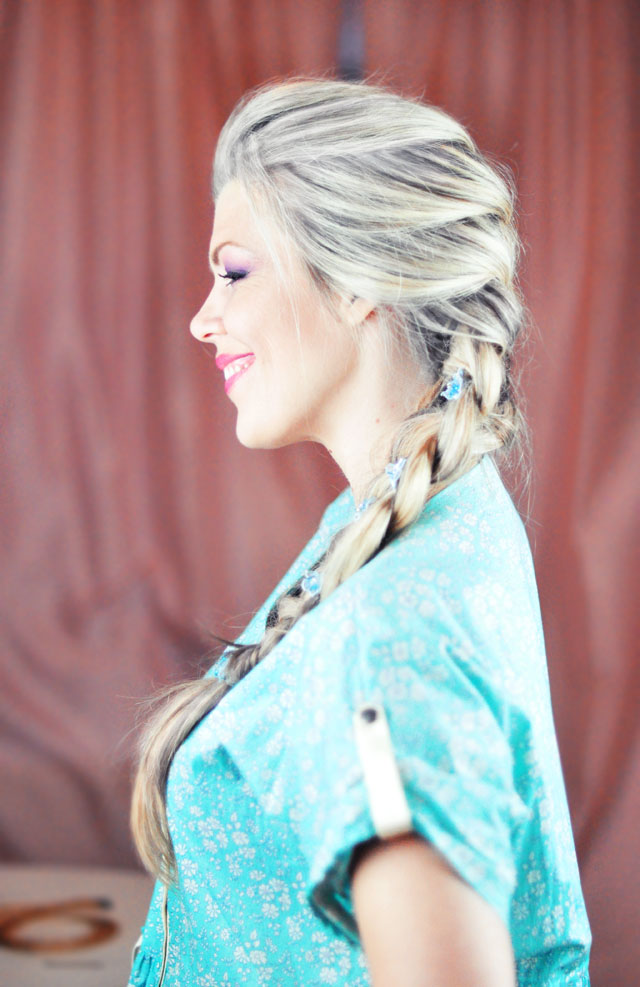
Finally, the most iconic of Elsa‘s looks, her Snow Queen big, voluminous French braid… which, admittedly, was a teensy bit harder than I had first anticipated, because I’ve French braided my hair hundreds of times over my lifespan… oaky, maybe only dozens of times, but still – a French braid is a French braid.
But not this one. This one is BIGGGGG. Big at the roots and big at the tail. So big, I had to add a hair extension to the bottom to make my super long hair long enough to make Elsa proud. And that, to be honest, was the hardest part. Knowing when to add the extension {beginning? middle? end?} and then getting your hair around it to cover it, were both challenges. But after possibly throwing a knotted hair extension {just once} I pulled it together and was able to finish and truly get a great Elsa braid… even though I don’t have the shorter pieces around the front, I was able to pull a few strands out to mimic her look.
It should be noted that I wore this braid for the remainder of my day… and it was really fun! So let’s get started…
But First, DIY Snowflakes for Elsa’s Hair…
You’ll Need…
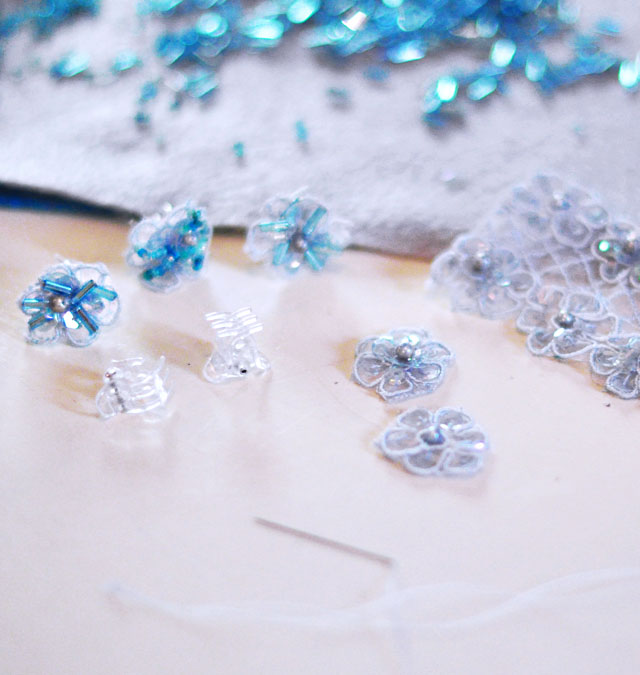
* Tiny clear jaw clips
* Embroidery flower trim {or the like} -you can also cut out your own from felt, ribbons, or fabric. {mine came from the dress I ultimately used as the base for my Elsa Snow Queen DIY costume}
* Aqua shimmery beads {I used a few long tube beads left over from my DIY corset & regular seed beads}
* Needle and thread.
I carefully cut out 5 flowers from my embroidery trim, stitched beads to look like snowflake points on top {kind of} then simply ran the thread through the jaw clip in various openings {making sure the clip still functions} and until the flower stayed in place. The jaw clips work well in my thick braid vs barrettes or pins that may slip out.

Now onto her hair…
Here’s What You’ll Need…
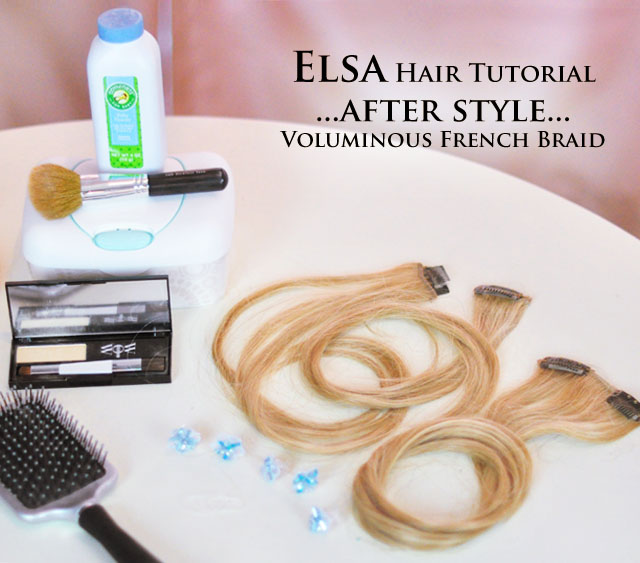
* A few long blonde clip in hair extensions {while platinum would be best, it’s best to match your own hair so that it blends} I used one panel with two clips attached, but you can use two smaller hair extensions as well, but nothing larger.
* Color WOW root cover {powder} in platinum or natural blonde + white baby powder, an old makeup powder brush, and a small tub {similar approach to my Temporary Hair Color with Eye Shadow} to lighten your hair
* Clear elastic band
* Snowflake hair clips
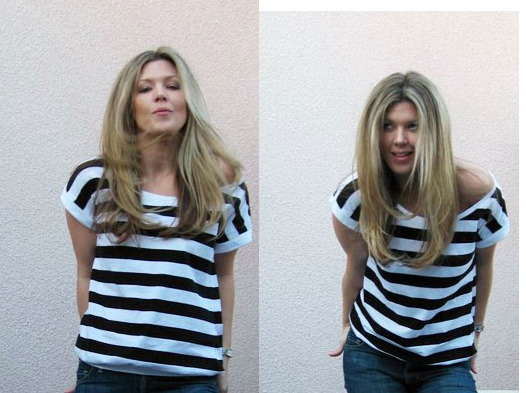
Here’s What My Hair looked like before…
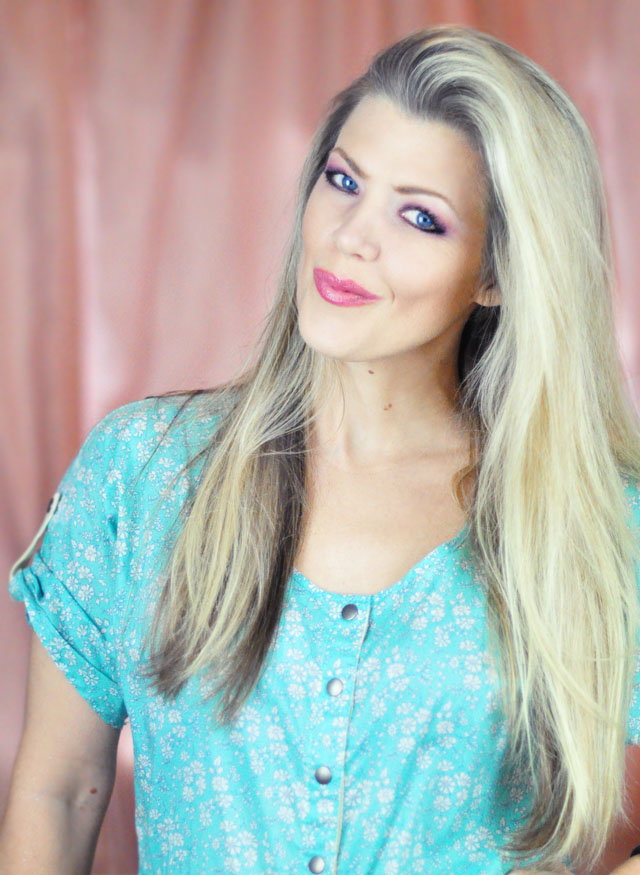
But I do love a challenge and a challenge it was to try to lift my roots {and darker underneath hairs} to not only match my blonde streaks, but to lighten enough to look as platinum-white as Elsa’s hair. It maybe was a challenge I could not pull off, but it’s close enough. Maybe sometime in the near future, when my hair is freshly done, I’ll redo the style just for photography sake 😉 Enjoy
For more volume at your roots, apply dry shampoo before you go to bed, only apply conditioner to the lower half of your hair when washing, and blow-dry it upside down … * Follow this link for more Tips on Getting Big Volume in your Hair
French Braid Steps…
NOTE: This French braid is done like a regular FB, braiding OVER each hair section on the back of the head {vs the Katniss braid, which sits on TOP of the head and braids UNDER each section}. HOWEVER, once you pull your braid to the side {the LEFT side}, you will begin braiding UNDER, though it will still appear to be a regular braid.
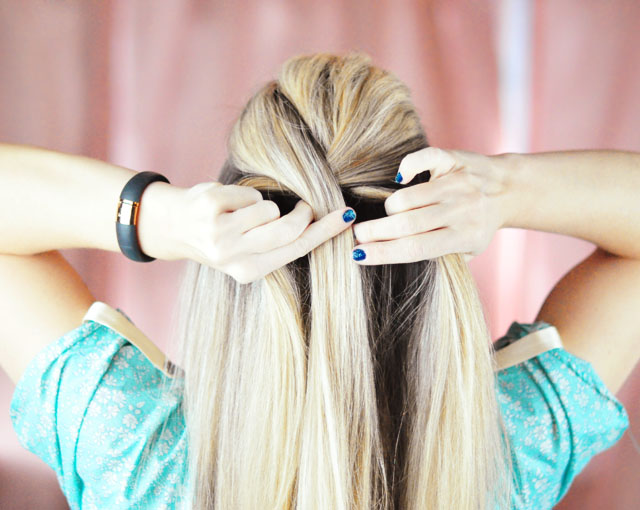
Elsa’s braid starts in the middle/back of her head vs the very top. Since French braids tend to slip out a bit once they’re finished, I started a bit higher initially, so that it fell perfectly to the middle of my head in the end.
* Begin by grabbing the hair on the crown of your head, pull it back to the back/middle/top and start your regular braid, crossing your three strands over each other only once.
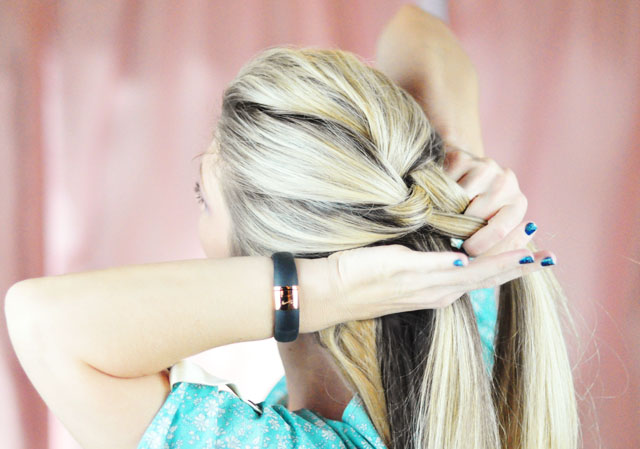


To Make Your Braid BIGGER…
* Beginning at the top of your braid, closest to your ear, CAREFULLY PULL each braided section OUT a little from the rest — all the way down — until your braid has DOUBLED in size!
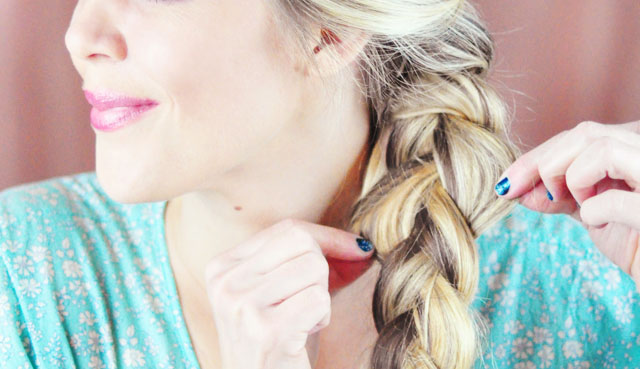
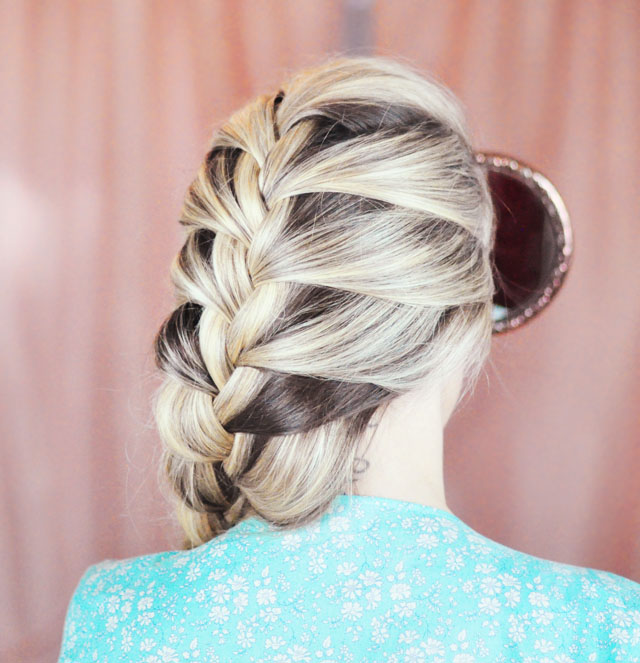
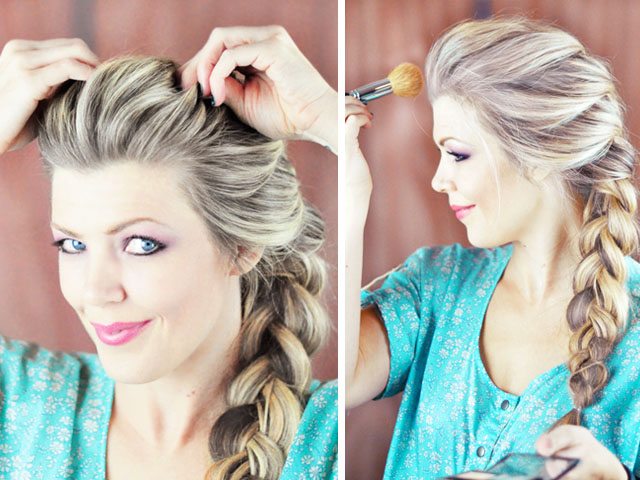
* IF YOU HAVE BANGS or shorter hairs in the front, carefully create sections out of them {by hair spraying your HANDS and running it through your hairs} and swoop them back, mimicking Elsa’s look. Pin in place if necessary, but hairspray should do the trick.
* IF you need to lighten you hair or your roots, start with your Color WOW to enhance specific highlights and match your yellowy blonde hairs, THEN with your WHITE BABY POWDER, and makeup brush, lay on a GENEROUS amount of powder to really get your hair as platinum as possible. {It will look a bit chalky, but that’s okay} –THIS IS A MESSY STEP! Close your eyes and lay down a towel first and make sure you’re not WEARING anything you don’t want to get WHITE!
* Hair spray to finish it up, if necessary -though the powder is pretty good at helping it stay in place– if you want your braid to stay intact for many hours, spray it up!
And… Voila!
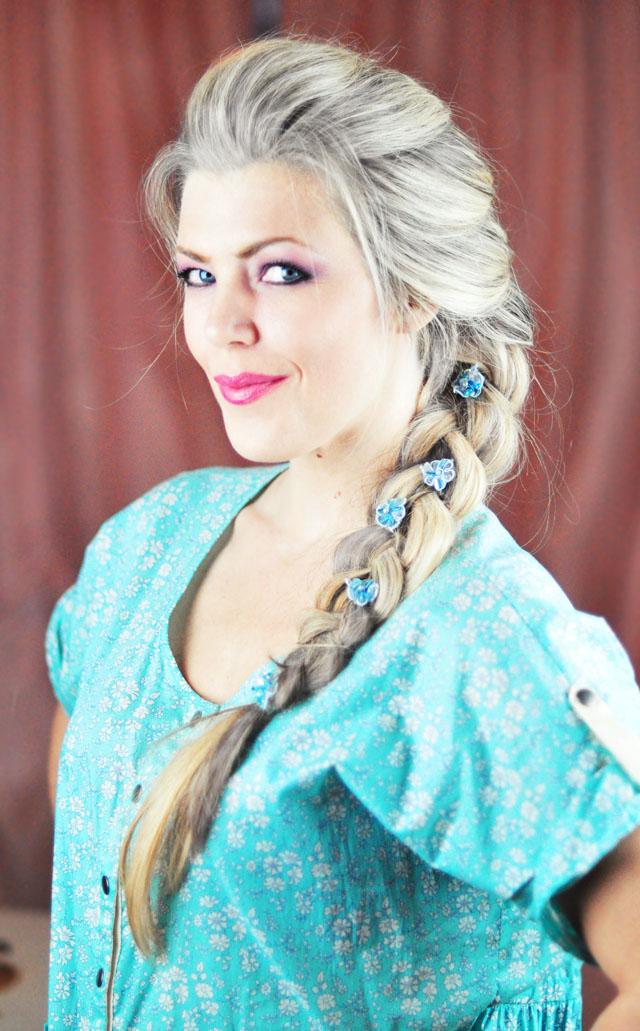

Looking For…
* Elsa Makeup Tutorial
* Queen Elsa of Arendelle DIY Costume
Frozen’s Elsa of Arendelle Makeup Tutorial // Halloween or Cosplay
Elsa Hair Tutorial ~ Twist w/ Bun & Bangs // Queen of Arendelle